
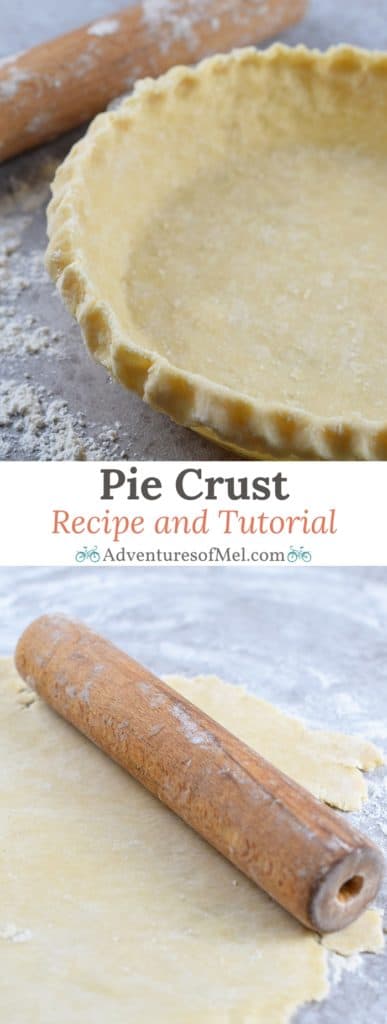
Step by step guide for a no fail pie crust with butter and 3 simple ingredients. Perfect homemade crust for both sweet and savory recipes.
Pie crust recipe cards probably make up a good portion of many a grandmother’s recipe box. While I used to wonder at the variety of pie crusts in my own grandma’s recipe box, I think I understand now why she had so many.
There are so many different ways you can make a pie crust.
You can make it with oil, shortening, lard, or butter. Make it flaky, or you can make it crumbly.
You can make a no roll pie crust, or you can roll it out. You can even make a pie crust with pecans.
I think I understand now why Grandma had so many pie crust recipes. Maybe like me, it took her awhile to find or come up with just the right recipe. Or maybe it was the thrill of the hunt for an even more delicious recipe. Of course, it may’ve just had a little something to do with her love for trying new recipes.
For far too long, I’ve let pie crust intimidate me to the point that I hardly ever made pie. And if I did, I didn’t roll it out; instead I opted for pressing it into the pie plate.
So I want to take you along on my journey and help you, as well. Let’s kick intimidation to the curb and make a really delicious pie crust recipe with butter that you will want to use again and again for your favorite pie recipes.
Now keep in mind, my pie crust may not look perfect, but it sure is tasty; and really, that’s all that matters.
WHERE CAN I FIND THE ACTUAL RECIPE CARD?
If you’d rather skip all of my baking tips, important info for this recipe, and similar recipe ideas – and get straight to the pie crust recipe – just scroll down to the bottom, where you’ll find a printable recipe card.
MORE CRUST RECIPES YOU MAY ENJOY:
- Chocolate Cookie Crust
- What to Do with Leftover Pie Crust – Make Cinnamon Crust Bunches
- Easy Graham Cracker Crust
INGREDIENTS YOU’LL NEED FOR A NO FAIL PIE CRUST:
- All-purpose flour – I’ve also made this a gluten-free pie crust with gluten-free flour.
- Salt
- Salted butter – You can use unsalted butter over salted because you’re more able to control the amount of salt that goes into your pie crust. However, we like the flavor that salted butter gives to our pie crust.
- Milk
Remember, all of the ingredient amounts you’ll need are in the printable recipe card below.
KITCHEN TOOLS AND EQUIPMENT YOU’LL NEED:
Glass Pie Plates – The pie plate I’m using for this recipe is my old faithful pie plate. I’ve had it forever, probably since we got married. Mine actually has the fluted edge sorta built in too, so we can press it in and get somewhat of a decorative edge without a lot of handiwork on our part.
Pastry Blender – Great for mixing together the flour mixture and butter. I use mine for making biscuits too.
Rolling Pin – A rolling pin is, to a baker, what a saw is to a carpenter.
Adjustable Pie Shield – Protects your pie crust from burning. Learn how to keep pie crust from burning, including 3 ways to protect the edges.
Kitchen Shears – Handy for trimming dough.
Leaf Cutters, Leaves and Acorn Cutters, Assorted Shapes Cutters, etc. – Give your pies a more decorative look.
HOW TO MAKE A PIE CRUST FROM SCRATCH
Making a good crust is actually a pretty simple process. While you can use shortening, or even part shortening part butter, I prefer to use butter both for the flavor and for the texture it gives the crust.
- First you want to mix together the flour and the salt in a medium-sized mixing bowl.
- Then slice the butter into the flour mixture.
- Next you need to cut the butter into the flour mixture with a pastry cutter until the mixture resembles coarse crumbs… Or you can use a food processor. I just keep things simple with a pastry blender.
- Then add the milk, a tablespoon at a time, until the mixture forms together well, but isn’t so wet that it’s sticky. You don’t want a crust that’s too crumbly and hard to manage. So make sure you add enough liquid.

Once you’ve got it mixed up, wrap your pie dough in plastic wrap at this time, and place it in the fridge to chill for at least 30 minutes.
HOW TO ROLL OUT HOMEMADE PIE CRUST
Now you’re ready to get out the rolling pin, and sprinkle a clean surface with a little bit of extra flour, so the dough won’t stick to the surface.
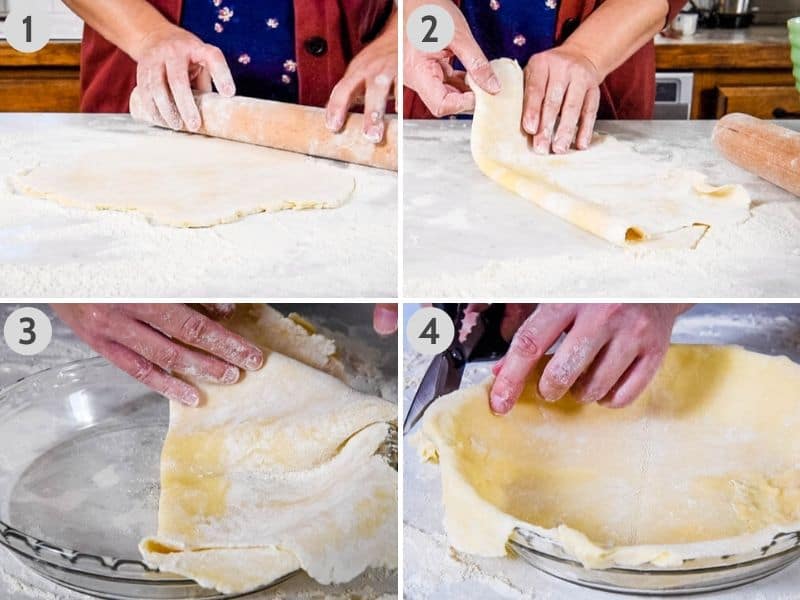
- Roll the dough out with a rolling pin, equally rolling in all directions, ’til the dough is about 2 to 3 inches bigger around than your pie plate.
- If your pie plate is ready to go, fold the crust in quarters.
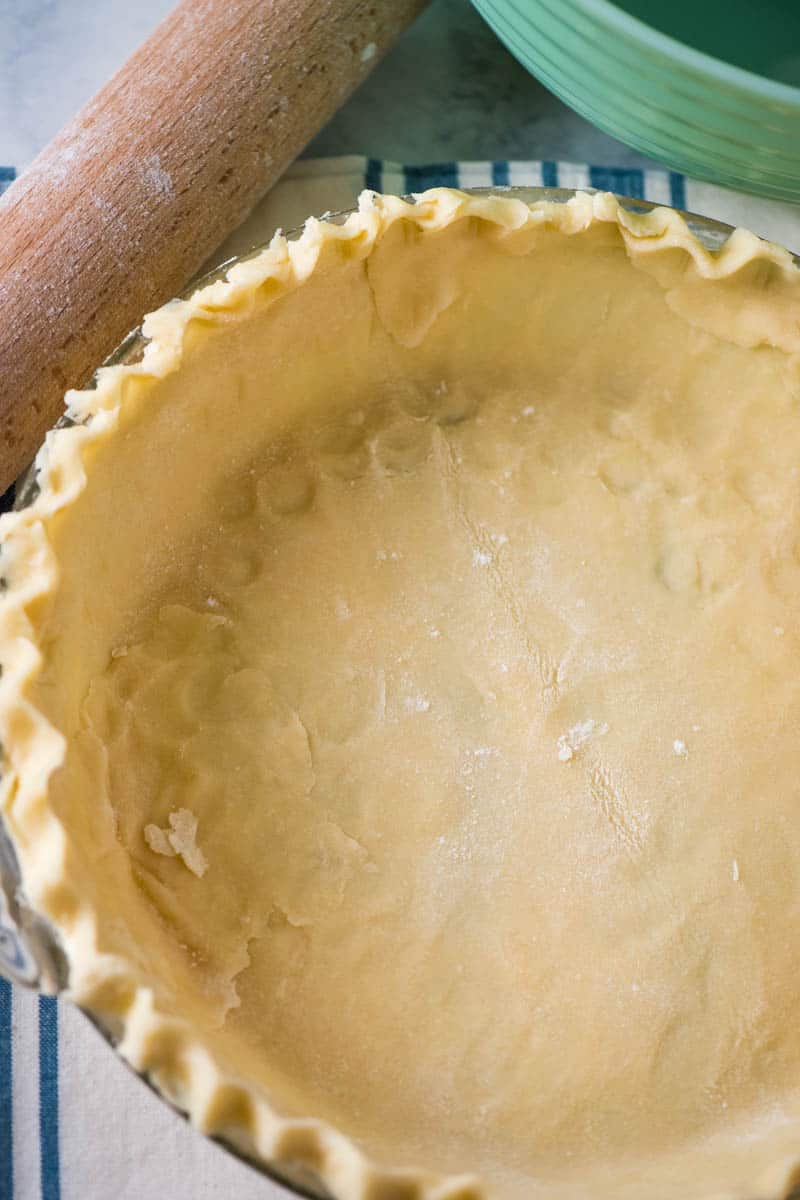
- Carefully place the dough in the pie plate, unfolding it to cover the entire plate.
- Smooth it out inside the pie plate, and then trim off any overhanging edges with kitchen shears or a knife. Be careful here: Leave enough dough (about 1/2 inch overlapping) so you can flute the edges of your crust.
HOW TO FLUTE PIE CRUST
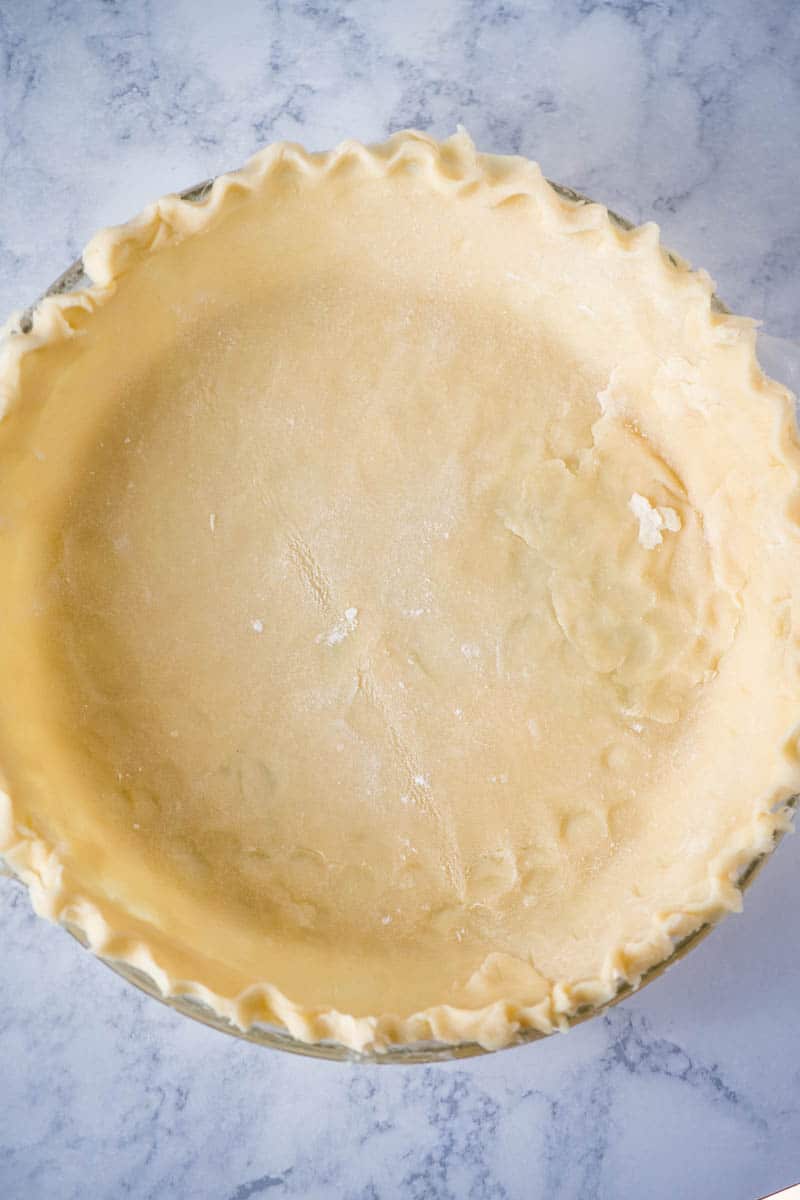
If you want a fluted edge, use your thumb and index finger, along with the tip of your opposite index finger, to flute or pinch the edge of the dough all around the pie plate.
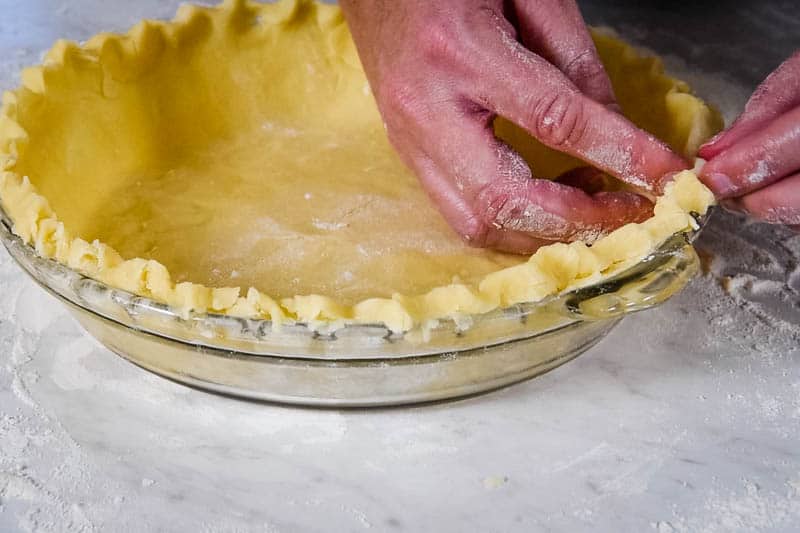
Alternatively, you can press the dough to the rim of the pie plate, or you can add decorative pieces of crust you’ve cut out with a cookie cutter or other tool (like a leaf cutter for fall and Thanksgiving).
WAYS TO KEEP PIE CRUST FROM SHRINKING
Pie crust can tend to shrink, but there are ways you can keep this from happening.
- Using cold ingredients helps a lot, the colder the better. So your butter and your milk should both be as ice cold as possible.
- Chilling the pie dough makes a difference. You can chill it before rolling it out, which will also help to give it more of a flaky texture.
- I also recommend chilling the dough before baking or adding any kind of filling to bake. Chilling helps reduce and/or eliminate shrinkage.
LET’S TALK ABOUT PIE WEIGHTS
If this is a single crust and you’re blind baking it without filling, use a fork to prick holes all around the inside of the crust.
A lot of people mention using pie weights for this step, but you really don’t need them. My mom taught me this little trick with the fork to keep the crust from bubbling up during baking.
It works just as well as pie weights, and you don’t have to spend any money.
HOW TO BAKE YOUR CRUST
You’ll need to bake the crust at 400° F for about 20 to 30 minutes, or until the crust begins to turn golden. You’ll likely bake for less time if making a gluten-free crust.
If you’re baking the crust with filling, be sure to follow the exact instructions for that particular recipe.

A FEW MORE TIPS…
- If you want a double crust, you’ll need to double the recipe. And you’ll flute the edges after you add the top crust over your filling. You’ll also need to vent the top crust by cutting slits in it. Then you’ll bake it according to the instructions for the specific pie recipe you’re making.
- To protect your pie crust from burning while baking, you can use a pie shield to protect those raised edges of the crust that are more likely to burn before the rest of the pie is done.
- You can chill your pie dough in the fridge for about 3 days before it’ll start to go bad. So yes, you can make your crust ahead of time or the day before.
- To make this a dairy-free pie crust, substitute shortening for the butter, and substitute ice water for the milk.
- To make it a gluten-free pie crust, substitute a good gluten-free flour for the all-purpose flour. And always check any other ingredients before adding. I recommend Authentic Foods Classical Blend for a roll-out pie crust (it’s not always available thru Amazon, so I order directly from the company). If you want a press-in pie crust, their Multi-Blend Flour or Cup4Cup work just fine, but you may not be able to roll it out; I haven’t tried making a pie crust with the multi-blend flour yet.

PIES YOU CAN MAKE WITH THIS CRUST:
- Classic Pecan Pie
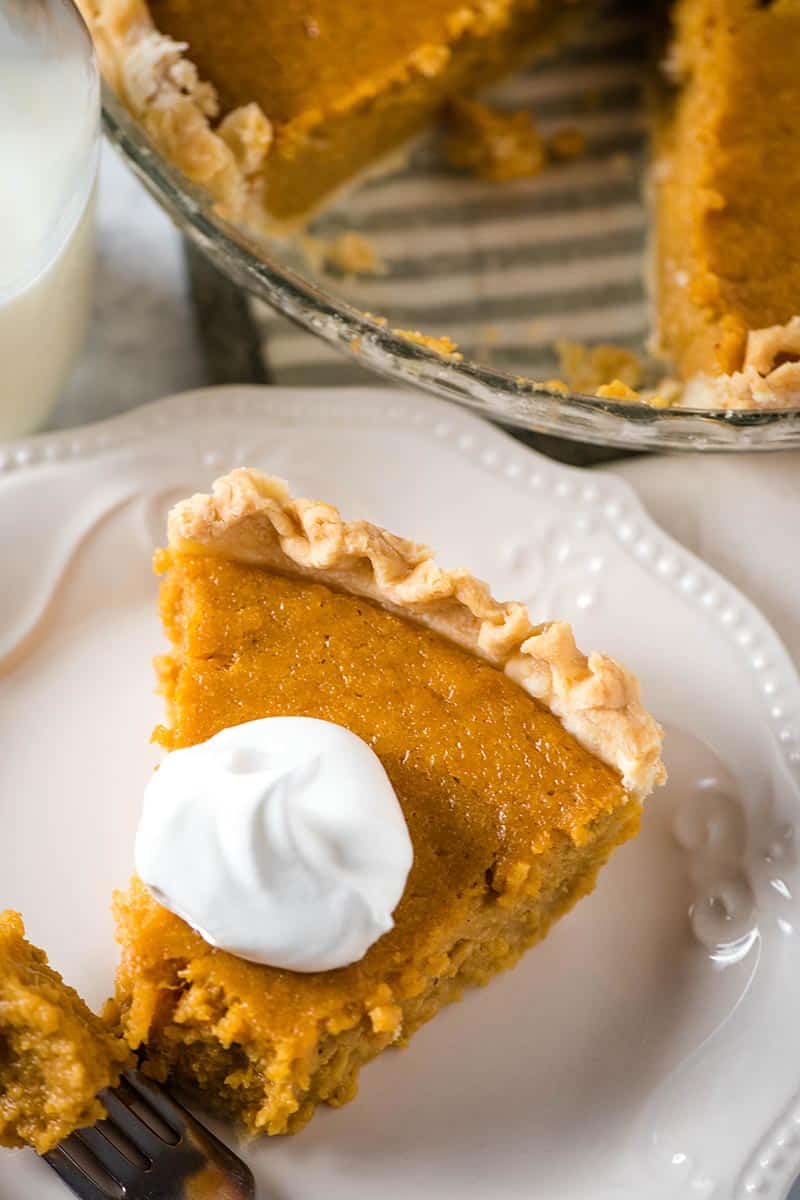
- Old-Fashioned Pumpkin Pie Recipe
- My absolute favorite Apple Pie with Crumb Topping
- Easy homemade apple pie (with a top and bottom crust)
- Chocolate Meringue Pie
- Caramel Custard Pie
- Strawberry Cream Pie
- Creamy Blueberry Pie
- Sweet Potato Pie
- Savory Taco Pie
- Homemade Beef Pot Pie
If you’d love more holiday recipe inspiration, you may enjoy my list of Christmas Recipes for Your Holiday Celebrations.
GET THE PRINTABLE RECIPE
If you love this recipe as much as I do, please write a 5 star review, and help me share the recipe on Facebook and Pinterest!

CRAVING MORE DELICIOUS RECIPES? Subscribe to my newsletter, and follow along on Pinterest, Facebook, YouTube, and Instagram for all the latest updates!

No Fail Pie Crust Recipe with Butter
Equipment
- Kitchen Shears
Ingredients
- 1 cup all-purpose flour
- 3/4 teaspoon salt
- 8 tablespoons salted butter
- 4 tablespoons whole milk
Instructions
- Whisk together the flour and salt in a large mixing bowl.
- Slice the cold butter into the flour mixture.
- Using a pastry blender, cut the butter into the flour mixture until it resembles coarse crumbs.
- Then add the milk, a tablespoon at a time, until the mixture forms together well, but isn't so wet that it's sticky; you don't want a crust that's too crumbly and hard to manage either, so make sure you add enough milk.
- Wrap the pie dough in plastic wrap, and place it in the fridge to chill for at least 30 minutes.
- Sprinkle a clean surface with a bit of flour, so the dough won't stick to the surface. Roll the dough out with a rolling pin, equally rolling in all directions, 'til the dough is about 2 to 3 inches bigger around than your pie plate.
- Fold the crust in quarters; then carefully place the dough in the pie plate, unfolding it to cover the entire plate.
- Smooth it out inside the pie plate, and then trim off any overhanging edges with kitchen shears or a knife; leave enough dough (about 1/2 inch overlapping) so you can flute the edges of the crust.
- If this is a single crust and you're blind baking it without filling, use a fork to prick holes all around the inside of the crust.
- If you want a fluted edge, use your thumb and index finger, along with the tip of your opposite index finger, to flute or pinch the edge of the dough all around the pie plate. Alternatively, you can press the dough to the rim of the pie plate with a fork; or you can add decorative pieces of crust you've cut out with a mini cookie cutter or other decorative tool.
- Cover with plastic wrap, and chill for at least 30 minutes to an hour.
- Pre-heat the oven to 400° F.
- Remove the crust from the fridge, uncover, and bake it at 400° F for about 20 to 30 minutes, or until the crust begins to turn golden. If you're baking the crust with filling, be sure to follow the exact instructions for that particular recipe.
Notes
- Using cold ingredients helps a lot, the colder the better. So your butter and your milk should both be as ice cold as possible.
- Chilling the pie dough makes a difference. You can chill it before rolling it out, which will also help to give it more of a flaky texture. I also recommend chilling the dough before baking or adding any kind of filling to bake. Chilling helps reduce and/or eliminate shrinkage.
- If you want a double crust, you’ll need to double the recipe. And you’ll flute the edges after you add the top crust over your filling. You’ll also need to vent the top crust by cutting slits in it. Then you’ll bake it according to the instructions for the specific pie recipe you’re making.
- To protect your pie crust from burning while baking, you can use a pie shield to protect those raised edges of the crust that are more likely to burn before the rest of the pie is done.
- You can chill your pie dough in the fridge for about 3 days before it’ll start to go bad. So yes, you can make your crust ahead of time or the day before.


I would like to try this pie crust recipe so I would like your website so I can print it out on my computer thank you
Hey Irene, if you scroll down to the bottom of the post, there is a printable recipe card with the pie crust recipe. I hope this helps!
I am going to try this pie crust recipe right now, I am making a pumpkin pie, I am pretty good at using what I have on hand and just throwing a few things together that seem like the flavors would go good together and everyone goes back for another plate so I figure I’m a pretty decent cook, although baking seems to be a bit different and throwing random things isn’t usually the way to go, with baking, I find that following the directions EXACTLY, usually gives me the results I am looking for, (unless I am feeling a bit more creative, then I tend to experiment with different things and 9/10 times It turns out way better then even is expected! I usually ask my mom how she makes the things that I grew up eating (and loving) and when I asked her about pie crust she told me your recipe and told me most important is to keep the crust very cold but not frozen, 🥶 and remember to sprinkle flour on the cutting board/countertop and ALSO the rolling pin before rolling it ouy, also get it rolled out and in the pie pan as quick as you can so that it stays as cold as possible…
*cold dough =flakey crust
Thank You for the tips, Rebecca! Great info.