
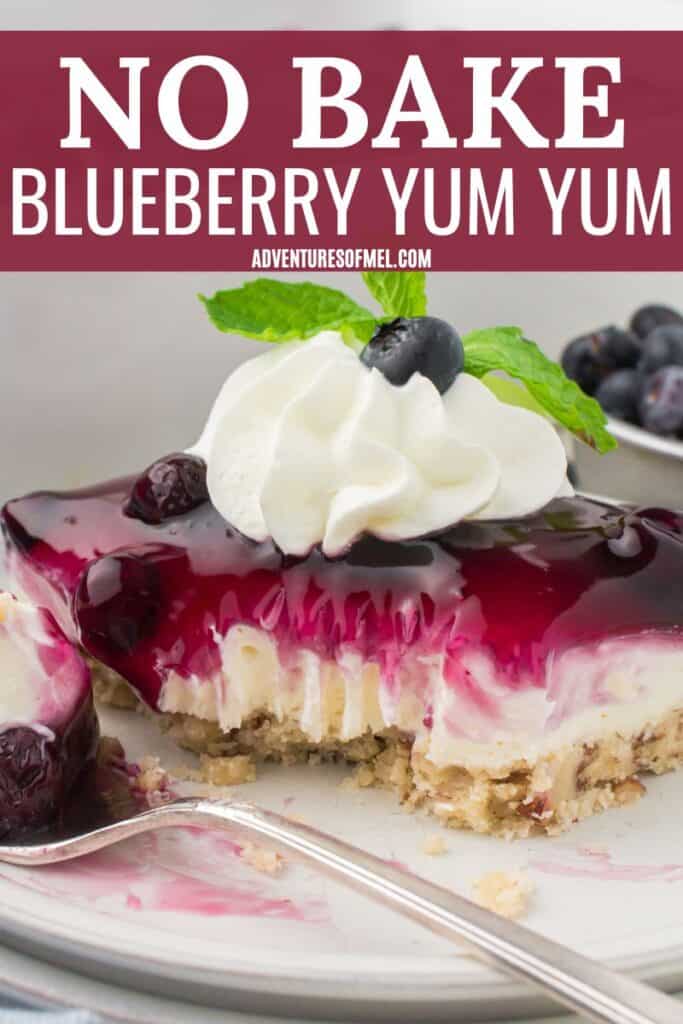
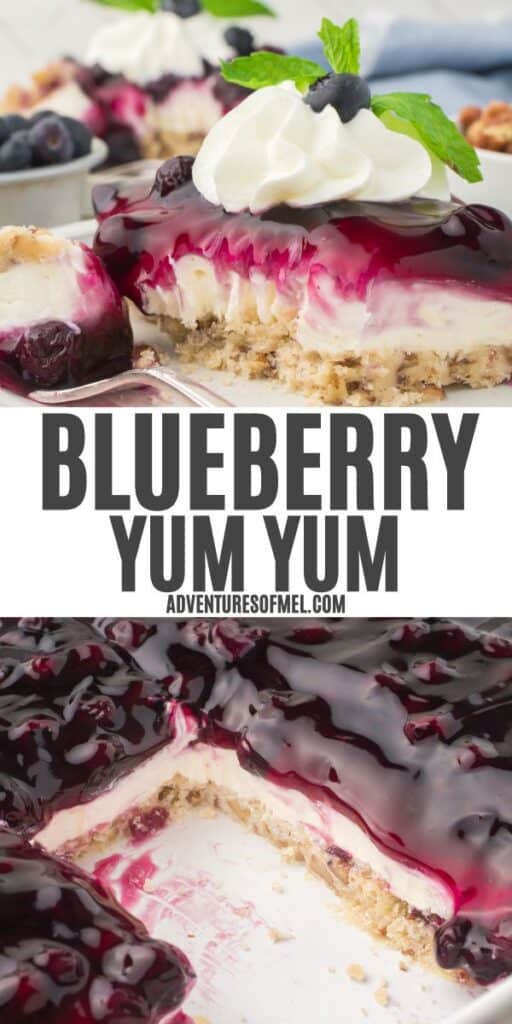
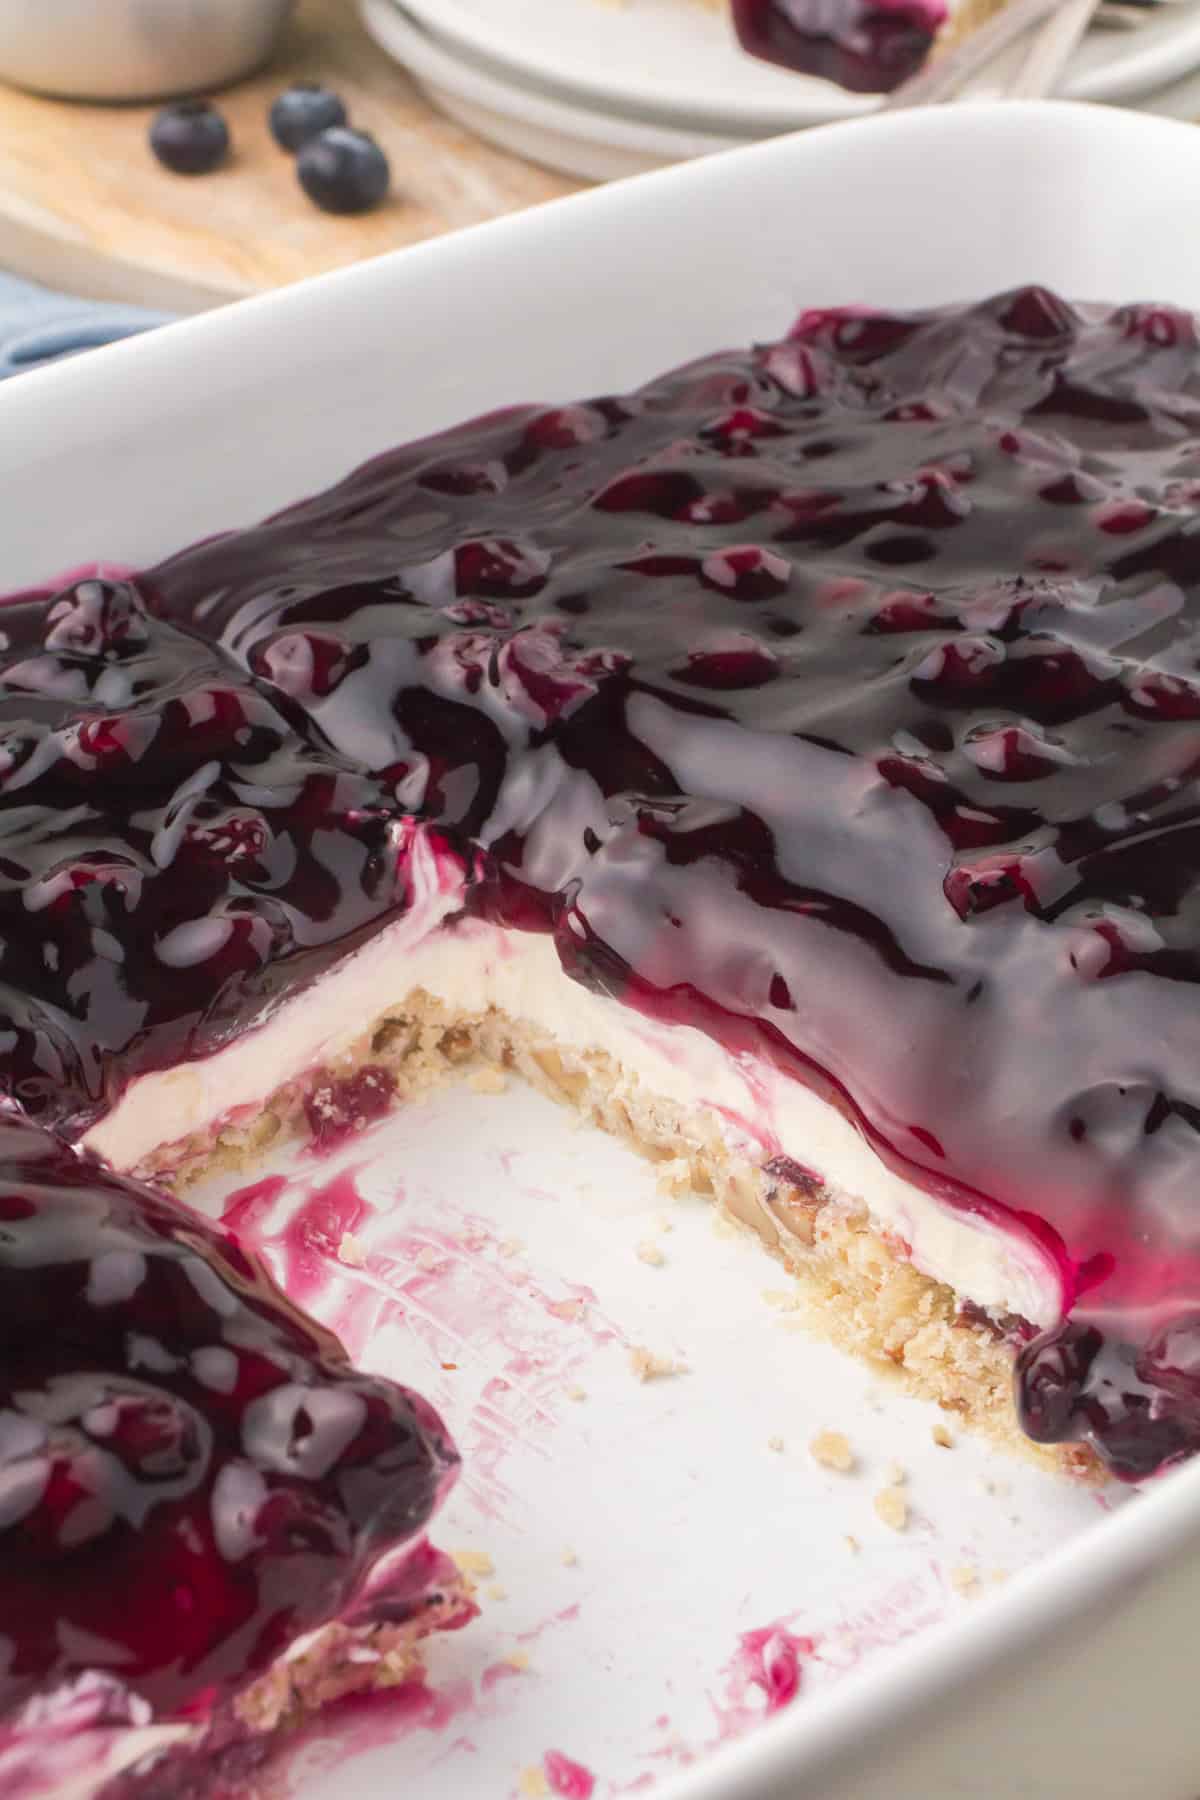
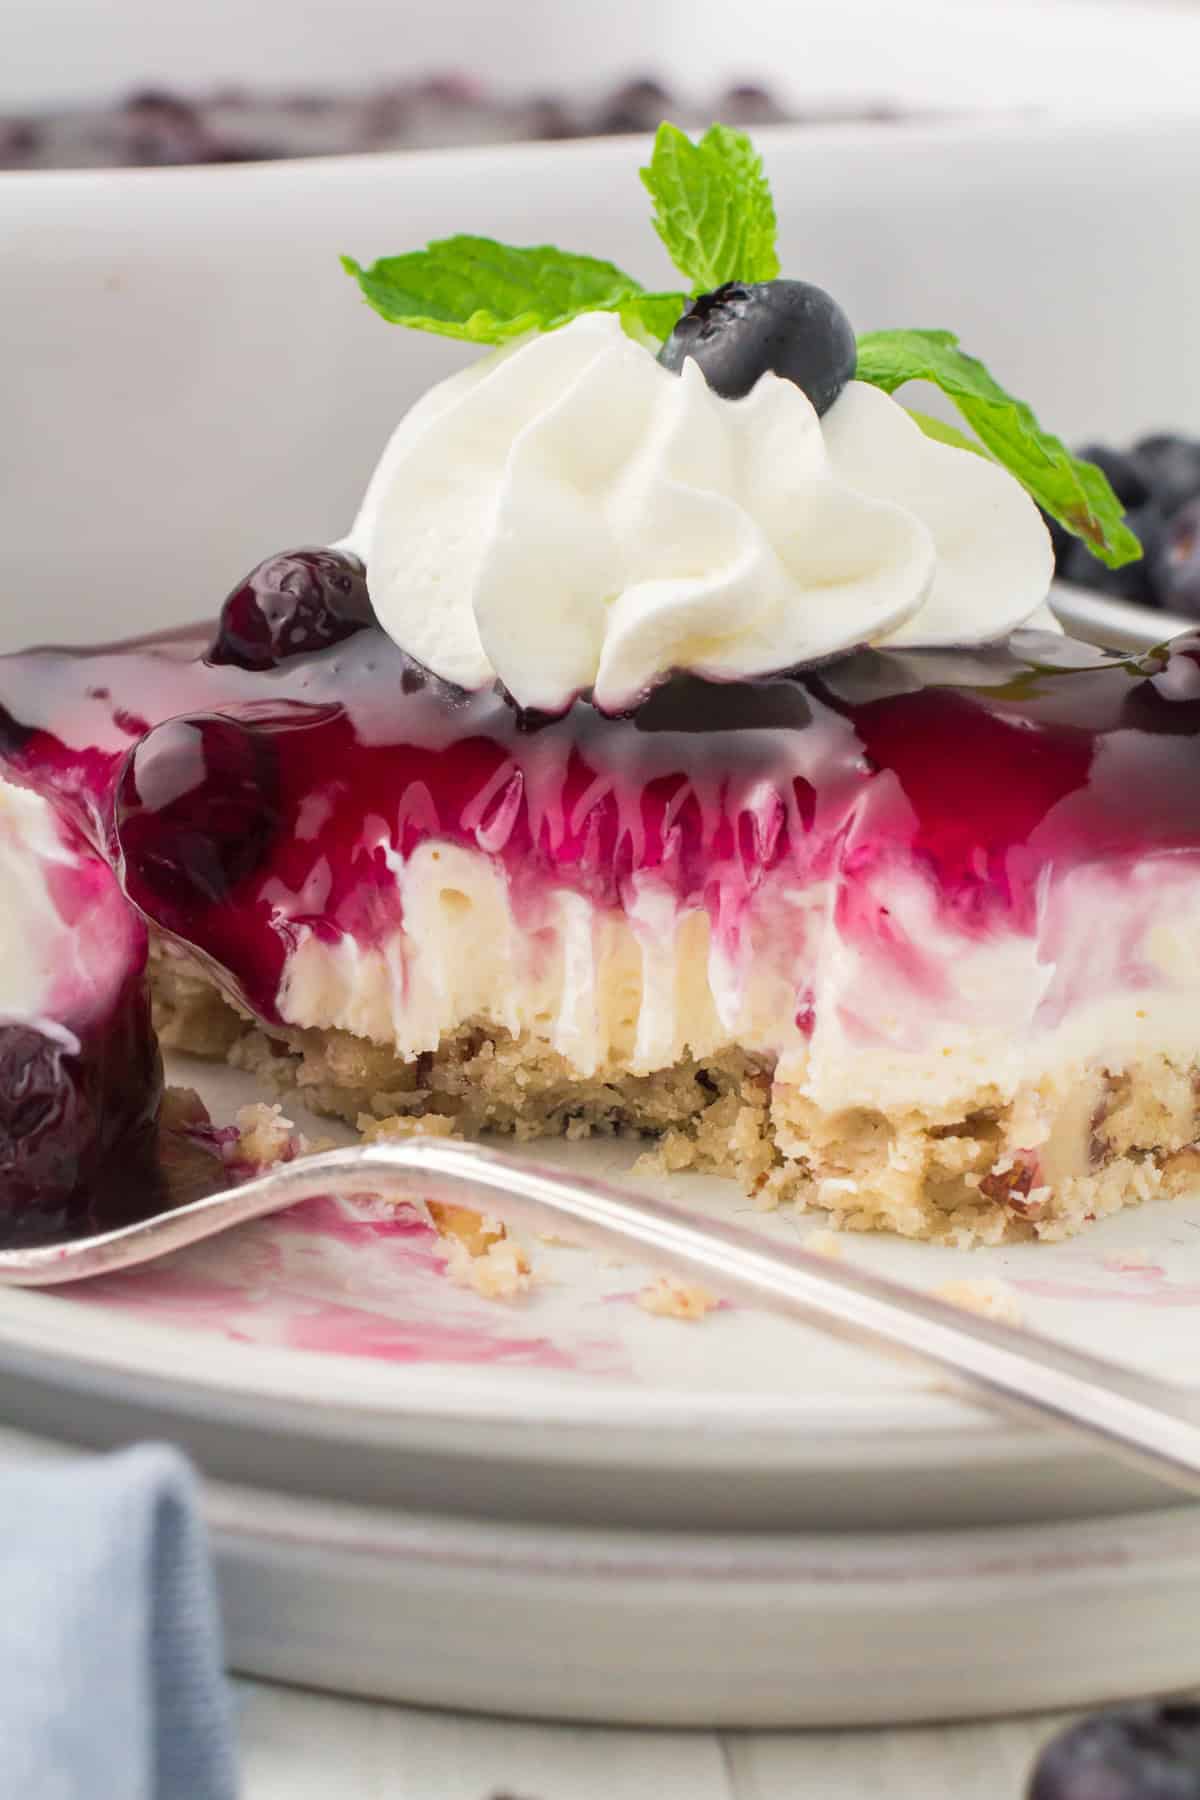
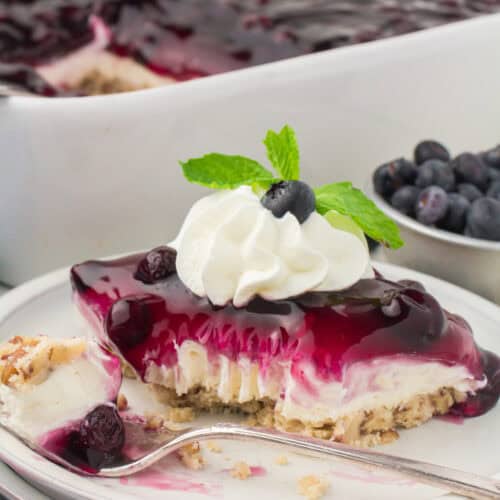
Whip up a dreamy blueberry yum yum dessert with blueberry pie filling, cream cheese, Cool Whip and a buttery pecan crust. Also known as blueberry delight or blueberry lush, this is an easy layered dessert that you can make ahead. Plus, I’ll even show you how to get the perfect slice!
If you’ve been blueberry picking and need to use up your blueberries, I’ve got the perfect blueberry yum yum dessert recipe for you. This no bake dessert is a twist on my mom’s classic cherry crunch, using blueberry pie filling instead of cherry pie filling. It’s just as dreamy as fresh strawberry yum yum and blueberry cobbler.
While the pecan pie crust that I like to use does require bake time, the rest of this recipe is no bake. We’ll talk about other easy no bake crust options too, just in case you don’t really want to bake a crust.
Ingredients & Substitutions Notes
Keep in mind that you can this recipe any flavor you want by changing out the pie filling. Like I said earlier, this is a spinoff of my mom’s classic cherry delight, and my family loves strawberry yum yum even more. I’ve even made peach delight, and even a pumpkin delight for Thanksgiving.
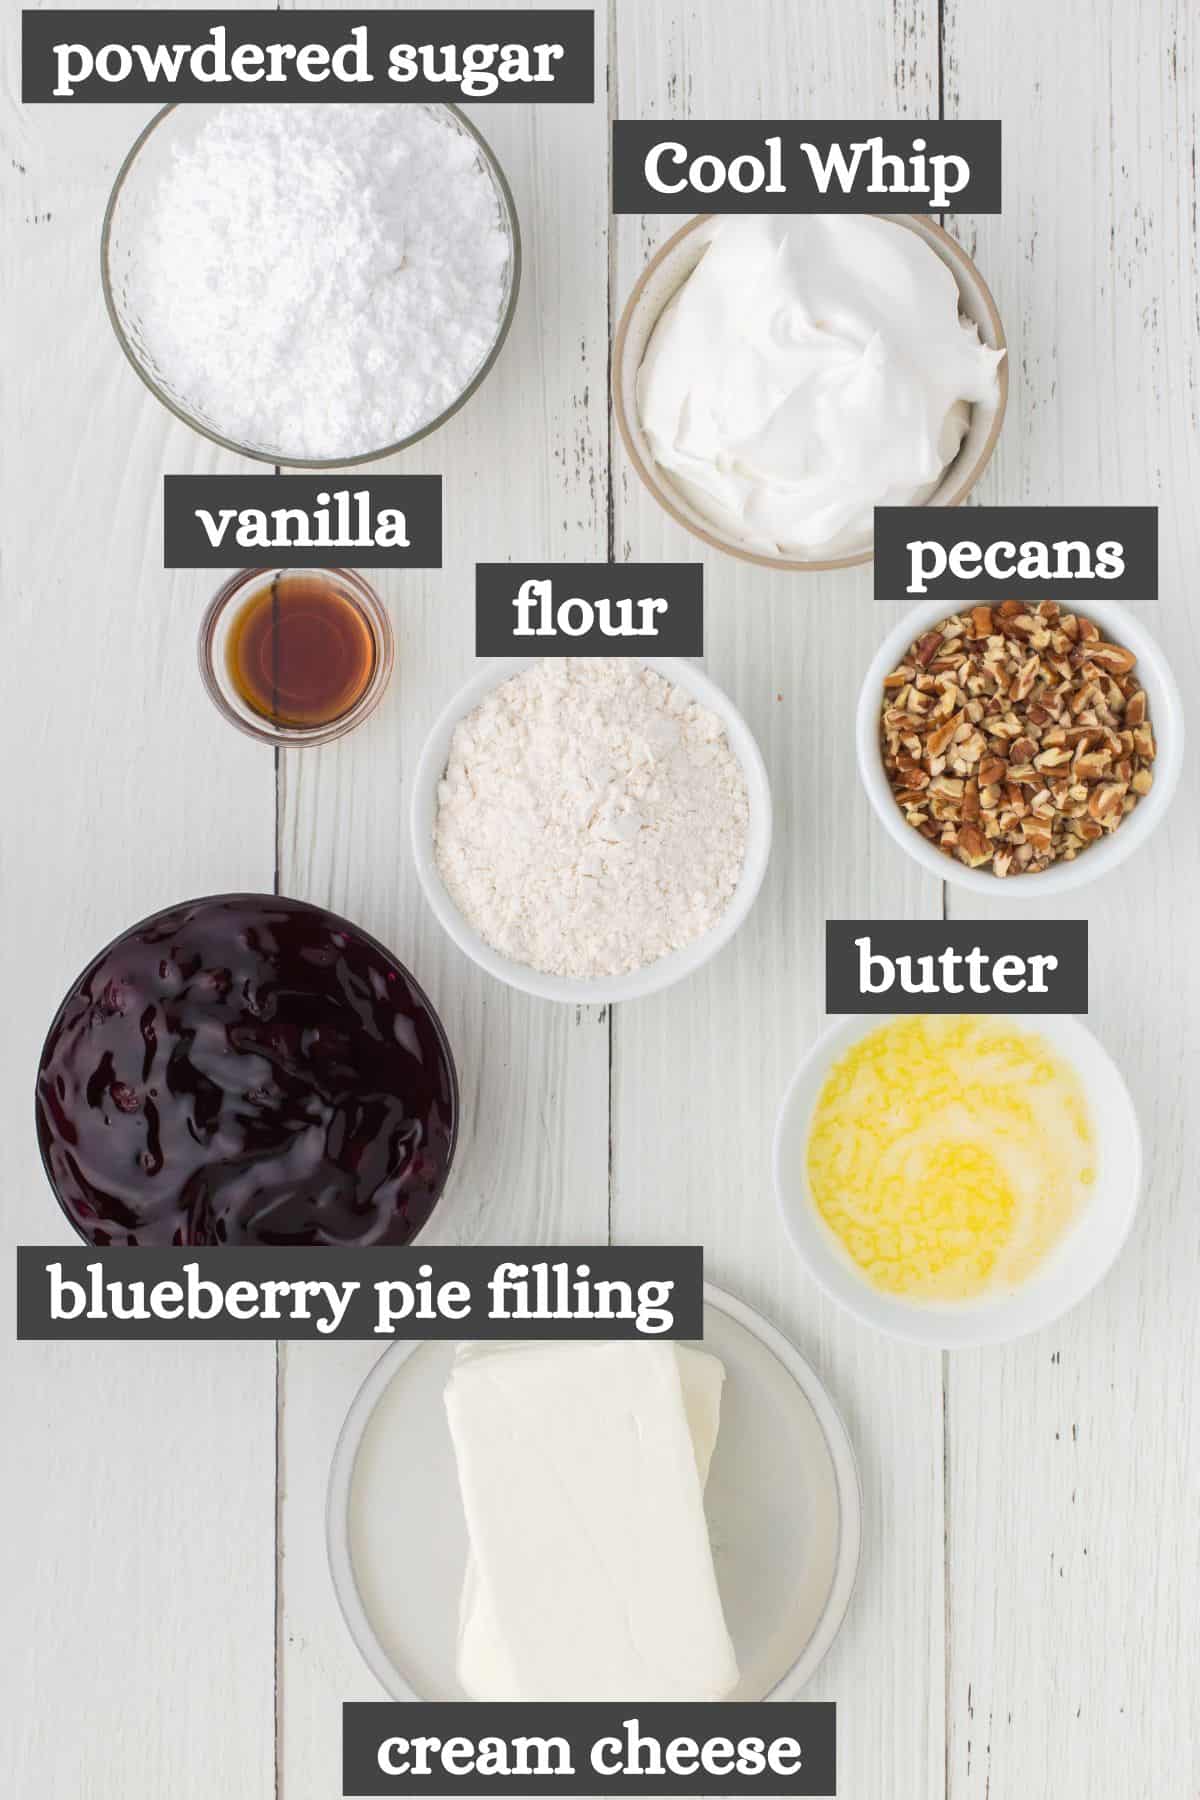
- Pecan Crust – You’ll just need all-purpose flour, salted butter and chopped pecans for my pecan crust recipe. Even though it’s baked, this is my favorite crust for no bake desserts because the nutty pecan flavor pairs so well with the sweet blueberry pie filling. We’ll also talk about alternative crust options below if you want something truly no bake.
- Cool Whip – I recommend Cool Whip for picture-perfect, clean slices. I’ve also used Dream Whip, which is like pudding, only lighter in texture.
- Powdered Sugar – You’ll need a little bit of powdered sugar, or confectioners sugar, for the cream cheese filling layer.
- Cream Cheese – I recommend using fall fat cream cheese to make blueberry delight; however, you can use Neufchatel cheese as well.
- Blueberry Pie Filling – While I prefer to make homemade blueberry pie filling with fresh or frozen (but thawed) blueberries, you can just buy cans of blueberry pie filling if you’d rather. Canned filling works well, and it’s a lot quicker if you’re in a pinch.
Alternative Crust Options for Blueberry Yum Yum Dessert
You don’t have to use the pecan crust if you’d prefer a truly no bake crust option. Here are some other crusts that work just as well…
- Graham Cracker Crust – Crush graham crackers into graham cracker crumbs to make a graham cracker crust. This is one of my favorite no bake options.
- Pecan Sandies Crust – Make it like you would a graham cracker crumbs crust, but with crushed Pecan Sandies cookies instead.
- Easy Shortcut No-Roll Pie Crust (without nuts)
- Vanilla Wafer Crust – Again, use Nilla Wafer crumbs to make this crust, instead of graham cracker crumbs.
- Buy a store bought crust and press pecans into it.
How to Make This Blueberry Yum Yum Recipe
Since this is a layered blueberry dessert, we’ll start with the bottom layer, the pecan crust, first. Then I’ll show you how to make the cream cheese filling, and how to layer everything together in a baking dish. You’ll also need to make your blueberry pie filling, unless you have a can from the store.
How to Make the 3-Ingredient Pecan Crust
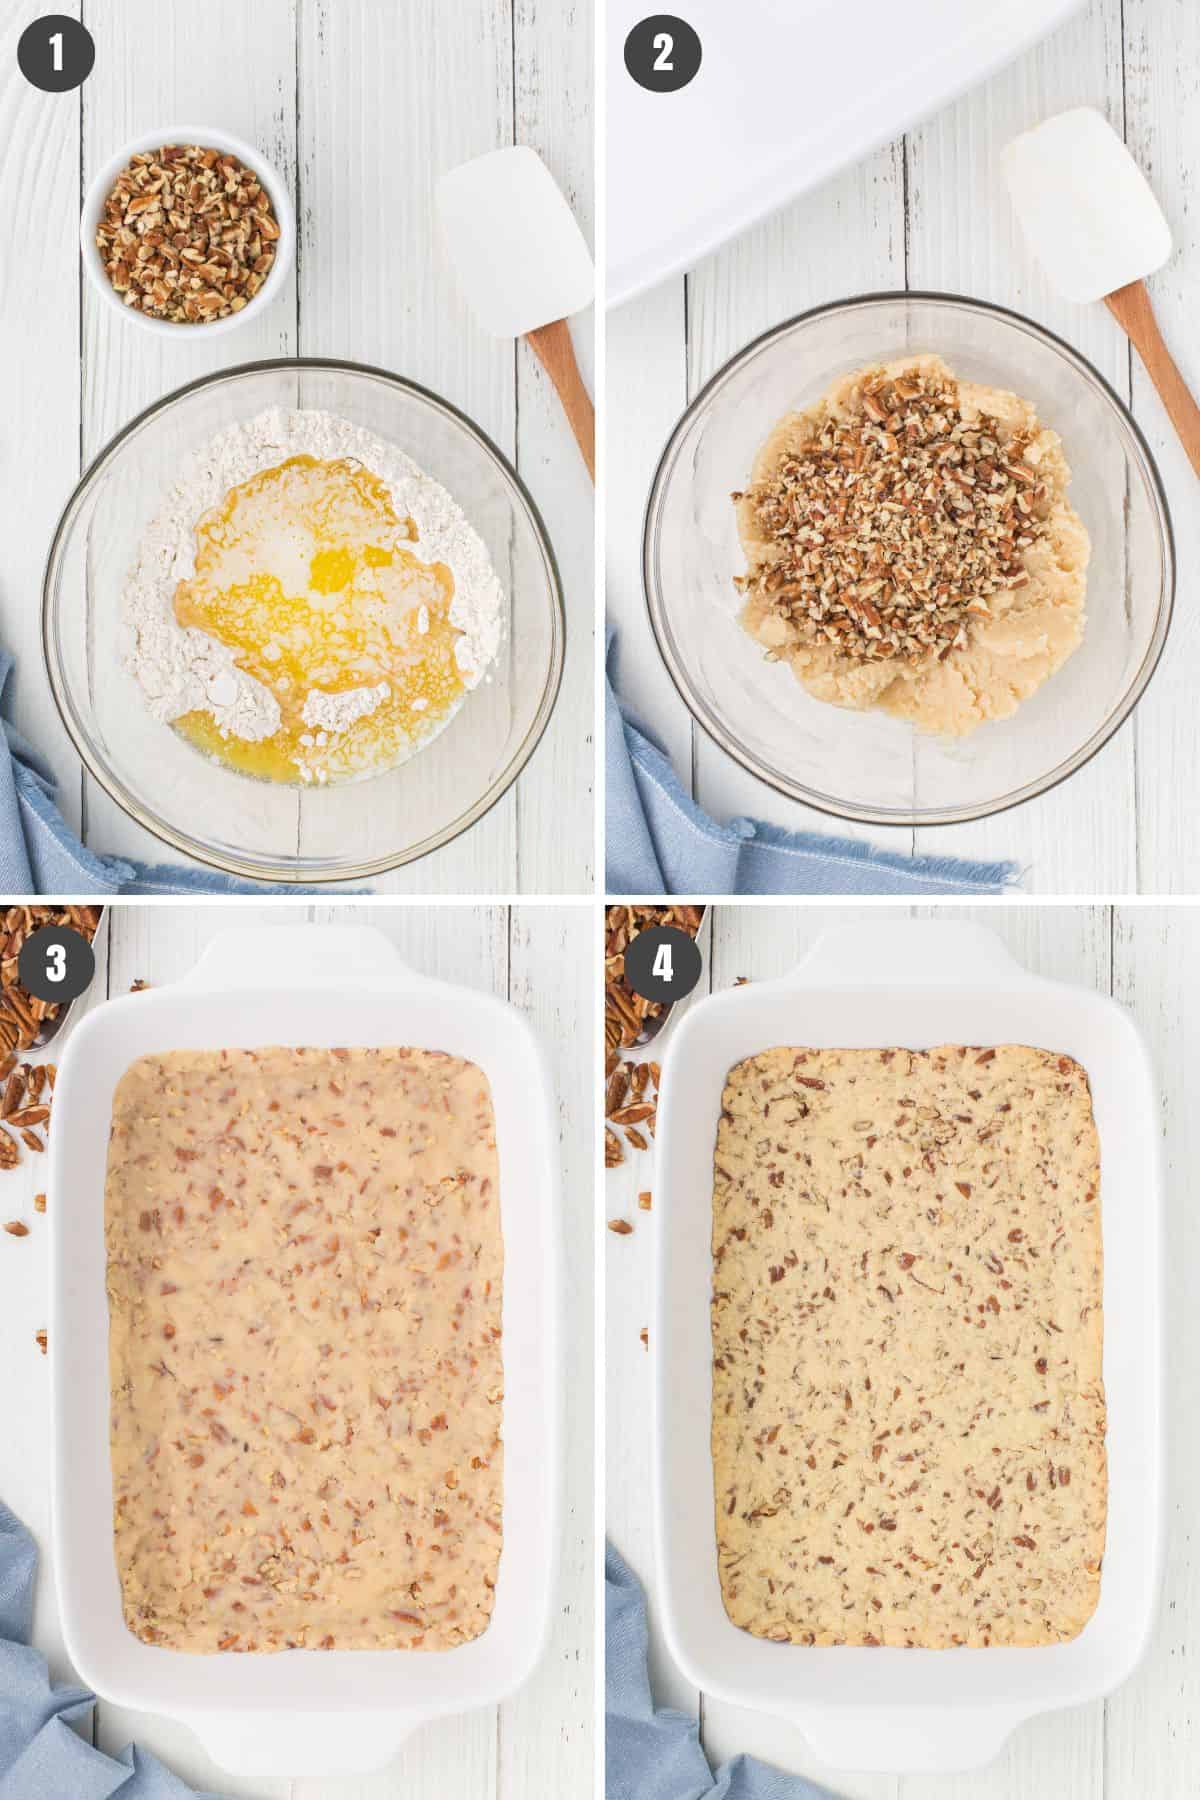
If you don’t mind baking the crust, this pecan crust is so simple and easy. It requires just a few minutes of bake time, and only 4 steps…
- In a large mixing bowl, mix together the melted butter and flour, forming a soft dough.
- Stir the chopped pecans into the dough until they’re all mixed in.
- Press the dough into a 13″x9″ baking dish.
- Bake at 350° F for about 20 minutes, or until the edges of the crust begin to turn a nice golden brown (oven times may vary). Then let the crust cool before adding any filling.
How to Make the Cream Cheese Filling for No Bake Blueberry Dessert
You can use either Cool Whip or prepared Dream Whip in this recipe. I typically use Cool Whip for convenience, but Dream Whip does give a slightly lighter, fluffier texture. If you choose to prepare Dream Whip to use, here’s a quick tutorial for how to make Dream Whip.
- In a large bowl, beat the cream cheese by itself ’til smooth. I like to use an electric hand mixer so it’s not lumpy.
- Add in the powdered sugar, vanilla extract, and Cool Whip.
- Whisk ’til the mixture is smooth and creamy.

Layering Your Blueberry Yum Yum Recipe
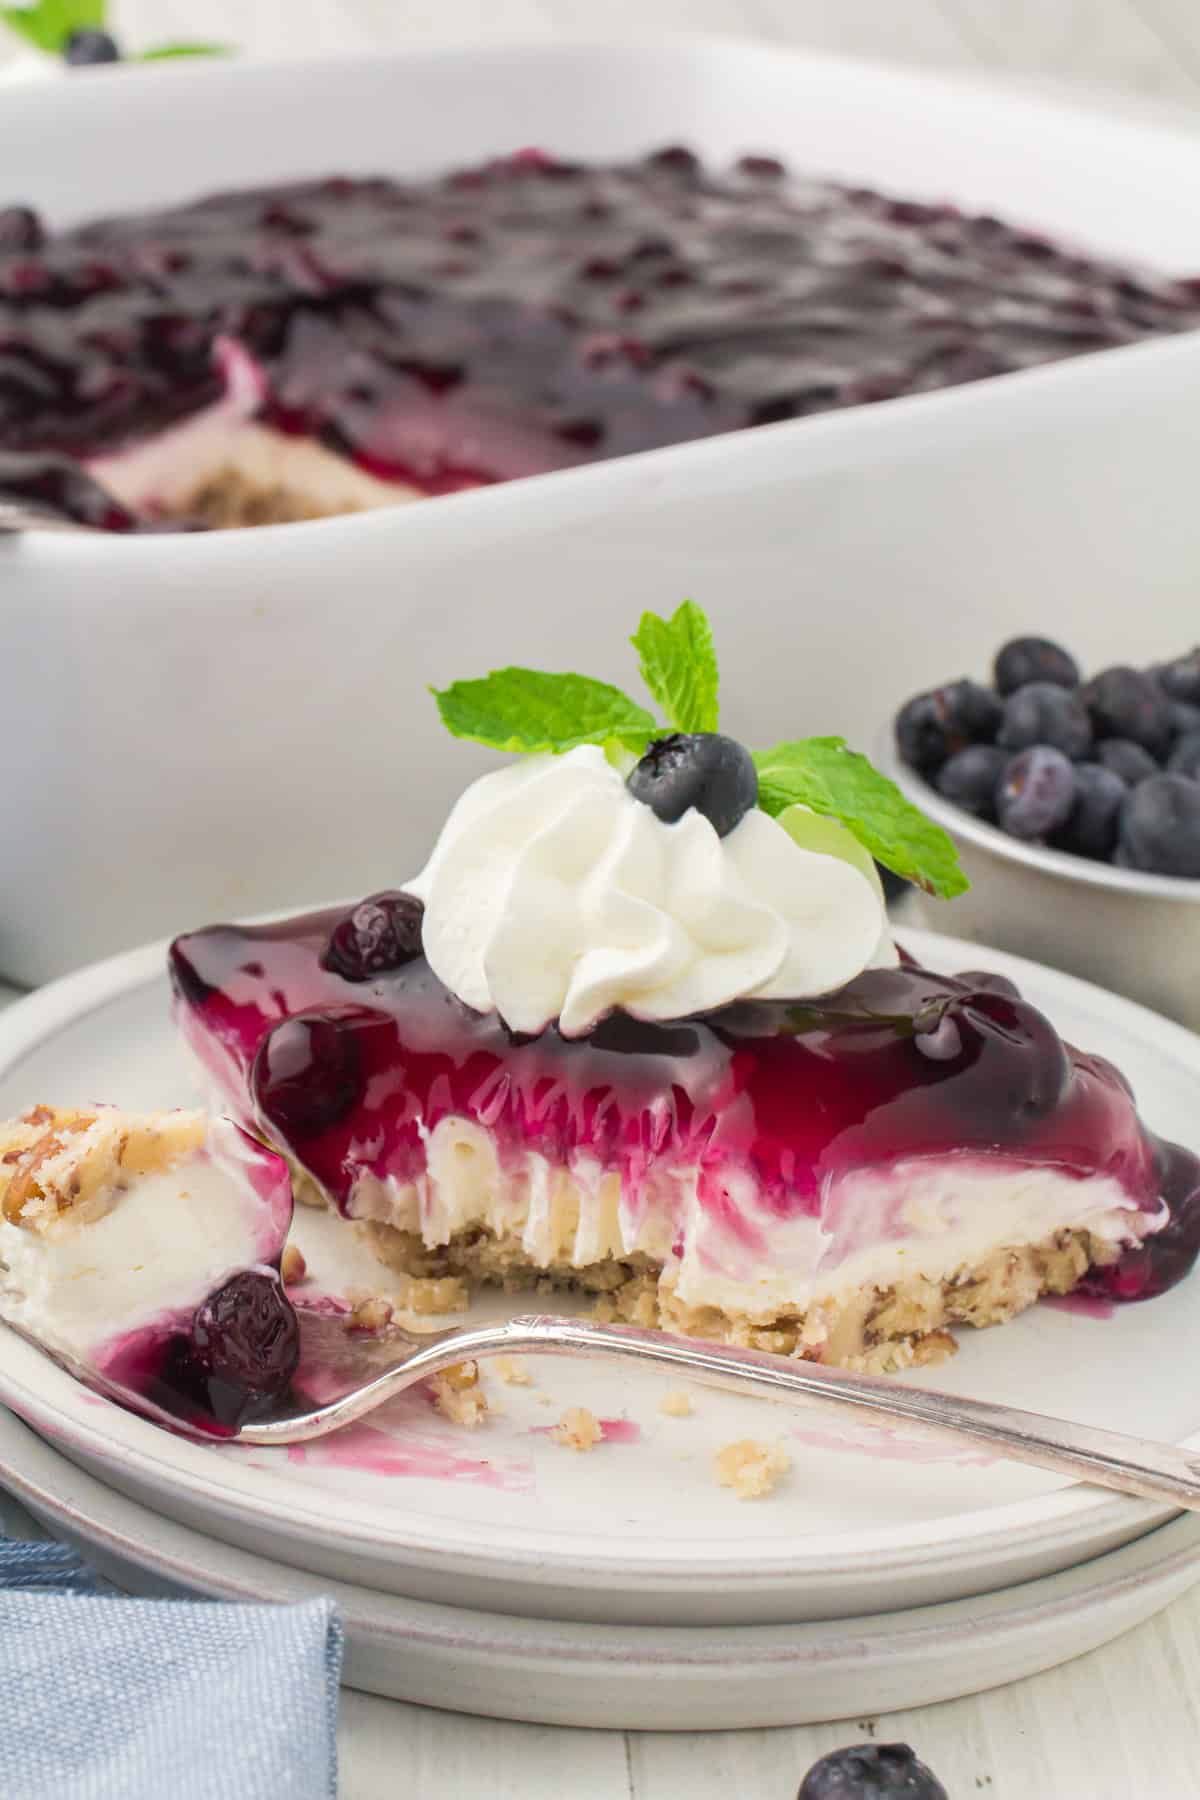
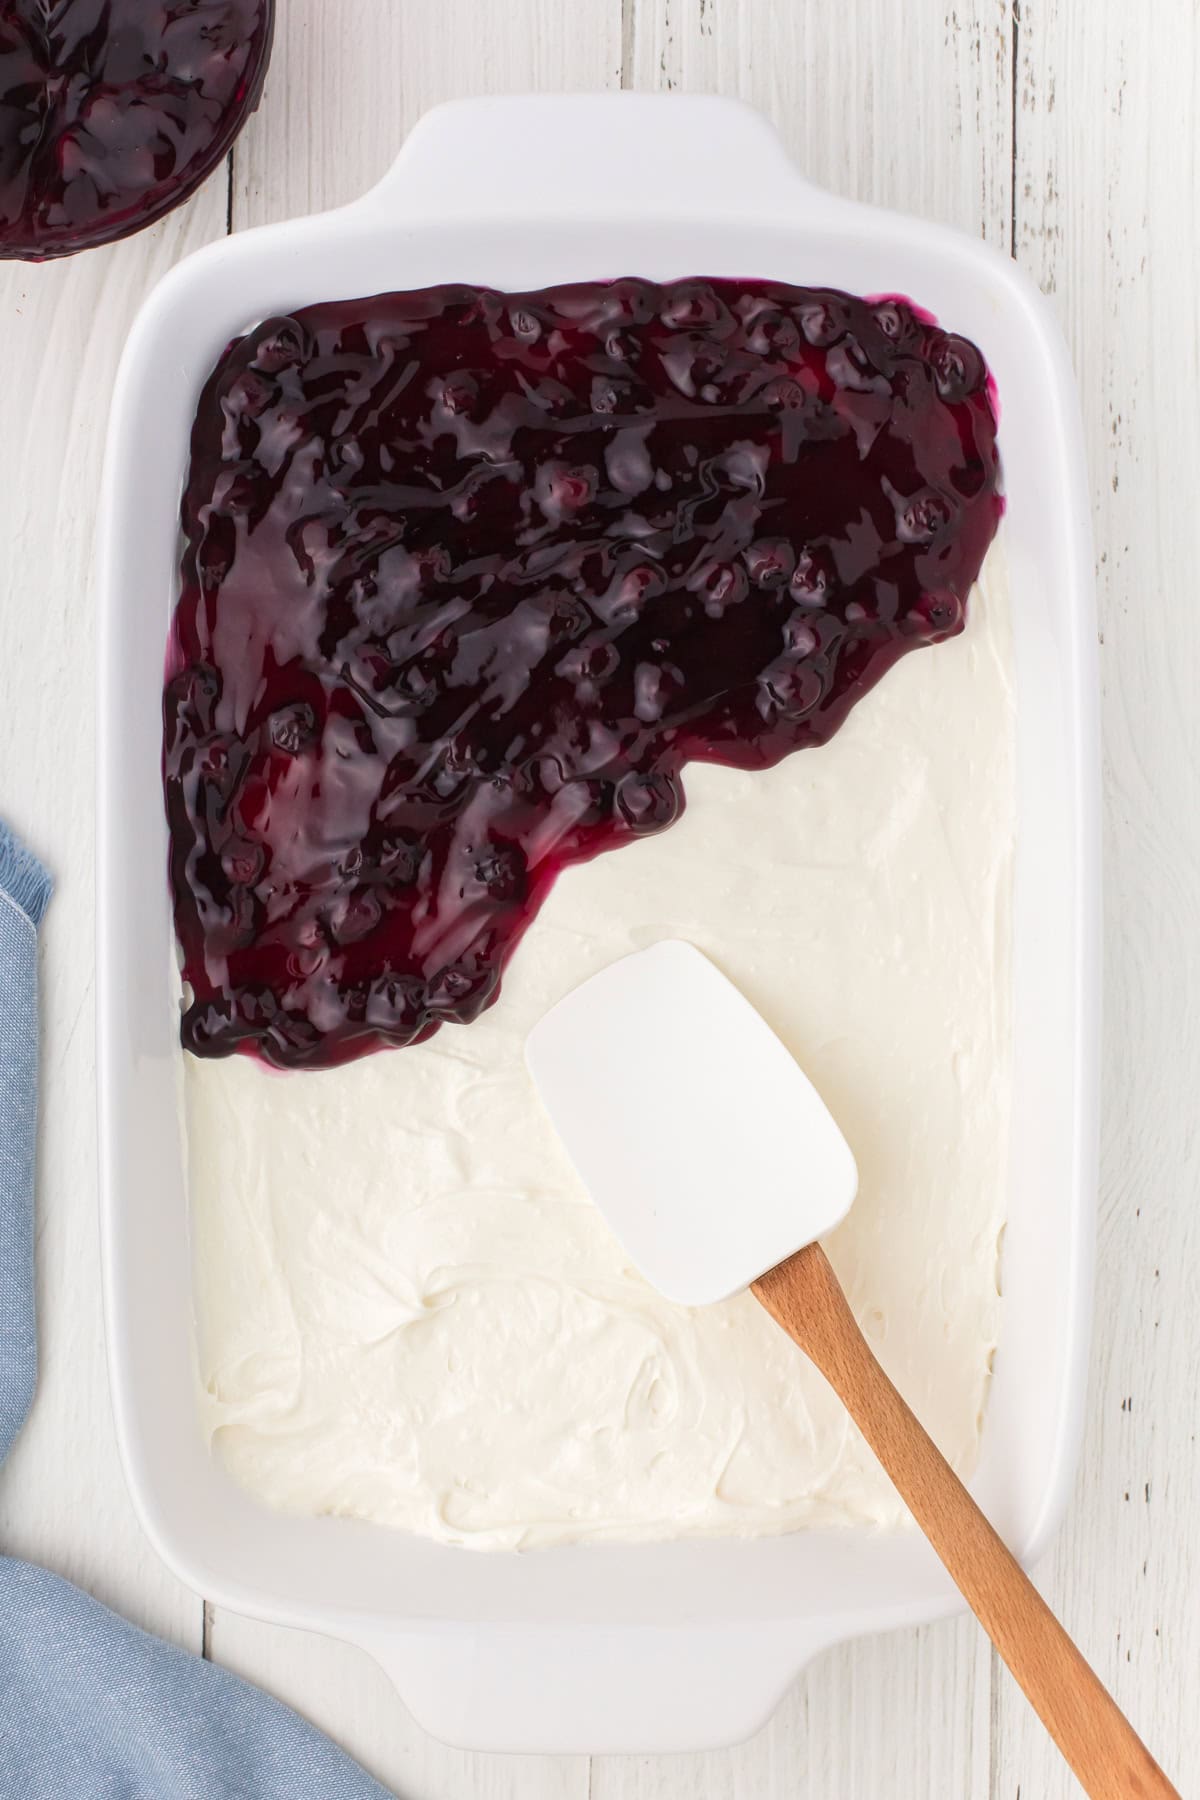
Spread the cream cheese filling onto the prepared and cooled pie crust. Then top it all off with a layer of blueberry pie filling for a sensational blueberry topping. Before serving, cover your no bake blueberry dessert with plastic wrap, and allow it to chill in the fridge for at least 4 hours, or overnight if possible.
And that’s it! You can save back a little bit of Cool Whip for the top, or maybe add a dollop of homemade whipped cream on each slice you serve. When you’re making this layered dessert, you can also split the Dream Whip filling (and the blueberry topping) in half to make 2 smaller pies.
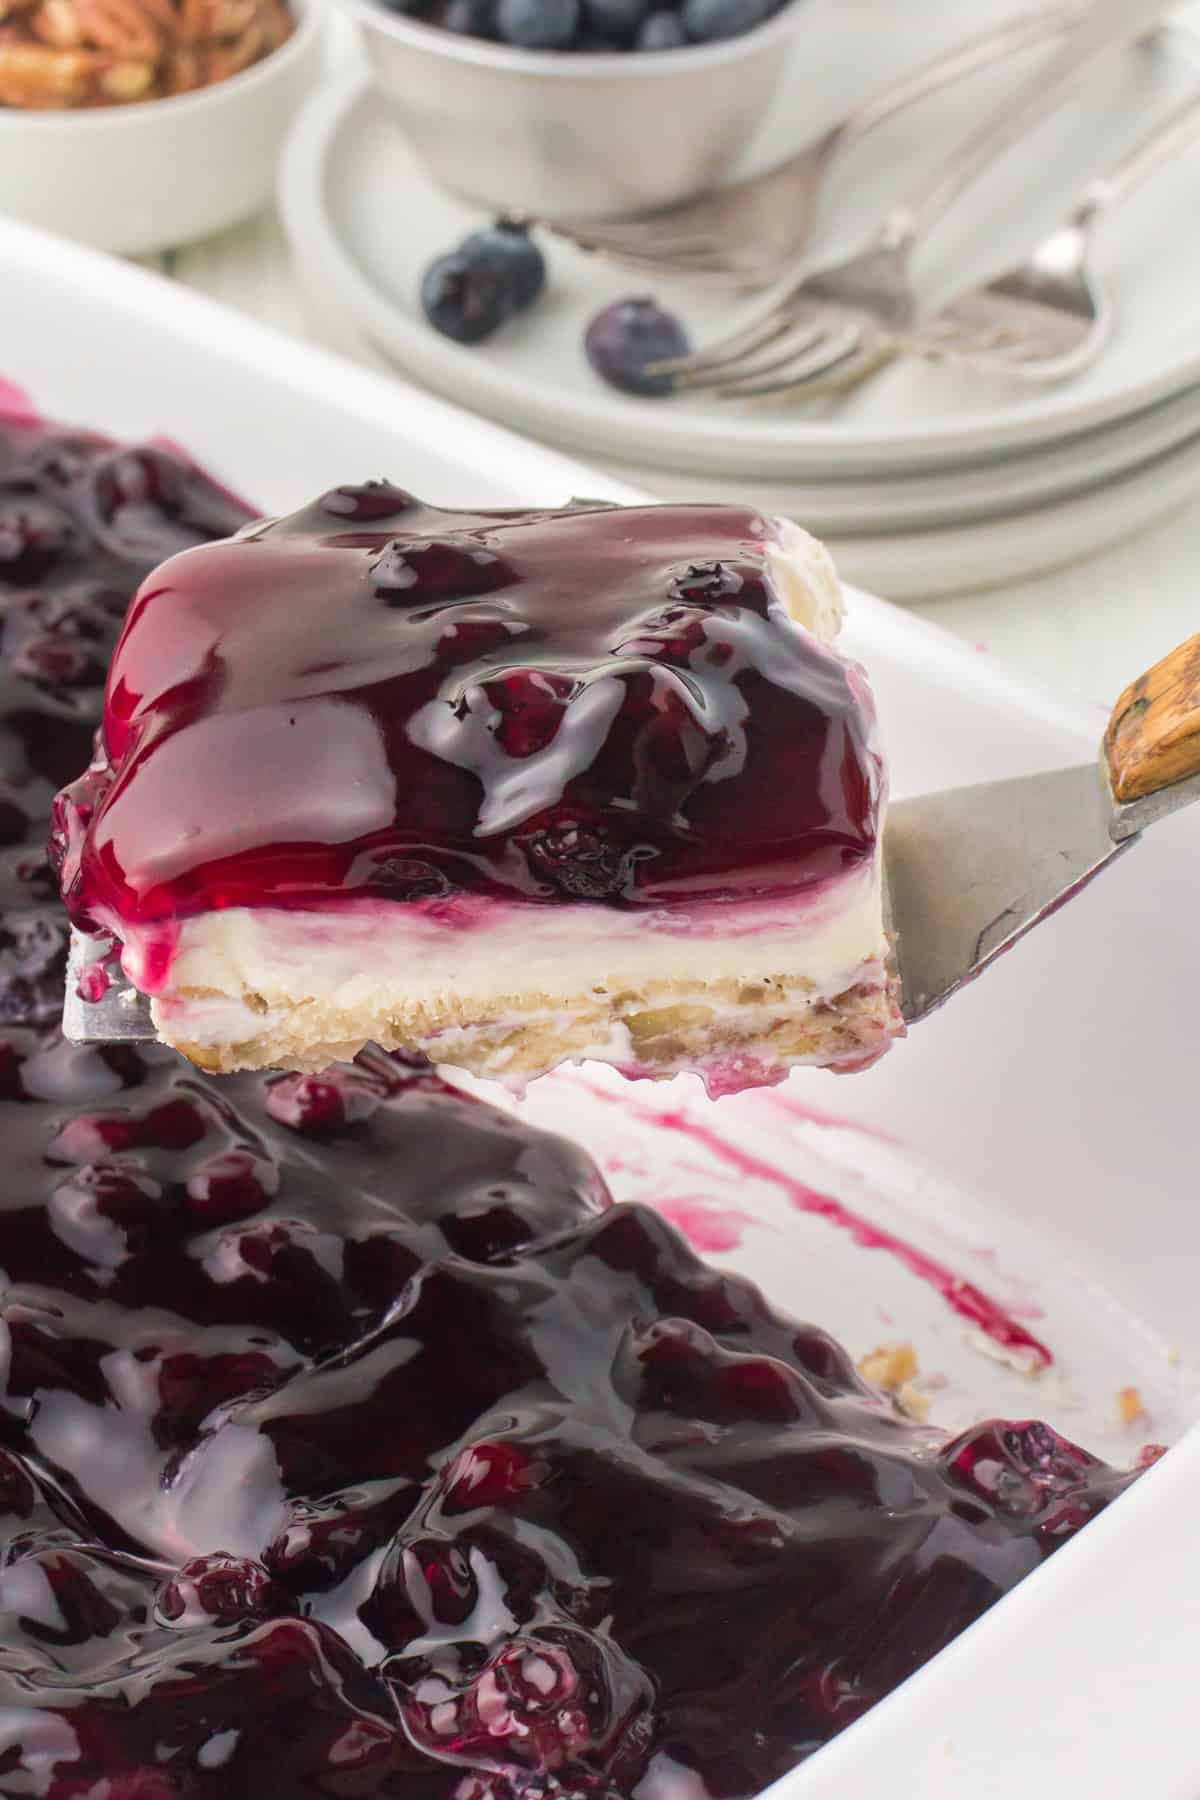
How to Get a Perfect Slice of Blueberry Yum Yum
The key to getting a perfectly clean, picture-perfect slice of blueberry yum yum every time is to make sure that it is thoroughly chilled. It’s so important that you let it chill for at least 4 hours, preferably overnight. Then slice it cold.
It also helps to use a sharp knife to cut it and a metal spatula to scoop it out. I’d recommend wiping both off with a damp cloth in between each slice.
Expert Tips and Recipe FAQ’s
Yes, you can use fresh blueberries to create your own blueberry pie filling. But I don’t recommend using just fresh blueberries all by themselves. Raw berries are too juicy, and it’ll leak through your other layers. Not to mention, pie filling just tastes better.
If you’re not quite ready to serve it, just cover it and chill in the refrigerator. It should keep in the fridge for 2-3 days, as long as you keep it covered. Once you’re ready to serve, I wouldn’t recommend letting it sit out at room temperature for more than 2 hours, because it has dairy.
Yes, you can freeze this no bake blueberry dessert. I recommend covering it with a layer of plastic wrap and then a layer of aluminum foil. Then freeze it before adding the pie filling, especially if you’re using canned pie filling. Then you can just add the pie filling later on after you’ve let it thaw out in the refrigerator overnight.
More Blueberry Dessert Recipes
If you’re a fan of blueberry desserts and sweets and you love this creamy blueberry delight recipe as much as I do, you will love these recipes…
- Blueberry Cream Cheese Mini Tarts
- Easy Homemade Blueberry Muffins
- Blueberry Pancakes
- Cream Cheese Blueberry Pie – Anyone who loves cheesecake will love this delicious dessert.
If you try this recipe, why not leave a star rating in the recipe card right below and/or a review in the comment section further down the page? I always appreciate your feedback. You can also follow me on Pinterest, Facebook, Instagram, and YouTube. And subscribe to my email list too!
Blueberry Yum Yum Recipe
Equipment
- Electric Hand Mixer optional
Ingredients
Pecan Nut Pie Crust:*
- 12 tablespoons salted butter melted
- 1 1/2 cups all-purpose flour
- 1 cup pecans chopped
Cream Cheese Filling:
- 16 ounces cream cheese softened
- 2 cups powdered sugar
- 2 teaspoons vanilla extract
- 3 cups Cool Whip (or Dream Whip)
Blueberry Topping:
- 42 ounces blueberry pie filling
Instructions
Pecan Crust:
- Pre-heat the oven to 350° F.
- In a large mixing bowl, mix together the melted butter and flour, forming a soft dough.
- Stir the chopped pecans into the dough until they’re all mixed in.
- Press the dough into a 9×13 baking dish.
- Bake at 350° F for about 20 minutes, or until the edges of the crust begin to turn a nice golden brown (oven times may vary). Then let the crust cool before adding any filling.
Cream Cheese Filling:
- In a large bowl, beat the cream cheese by itself 'til smooth. An electric hand mixer makes this step easier.
- Add in the powdered sugar, vanilla extract, and Cool Whip, whisking 'til the mixture is smooth and creamy.
- Spread the mixture on top of the prepared crust with a rubber spatula.
Blueberry Topping:
- Spread the blueberry pie filling on top of the cream cheese filling.
- Cover your no bake blueberry dessert with plastic wrap, and allow it to chill in the fridge for at least 4 hours, or overnight if possible, before serving.
- When ready to serve, you can add an extra dollop of whipped topping to each serving if desired.
Video
Notes
- Graham cracker crust – with or without bake time.
- Pecan Sandies crust – Make it like you would a graham cracker crust, but with crushed Pecan Sandies instead.
- Easy shortcut no-roll pie crust (without nuts)
- Vanilla Wafer crust – Again, use crushed vanilla wafers instead of graham crackers.
- Buy a store bought crust and press pecans into it. (This would likely make a smaller pie.)


Can you substitute almond milk versus whole milk?
Lisa, I can’t see why not! I’ll bet it would turn out great!
So easy to make…no cooking…so good…Love Blueberries, Cherries, Apples, Blackberries…Black Raspberries…Good Good
That’s awesome! Thank You for the great feedback.
I’m going to the store now yo get what I need. Can’t wait to make this
That sounds great, Donna! Be sure to report back and let us know how it turns out!
Could I use fresh blueberries?
Lynn, if you want to use fresh blueberries, I would recommend using them to make a homemade blueberry pie filling for this recipe. Just fresh blueberries in place of the bought pie filling wouldn’t taste the same. I hope this helps!
Can cool whip be subbed for the dream whip?
Yep, that should work just fine!
I recall tasting a dessert like this many years ago. It was also called Blueberry Delight. It’s so delicious and a perfect dessert to serve during the summer months. Buying the ingredients today!
Yep, this dessert is actually sometimes called blueberry delight. It is perfect for the summertime!
Where do I find Dream Whip?🤔
Dream Whip is sold in almost every grocery store. I get mine from Walmart.
Mt family love it
That’s great, Kim! I’m glad they liked it.
Haven’t tried it, but it looks Yummy & Sounds delicious.?Plan on making soon. Thank You for sharing
Thank You, Jacqueline! I’m glad you liked it.
Yummy 😋
Thank You, Tammie!