
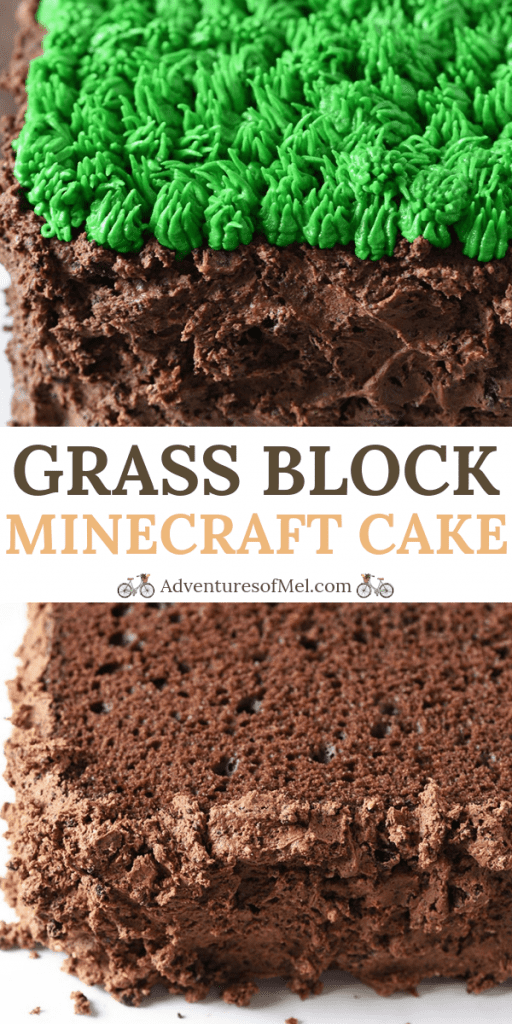
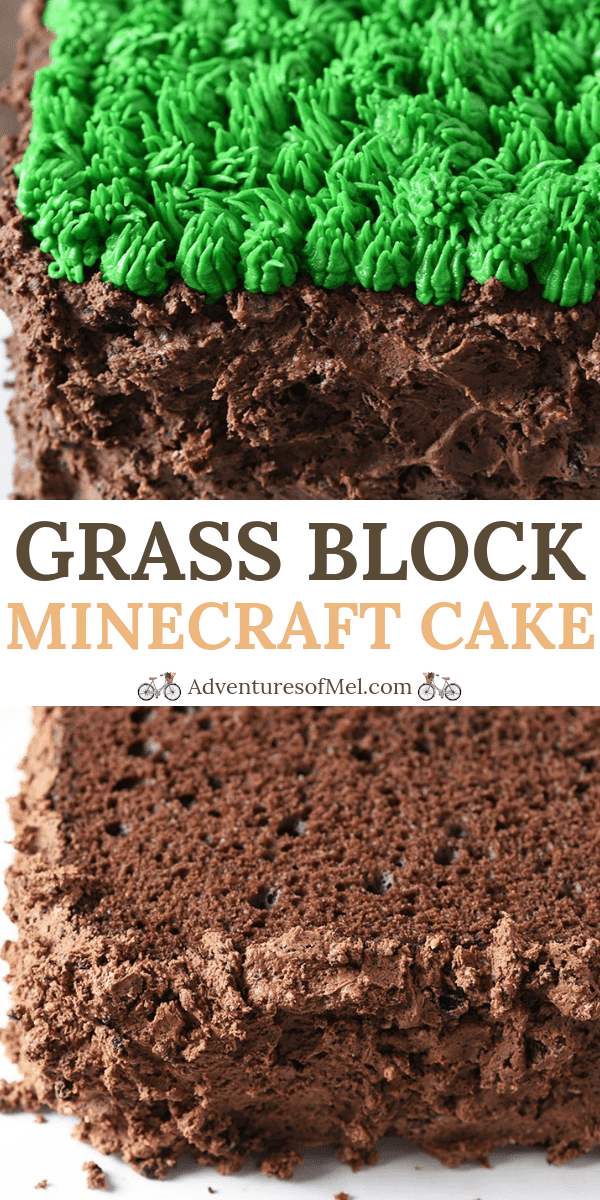
How to make an easy, no fail, Minecraft grass block cake. Simple recipe tutorial for a square cake with buttercream, awesome for kids and birthdays!
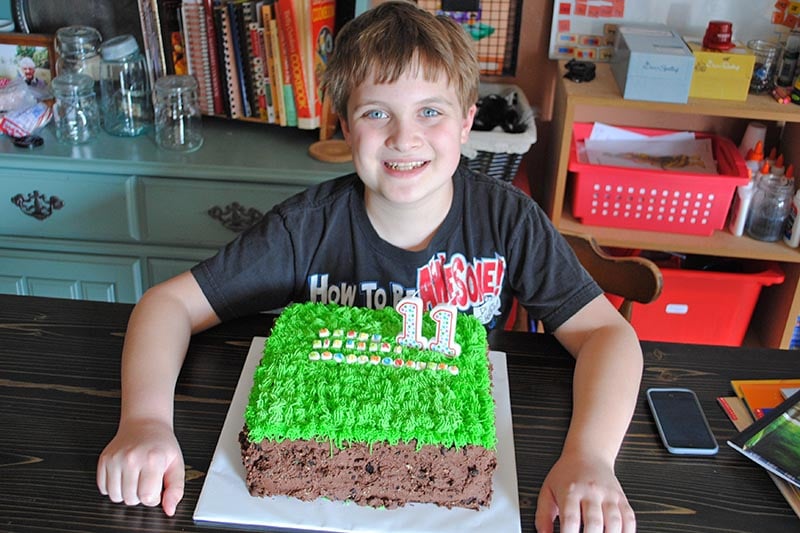
It makes sense that my oldest would request a Minecraft grass block cake for his 11th birthday way back when. Especially considering how much my boys AND my husband all love to play the game.
The memories this brings (he’s now a teenager)… When he requested a Minecraft birthday cake, I mulled it over for a bit and sifted through all sorts of Minecraft cake ideas, figuring out the best way to make this cake.
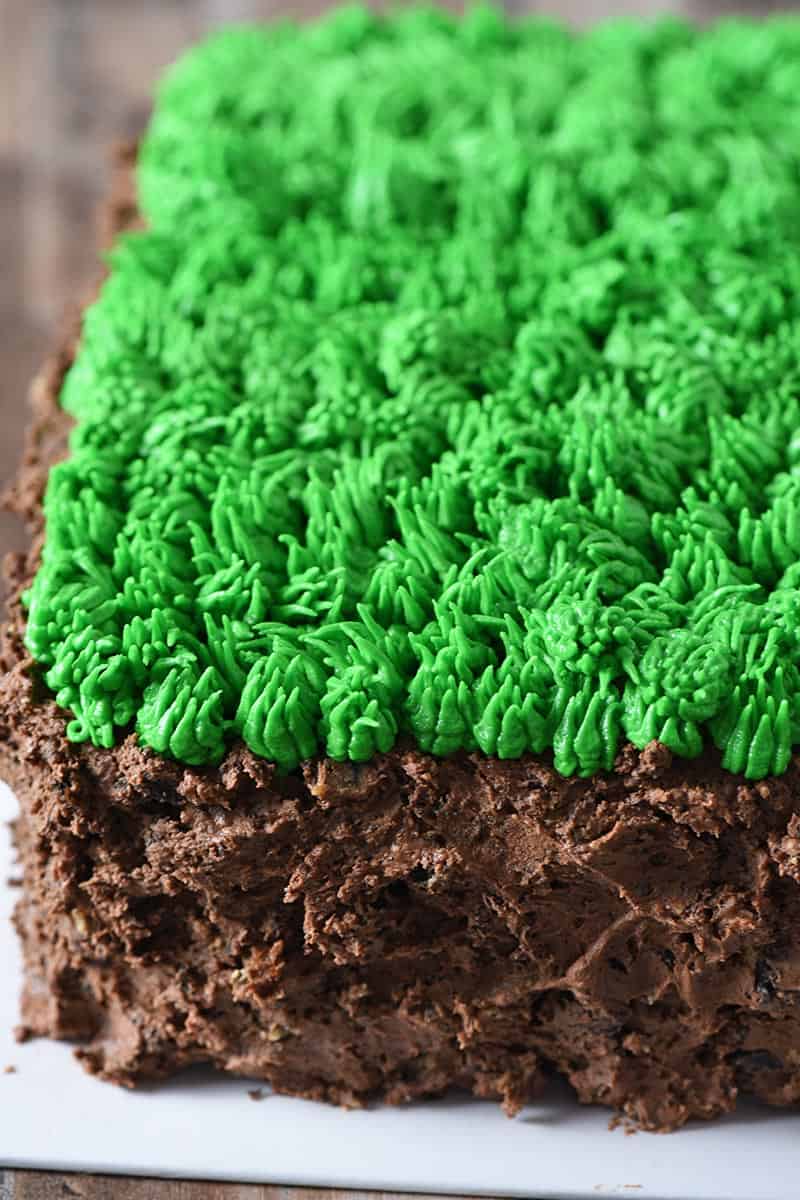
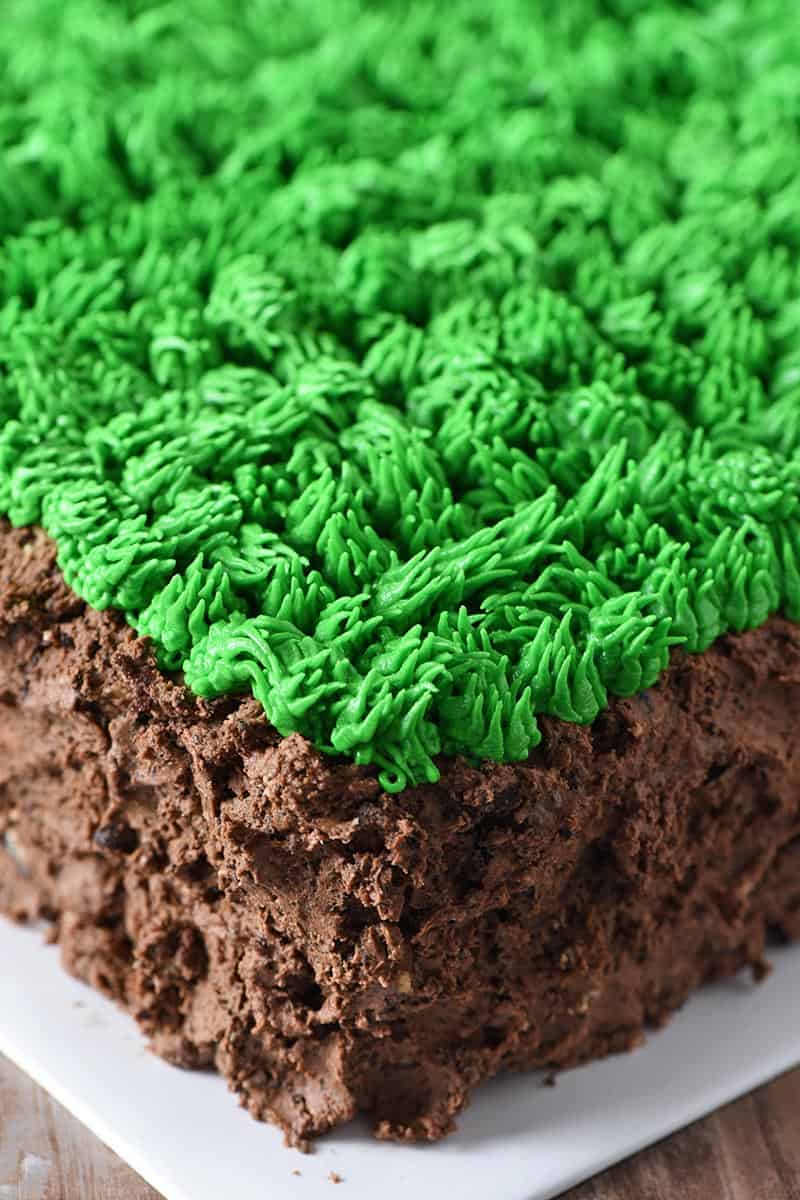
Since he wanted a grass block, I decided to use chocolate buttercream for the dirt part of the block. And then I used a regular buttercream icing for the grass, only I colored it green.
Creating the grass is the most time consuming part of the entire cake, but it’s so easy with one handy dandy little cake tip.
The thing about this cake that I love… You don’t even have to do anything else to it, in order for it to look good. The dirt and the grass are the decoration, so you don’t even really need a cake topper unless you just want one.
It was a fun project and even more fun to see the smile on his face when it was all said and done.
Related Recipes: Minecraft pig cake and another very easy Minecraft cake. Or make scrumptious Minecraft cupcakes instead of cake.
Kitchen Tools You’ll Need to Make a Minecraft Grass Block Cake:
- 10-inch Square Cake Pan – Since you’re creating a grass block, you’ll want 2 square shaped pans.
- Cake Board and Freezer Paper – You’ll place the baked cake on a cake board wrapped in freezer paper for decorating.
- Icing Spatula – This comes in handy for spreading the icing between cake layers and around the sides of the cake.
- Pastry Bag – Place your icing in the pastry bag.
- Wilton Grass Tip and Coupler – This tip allows you to create grass out of icing.
- Candles – If you’re making a birthday cake, add candles or whatever decorations you want.
To Use Fondant or Not to Use Fondant
If you’re trying to figure out how to make a Minecraft cake without fondant, you’ve come to the right place.
There is no fondant whatsoever in this recipe. In fact, I have a love/hate relationship with fondant, and in my opinion, it never tastes as good as frosting.
That said… Here are a few tips for how to make a most beautiful grass block cake.
Tips for How to Make This Minecraft Cake Recipe
Before you start to decorate, you need to bake the cakes and make the frosting.
- Bake 2 10-inch square cakes (the grass block should be square-shaped). Jacob wanted chocolate, so I used 2 chocolate cake mixes to make the process easier.
- While the cakes are baking, it’s a good time to mix up the icing. I use my favorite recipes for buttercream frosting and chocolate buttercream frosting. So delicious!
Important: Be sure to save back about 1 cup of the chocolate buttercream to spread between the two cakes.
- The regular buttercream icing needs to be green, so add enough green food color until you’re satisfied with the shade you have.
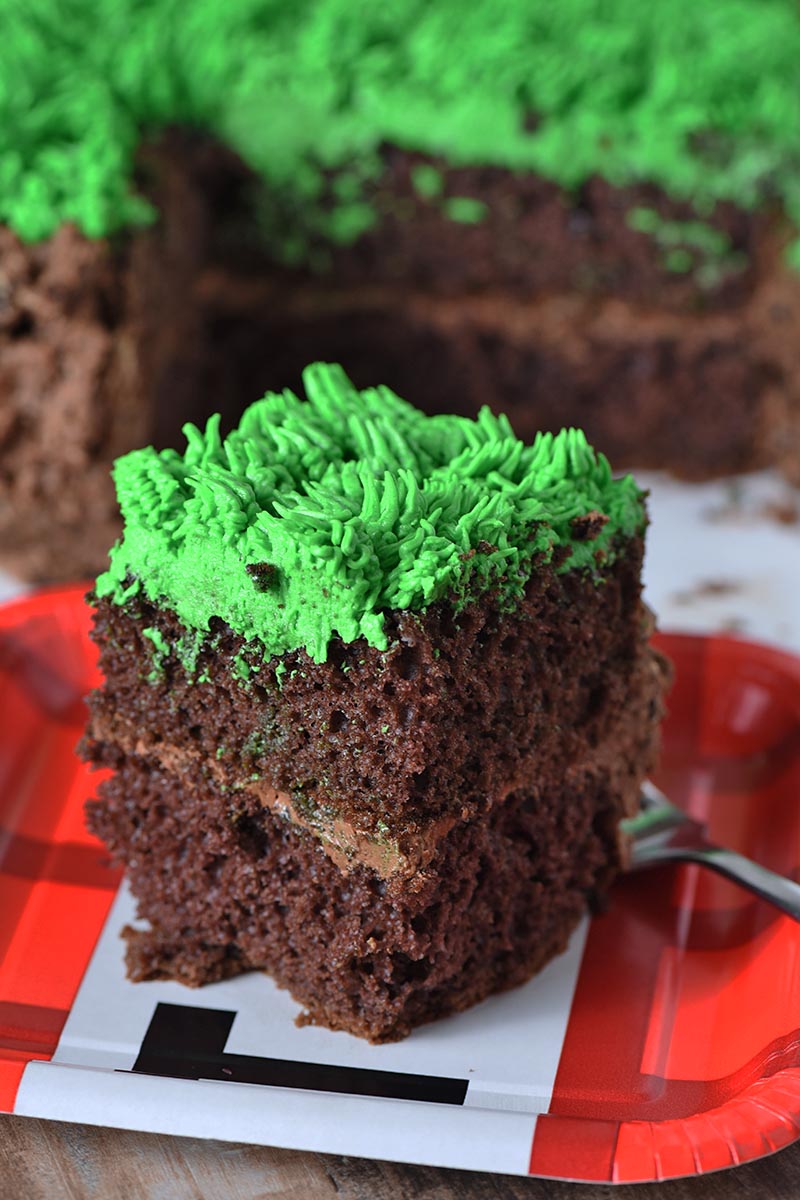
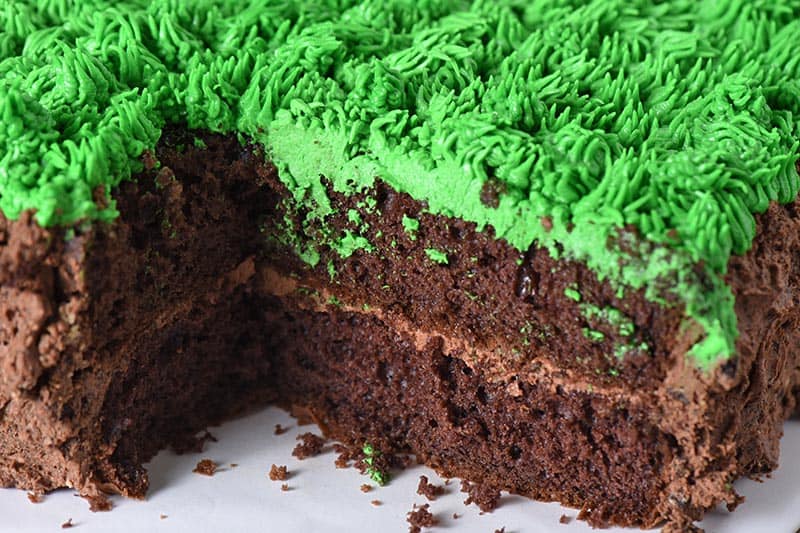
- Then the secret to making the rest of the chocolate buttercream icing look even more like dirt and mud, is to crush up Peanut Butter Oreos and mix them in with the icing. Combined, this makes the perfect texture for the dirt part of the grass block.

- When the cakes have cooled, place them on a square cake board that’s been wrapped in white freezer paper.
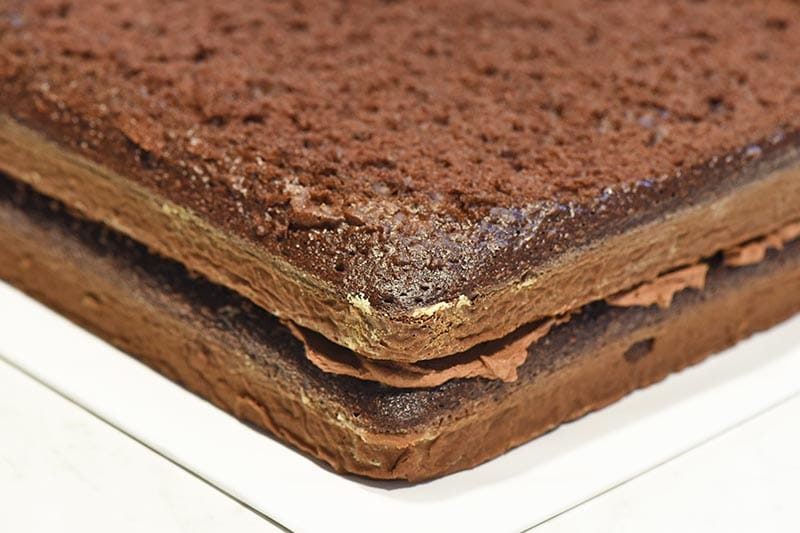
- An optional step is to slice the rounded top off of the cakes with a cake slicer/leveller. This helps the cakes to have a flatter shape and makes them easier to decorate.
- Spread the saved portion of the chocolate buttercream frosting on top of one cake. Then sandwich the two cakes together.
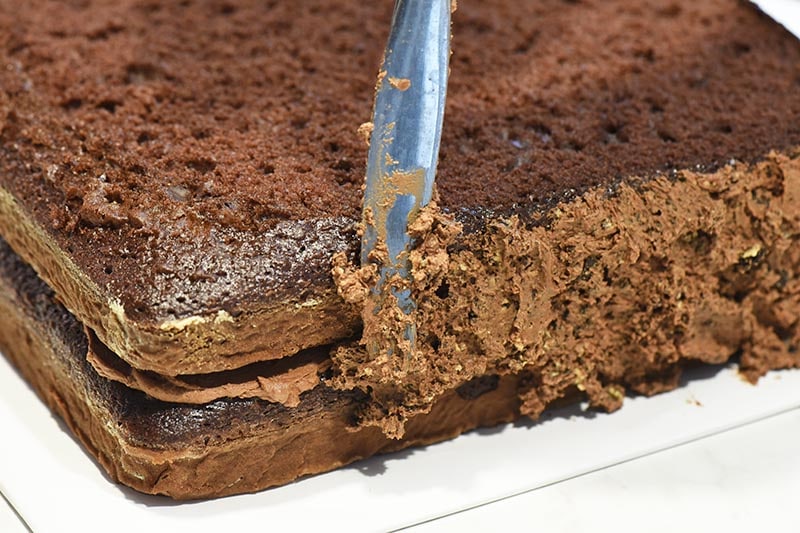
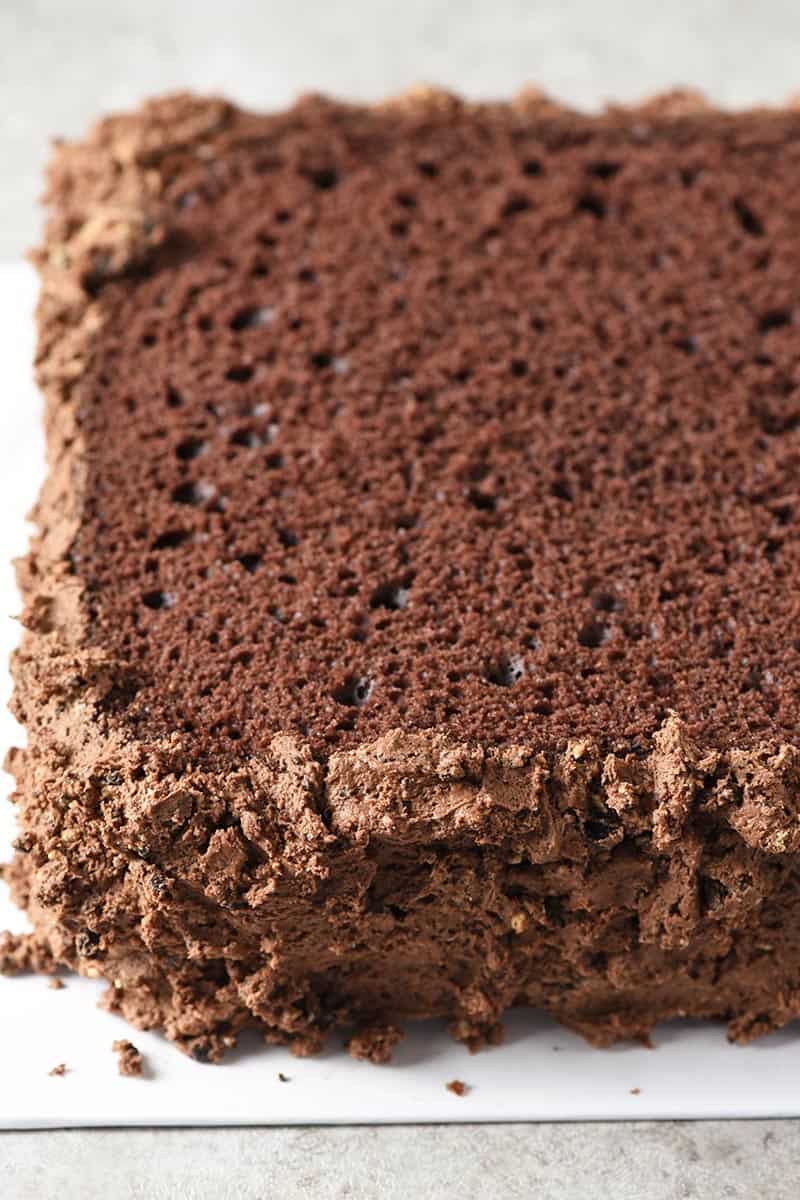
- Work your way around the sides of the cake, spreading the chocolate buttercream “dirt” icing. It’s ok if it looks a little messy; that just makes for a more authentic look to your dirt.
How to Make Grass on a Cake
Once your block has “mud” all around the sides, it’s ready for you to add the grass with the green buttercream icing.
Important Tip: Make sure your icing is thin enough to easily squeeze through the grass tip, or it will be very difficult indeed (don’t ask me how I know this).
In order to create the grass, just squeeze the pastry bag to create your grass and then pull up or away.
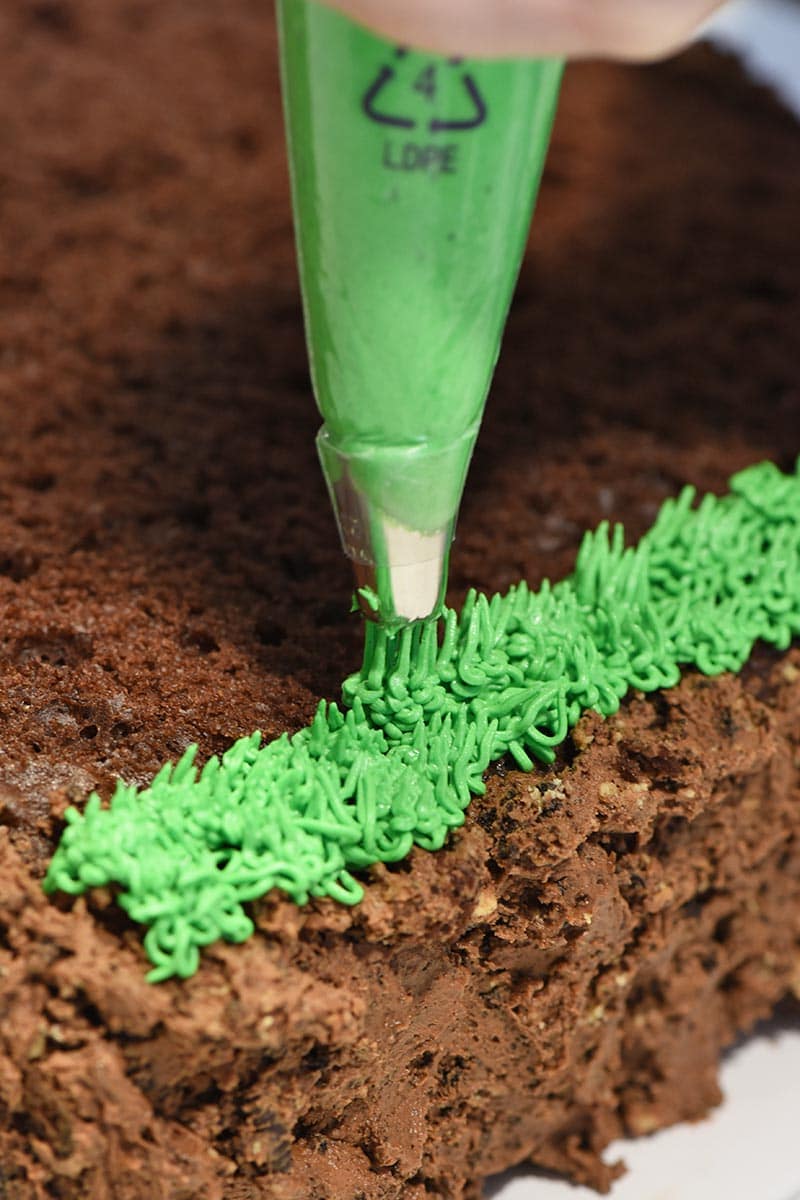
This cake tip works like a charm to create beautiful patches of green grass for the top of the grass block.
While this part of the process is probably what will take the longest, it’s so worth it when you’re done.
When finished, decorate with candles or whatever your heart desires. Then slice it up and serve to your guests!
Tip: I do recommend refrigerating this cake before/after serving.
More Minecraft Party Ideas to Go with Your Cake
Free Minecraft Potion of Healing Drink Labels
Creeper Juice, Creeper Balloons, and Licorice TNT’s
Super Awesome Minecraft Party Supplies:
Minecraft Plates, Napkins, and Cups
Minecraft Character Wristbands
MINECRAFT GRASS BLOCK CAKE RECIPE
If you love this Minecraft grass block cake as much as we do, please write a 5 star review, and help me share the recipe on Facebook and Pinterest!
If you try this recipe, why not leave a star rating in the recipe card right below and/or a review in the comment section further down the page? I always appreciate your feedback. You can also follow me on Pinterest, Facebook, Instagram, and YouTube. And subscribe to my email list too!

Minecraft Grass Block Cake without Fondant
Ingredients
- 2 square chocolate cakes *
- 3 cups chocolate buttercream frosting
- 12 Peanut Butter Oreos
- 3 cups buttercream frosting colored green
Instructions
- Bake 2 square cakes, using 10"x10" cake pans and following recipe/cake mix instructions.
- While the cakes are baking, mix up both the regular buttercream frosting and the chocolate buttercream.
- The regular buttercream icing needs to be colored green, so add enough green food color until satisfied with the shade you have.
- When the cakes have cooled, place one cake on a 12-inch square cake board that’s been wrapped in white freezer paper.
- Optional but very helpful step at this point: Slice the rounded top off of the cakes with a cake slicer/leveller. This helps the cakes to have a flatter shape and makes it easier to decorate them.
- Spread a portion of the chocolate buttercream frosting on top of that cake.
- Then sandwich the two cakes together.
- Make the rest of the chocolate buttercream frosting look more like dirt and mud by crushing up the Peanut Butter Oreos and mixing them in with the frosting.**
- Spread the chocolate buttercream "dirt" frosting on the sides of the cake, working your way around.
- Using Wilton Tip 233, add the grass with the green buttercream frosting. Make sure the icing is thin enough to easily squeeze through the grass tip, or it will be very difficult. The Wilton website gives a great tutorial for how to create the grass, but basically, just squeeze the pastry bag to create each little patch of grass, and then pull up or away.
- When finished, decorate your masterpiece with candles or whatever your heart desires.


Fantastic cake! I’m going to try this for my sons 8th birthday in a couple of weeks. I’m not great at decorating cakes but I’m going to give it a shot. I don’t think we have Peanut Butter Oreos here in the UK but I’m sure I can find something similar. We have the normal Oreos – do you think these will work?
Eda, thank you! And I’m so excited you’re going to try making it; the one thing I truly love about this cake is that anyone can make it. You’ll do great.
Yes, normal Oreos should work just fine. I believe I have another reader who used normal Oreos too, and she came back and said it turned out great. Good luck! So excited to hear how it goes. Happy Birthday to him!
Haha. I seen it now after the third time going through.
What size square pan did you use?
I made this for my brother this weekend and he absolutely loved it! Thanks for the idea! :)
I’m so glad, Kayla! It’s no problem at all; I’m glad you guys enjoyed!
Do you think store bought buttercream icing would work? Or regular icing (even fluffed?) My kids don’t like buttercream but the idea is adorable!
Christine, I don’t see why not! I think it would work just fine. As long as it has a good consistency to form the grass on top. And thick enough to stay on the sides of the cake without dripping down.
I am making this cake for my nephew’s 9th birthday. It was either Minecraft or Lego, and I thought Minecraft would be easier just didn’t have a recipe. Found this one and looked easy enough. Hope I make it as good as it looks! Thank you!
Erica, I hope you enjoy! And I hope it turns out well; the one thing I loved about this was that it was fairly simple to make and didn’t take a ton of time. He will love it!
Love the look of your Minecraft cake. I would really like to try it, but we have a friend coming to our party who has a peanut allergy. Would just using the chocolate parts of regular Oreos work? Or is there any alternative that might also help the icing look more like dirt?
Thanks!
Nicole
Nicole, thank you! The Oreos are darker, so that should be fine, as long as Oreos don’t have any peanut remnants in them; I’d for sure check the package to make sure. But yeah, they would give a good dirt look.
Thank you for responding to my comment. I ended up using chocolate Oreos (checked the package) and they worked great! The cake turned out perfect and I am no baker : )
Oh, Nicole, I’m so glad it turned out; so glad you enjoyed! And no problem, anytime I can help.:)
Thank you for the fantastic idea! My son’s 11th birthday is this Friday and I have been trying to figure out what sort of cake to make him this year. A Minecraft cake will be a huge hit!
Karly, Happy Birthday to him! Thank you so much. I hope you enjoy!
I’m wondering how many Oreos?
Angie, I probably used half a package of the Peanut Butter Oreos.
Cake pics: https://www.flickr.com/photos/12949327@N00/12895025484/lightbox/
Nena, it turned out so cute! I love it! And I love the little characters on top! I bet he loved it. Thanks so much for sharing; you just made my day.