
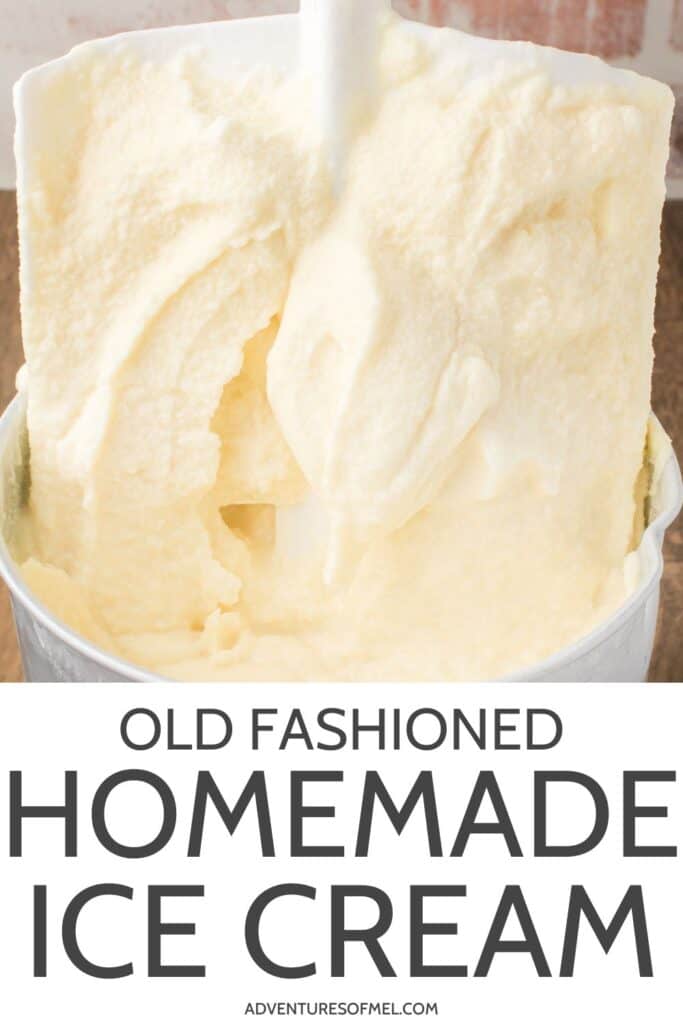
Our old fashioned homemade ice cream recipe is a summer staple to remember. Mix the vanilla ice cream base using this family favorite recipe; then freeze it, using an old fashioned ice cream maker. Ultra creamy homemade ice cream for family gatherings, reunions, backyard BBQs, and summer holidays!
Along with old fashioned banana ice cream and strawberry ice cream, my family’s favorite old fashioned ice cream recipe has been a part of every summer since my childhood, as far back as I can remember. While it’s morphed from person to person, it’s pretty much the same homemade old fashioned ice cream recipe I remember enjoying with family on special summer occasions gone by.
This recipe is made using an old fashioned ice cream maker, which is a little different than the freezer bowl ice cream maker that I use to make raw milk ice cream. Back in the day, we used hand-crank ice cream makers, but thankfully you can buy an electric ice cream maker just about anywhere nowadays.
Why You’ll Love My Old Fashioned Homemade Ice Cream
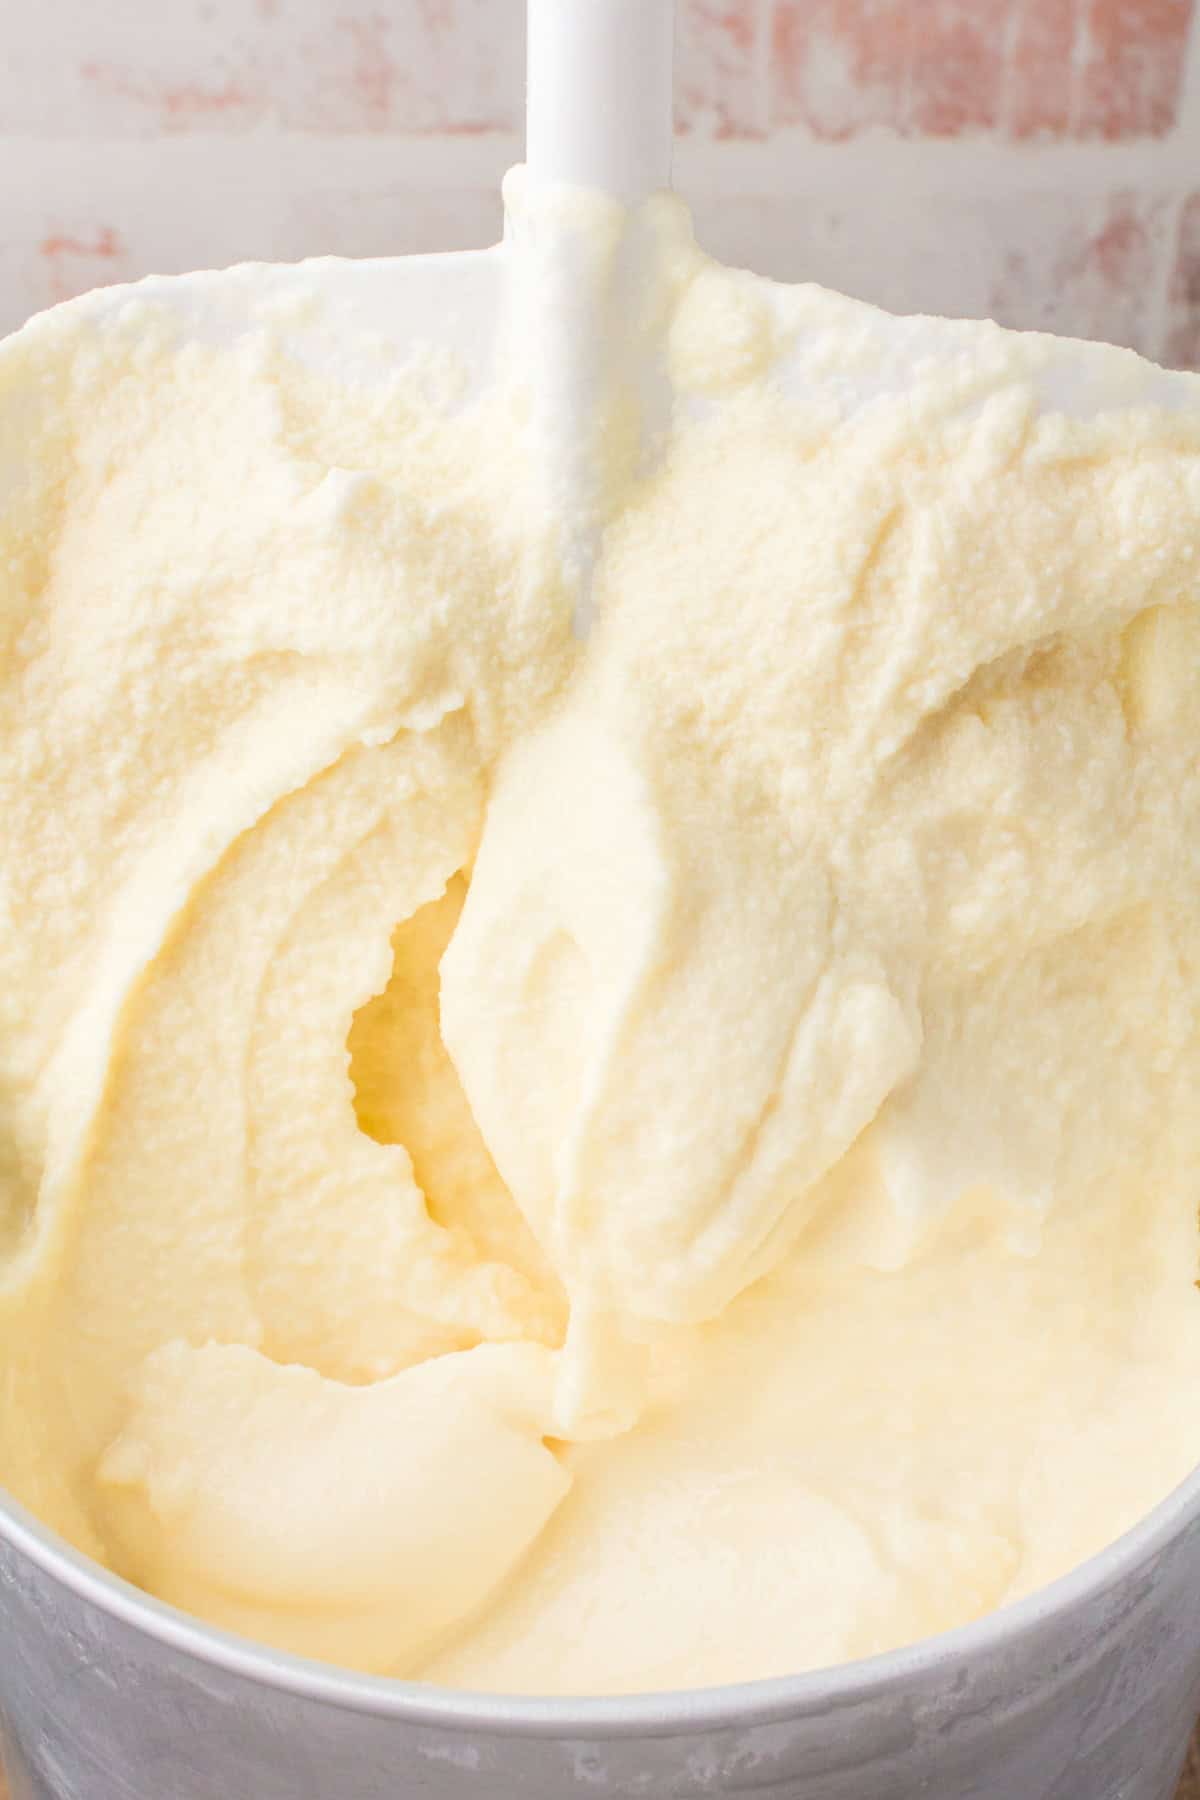
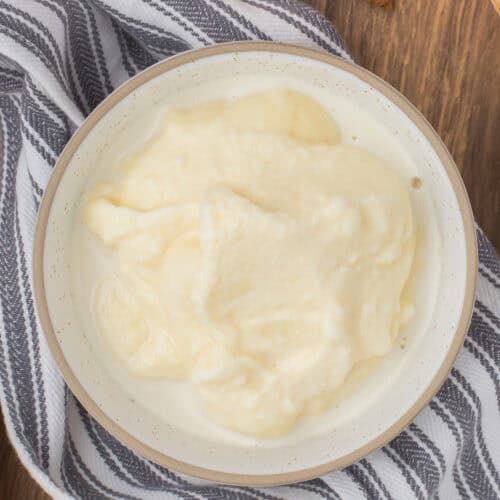
- It makes an ultra creamy vanilla ice cream base that’s velvety smooth.
- This recipe uses an old-fashioned ice cream maker. It’s a little bit different than a freezer bowl ice cream maker, in that it uses both rock salt and crushed ice to freeze the ice cream.
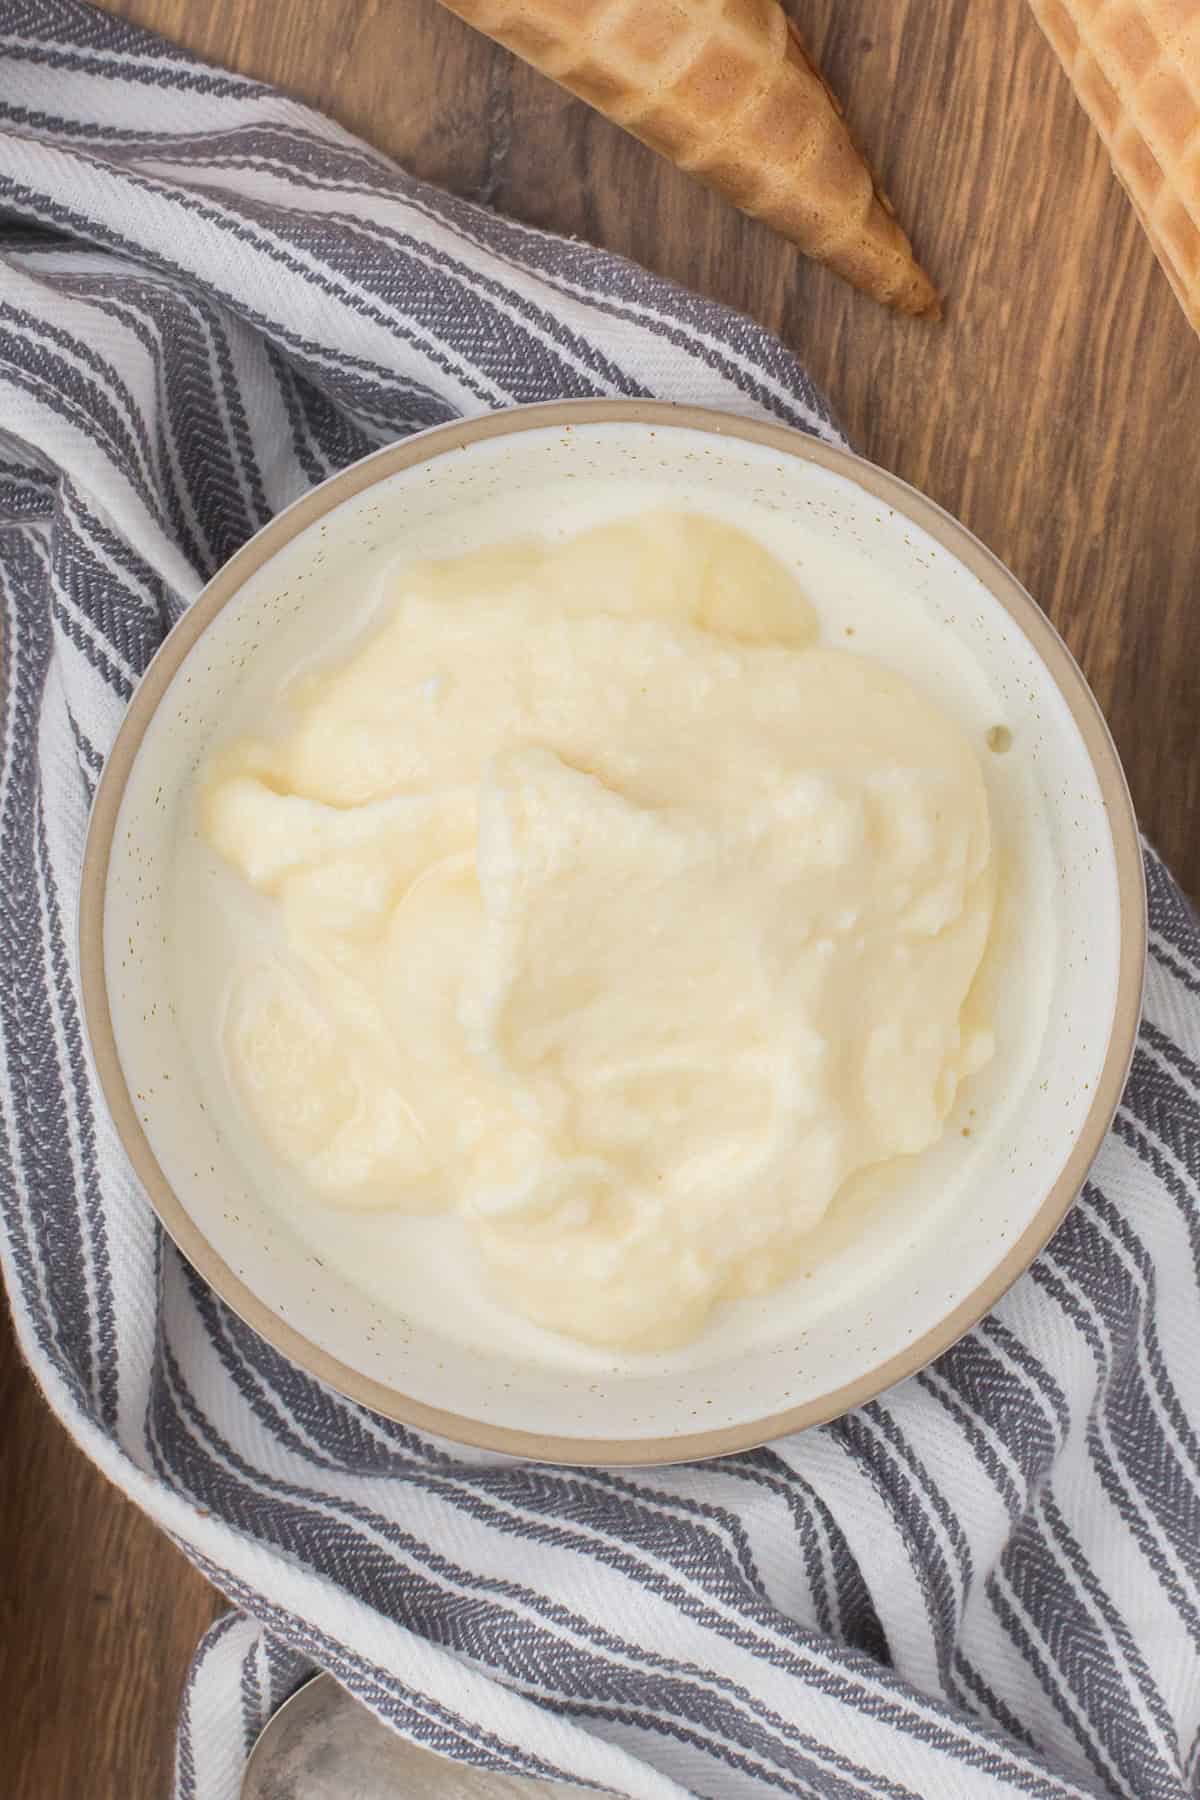
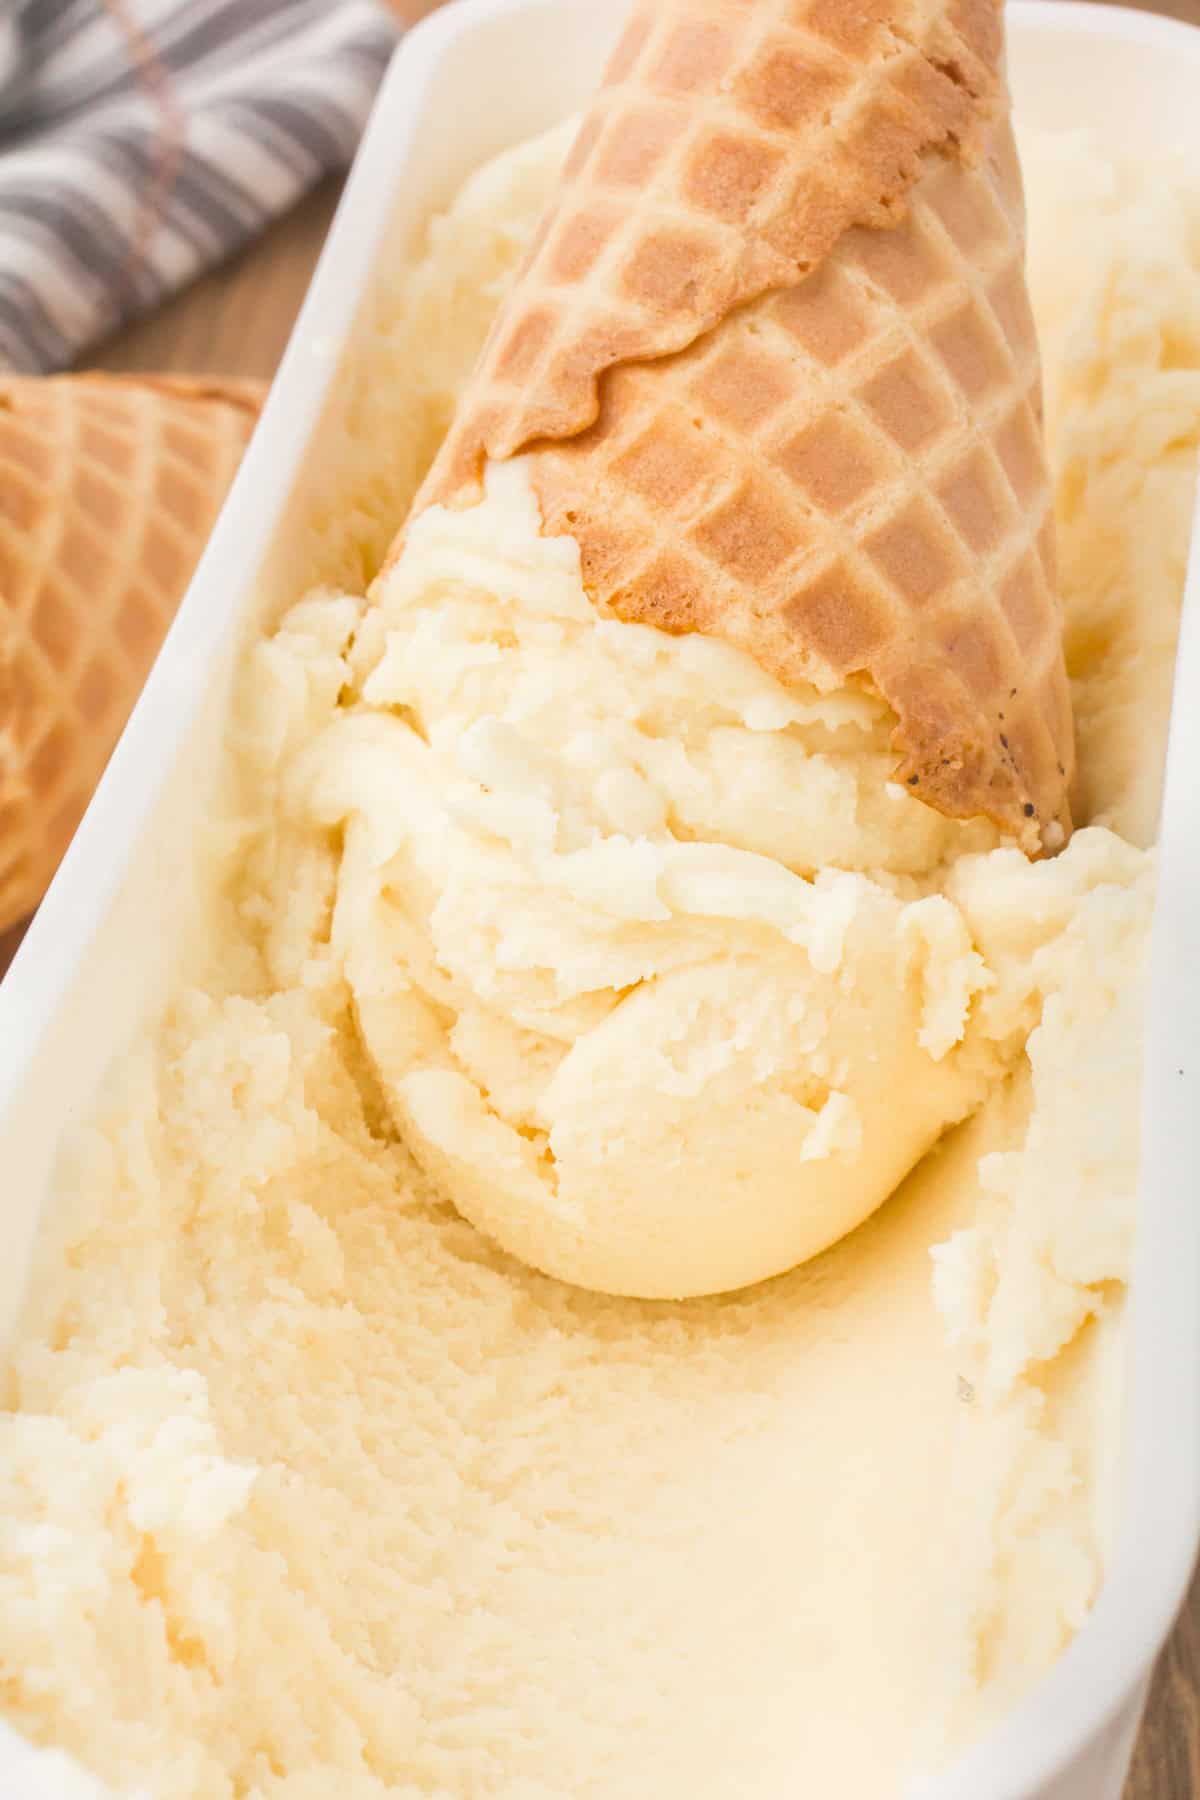
- Old fashioned homemade ice cream has a soft-serve, custard-like texture and a richer flavor than regular ice cream. Of course, you can firm it up more by placing it in the freezer for a few hours, but it’s so good fresh out of the ice cream maker!
- I’ll show you how to make this recipe with step by step instructions. Homemade ice cream is so easy to make, and it tastes so much better than store bought.
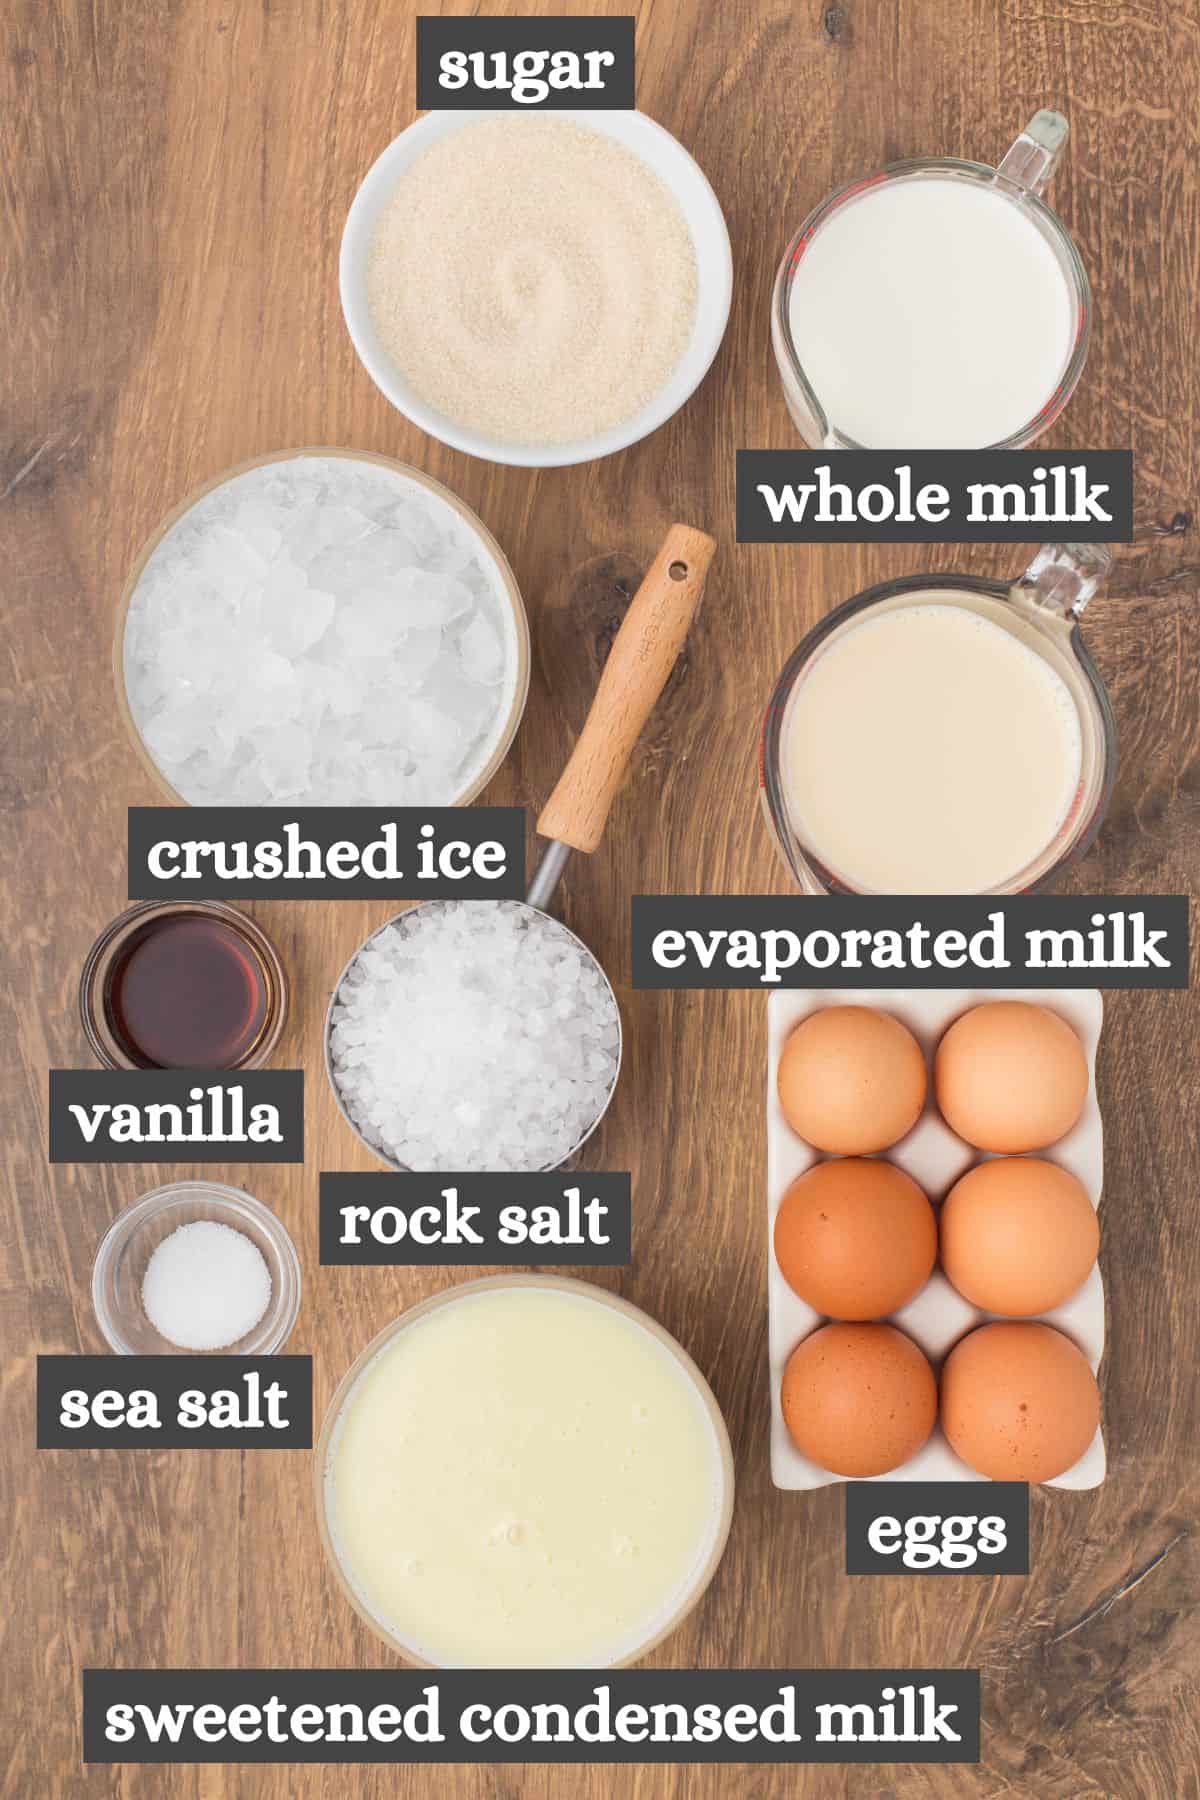
Ingredients and Substitutions Notes
Before you get started, you may want to check out our complete guide to ice cream accessories and tools for making ice cream at home. It’s the ultimate list for every ice cream lover’s kitchen and especially helpful if you’re planning an ice cream social.
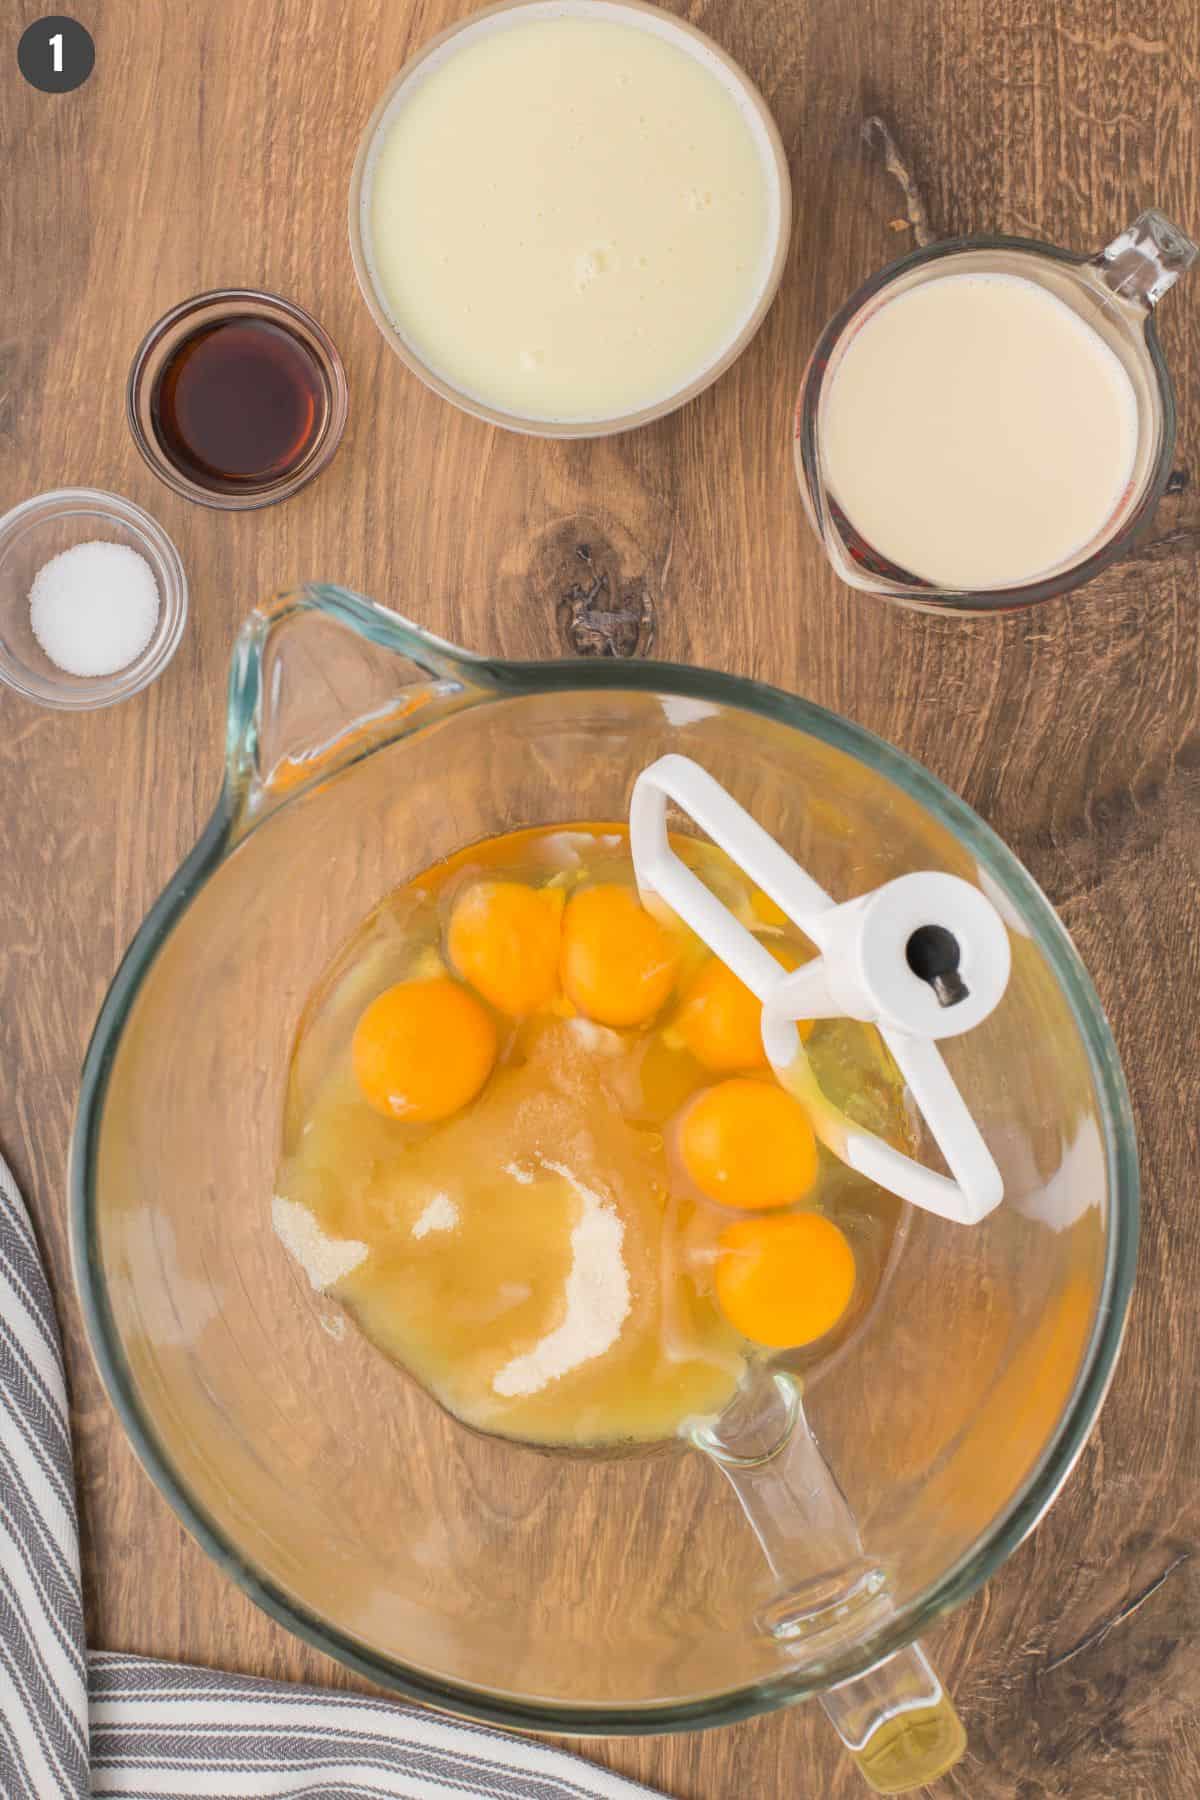
- Large Eggs – You’ll need the whole egg, yolks and all, to make the custard base. Do keep in mind that consuming raw or undercooked eggs may increase your risk of food-borne illness, especially if you have certain medical conditions. We have always made this recipe with raw eggs without a problem, but I’ll also show you how you can temper and properly heat the eggs if you’d rather play it safe.
- Cane Sugar – You’ll need cane sugar. Sugar lowers the freezing point of the ice cream, keeping it from turning into a block of ice.
- Vanilla Extract – Your vanilla ice cream will only taste as good as your vanilla extract. Any real vanilla extra will do, but my favorite is this Mexican vanilla.
- Sweetened Condensed Milk – My dad always loved using Eagle Brand; sometimes I use that, and sometimes I use Aldi’s brand to make this homemade ice cream with sweetened condensed milk and whole milk.
- Evaporated Milk – My mom and grandma always preferred to use Milnot evaporated milk; but I’ve always used what I can easily get.
- Salt – If possible, use a good quality sea salt.
- Whole Milk – I highly recommend that you use whole milk, because it will make your ice cream much creamier. You can even use part heavy cream to get a creamier texture.
- Ice and Rock Salt – You’ll need crushed ice and rock salt to freeze the ice cream. While you can find rock salt online and smaller bags or boxes at the grocery store, sometimes you can get a bigger and less expensive bag at a hardware store or feed store. So just keep that in mind.
Can I Make Old Fashioned Homemade Ice Cream Without Raw Eggs?
Yes, you can make this old fashioned homemade ice cream recipe without raw eggs. But first, I want to explain a few points below:
- It’s true– raw eggs give rich flavor and a more yellow color to homemade ice cream. They act as a stabilizer and provide a custard base that turns to ultra smooth, creamy ice cream when finished. That is why you’ll usually see them in old fashioned homemade ice cream recipes.
- But it’s also true that they can increase your risk of food-borne illnesses, especially with certain medical conditions. That said, my family personally has never had an issue from the raw eggs in this recipe over many decades of making it.
- If you would rather play it safe and cook the base, you will need to temper the eggs to 160ºF. If you’ve never done this before, you can read Nielsen-Massey’s detailed guide on how to temper eggs for custard. Otherwise, I highly recommend making my egg-free version below so you don’t have to alter this classic churn method!
- If you’d still rather make an egg-free version, my raw milk ice cream without eggs is the best. Don’t worry, you can substitute with store bought milk and heavy cream if you don’t have access to raw milk.
How to Make Old Fashioned Homemade Ice Cream
Before getting started, be sure your ice cream freezer, especially the freezer bowl or canister, is washed out good. We store ours in the garage, so we always have to wash it before we use it. This recipe fills a 4-quart ice cream maker, but you can easily halve the ingredients for a 2-quart ice cream maker, or 1.5x the recipe for a 6-quart ice cream maker.
- Start by creaming (or mixing) the eggs and the sugar together. I like to use an electric hand mixer or a blender.
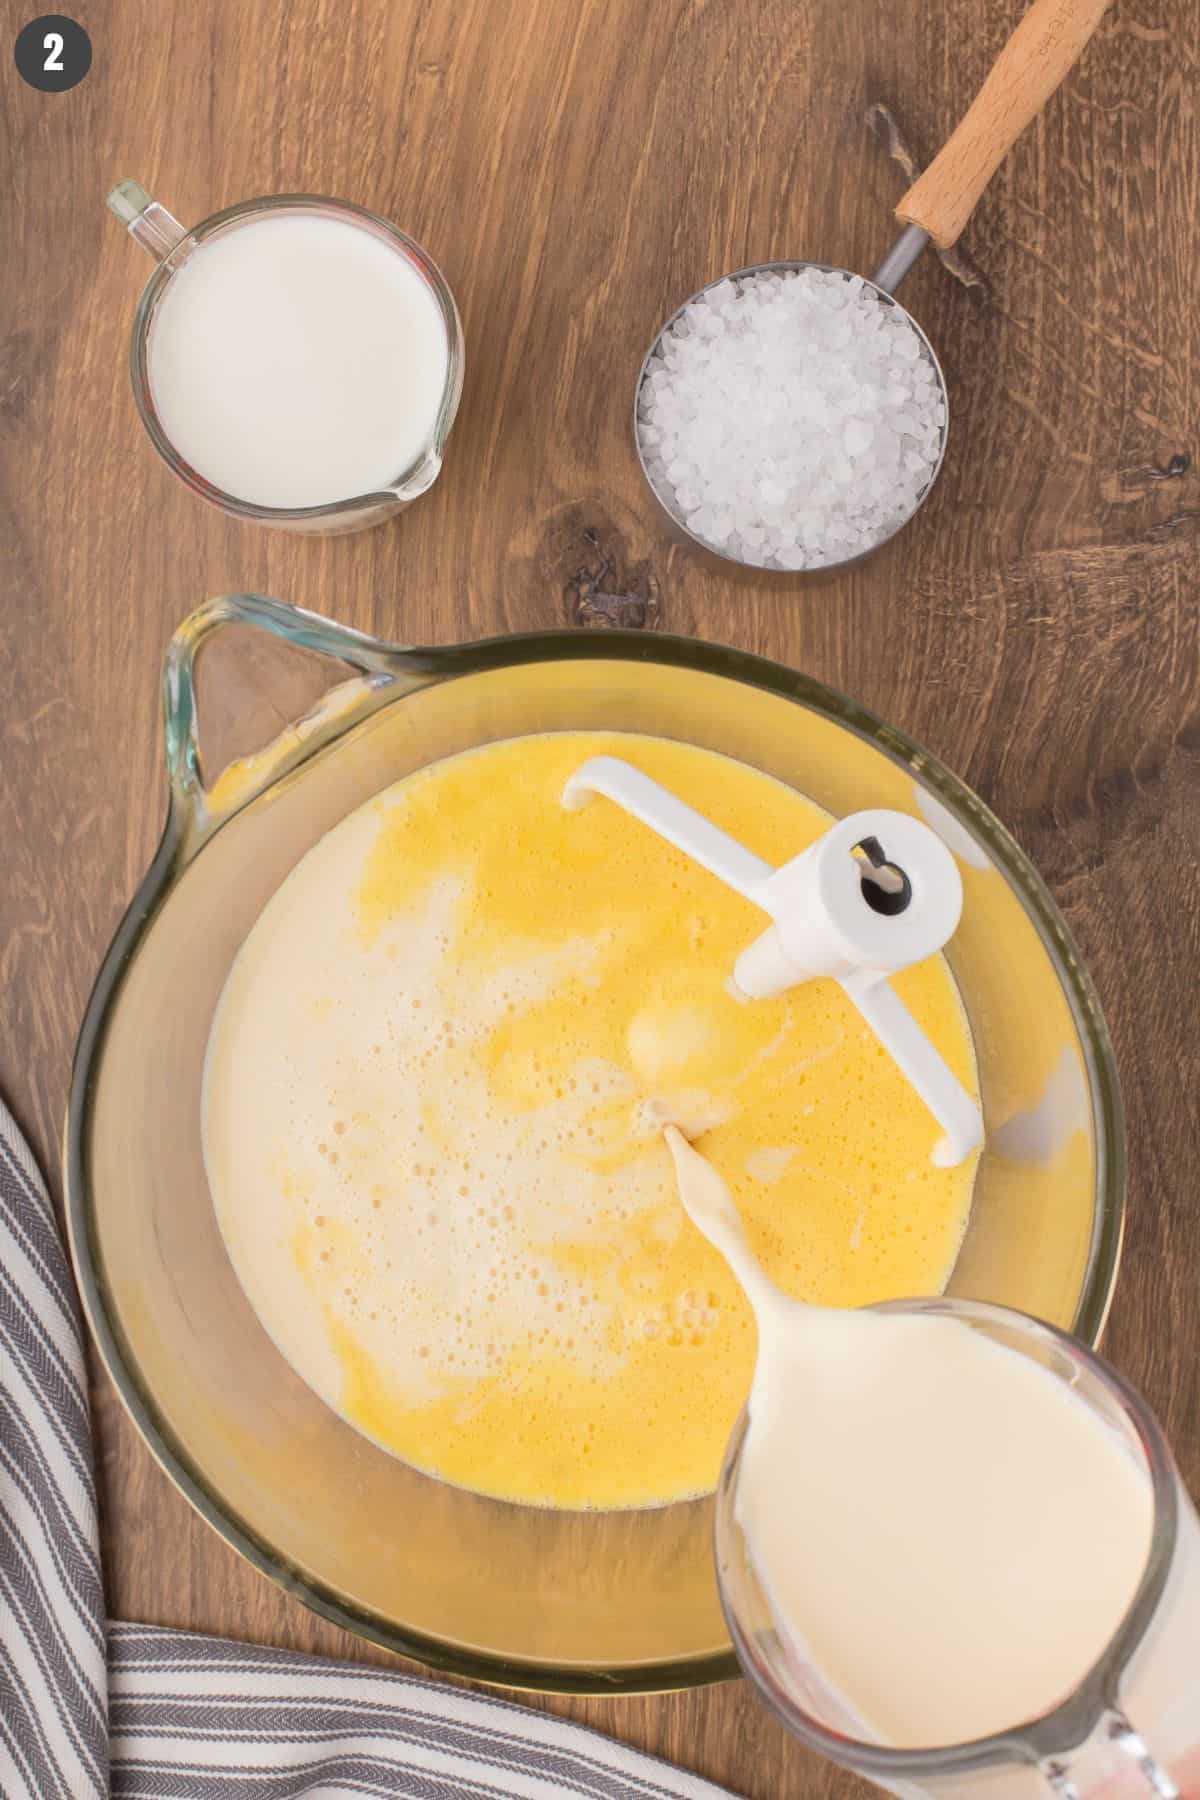
- Then add in the vanilla extract, sweetened condensed milk, evaporated milk, and salt.
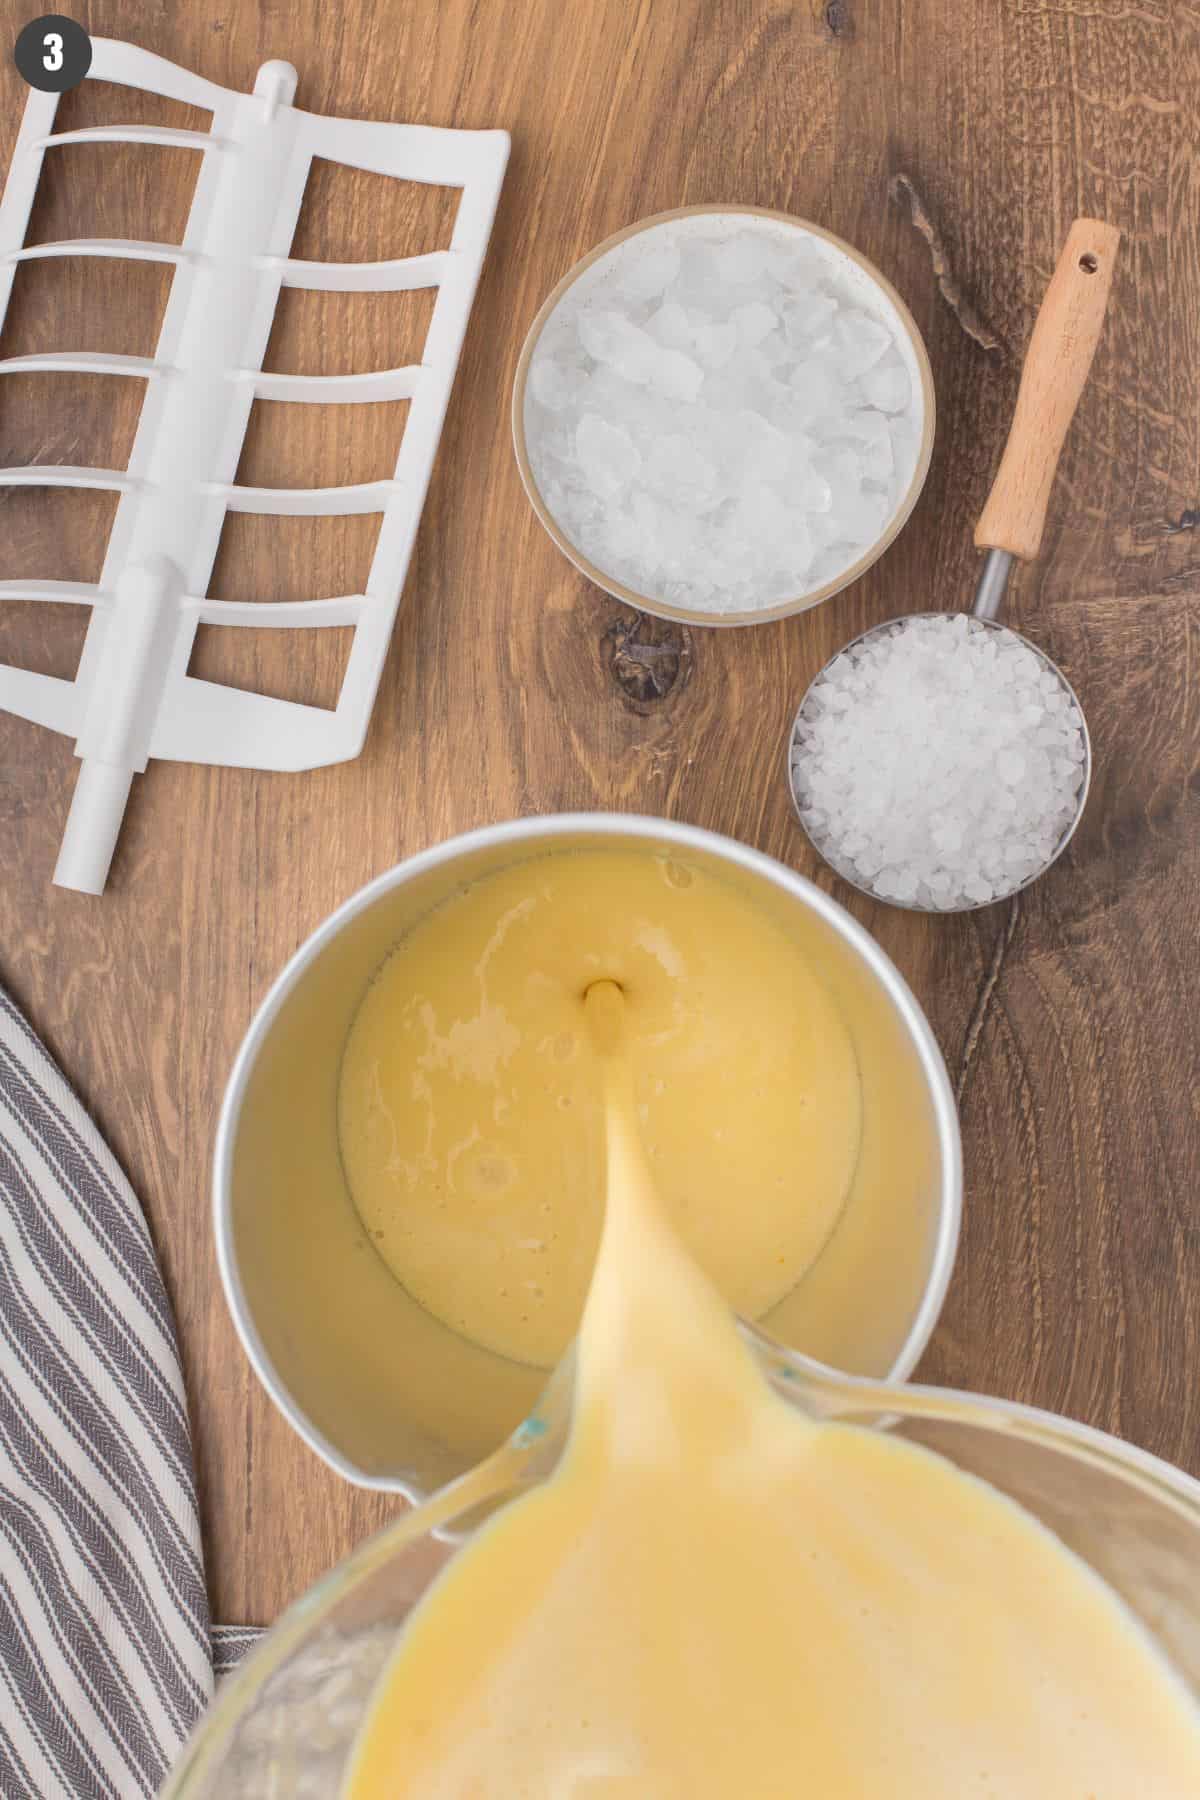
- Pour the mixture into the metal canister of your ice cream maker.
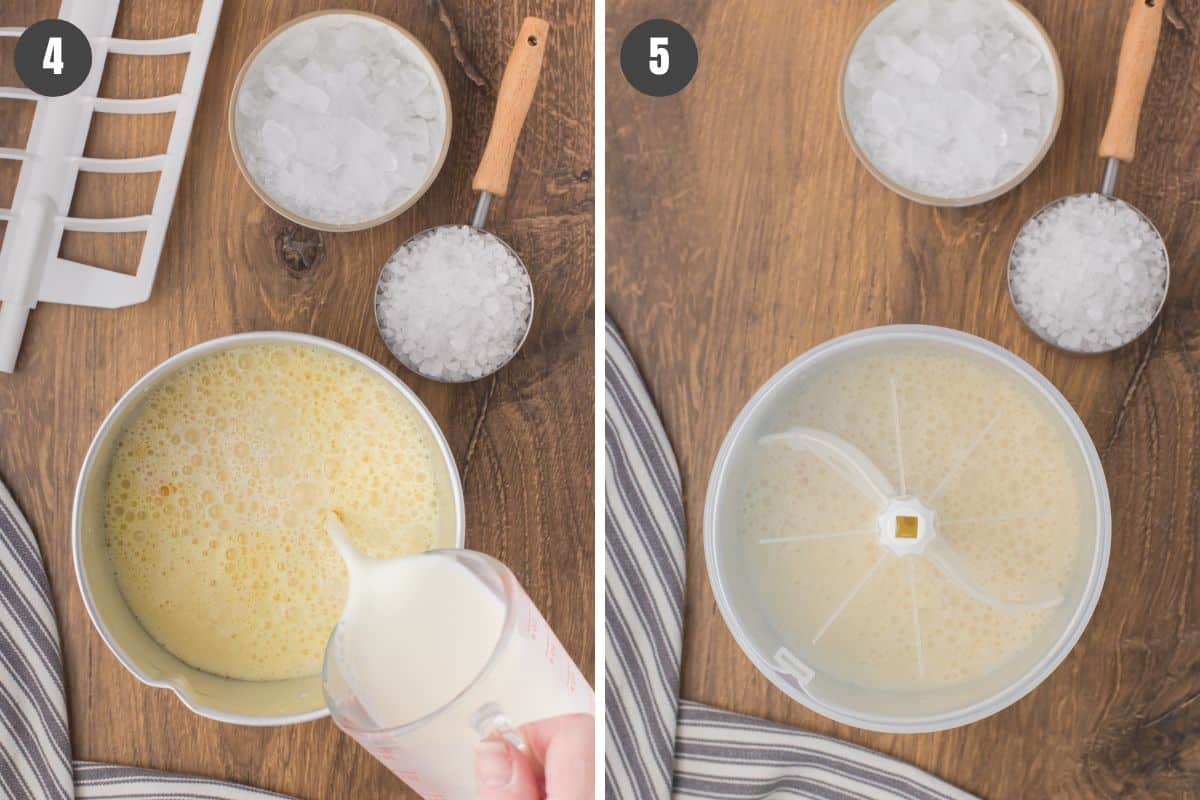
- Finish topping off the canister with whole milk, making sure to fill it about 3/4 of the way full, leaving room for expansion as it freezes. Your metal canister should have a fill line.
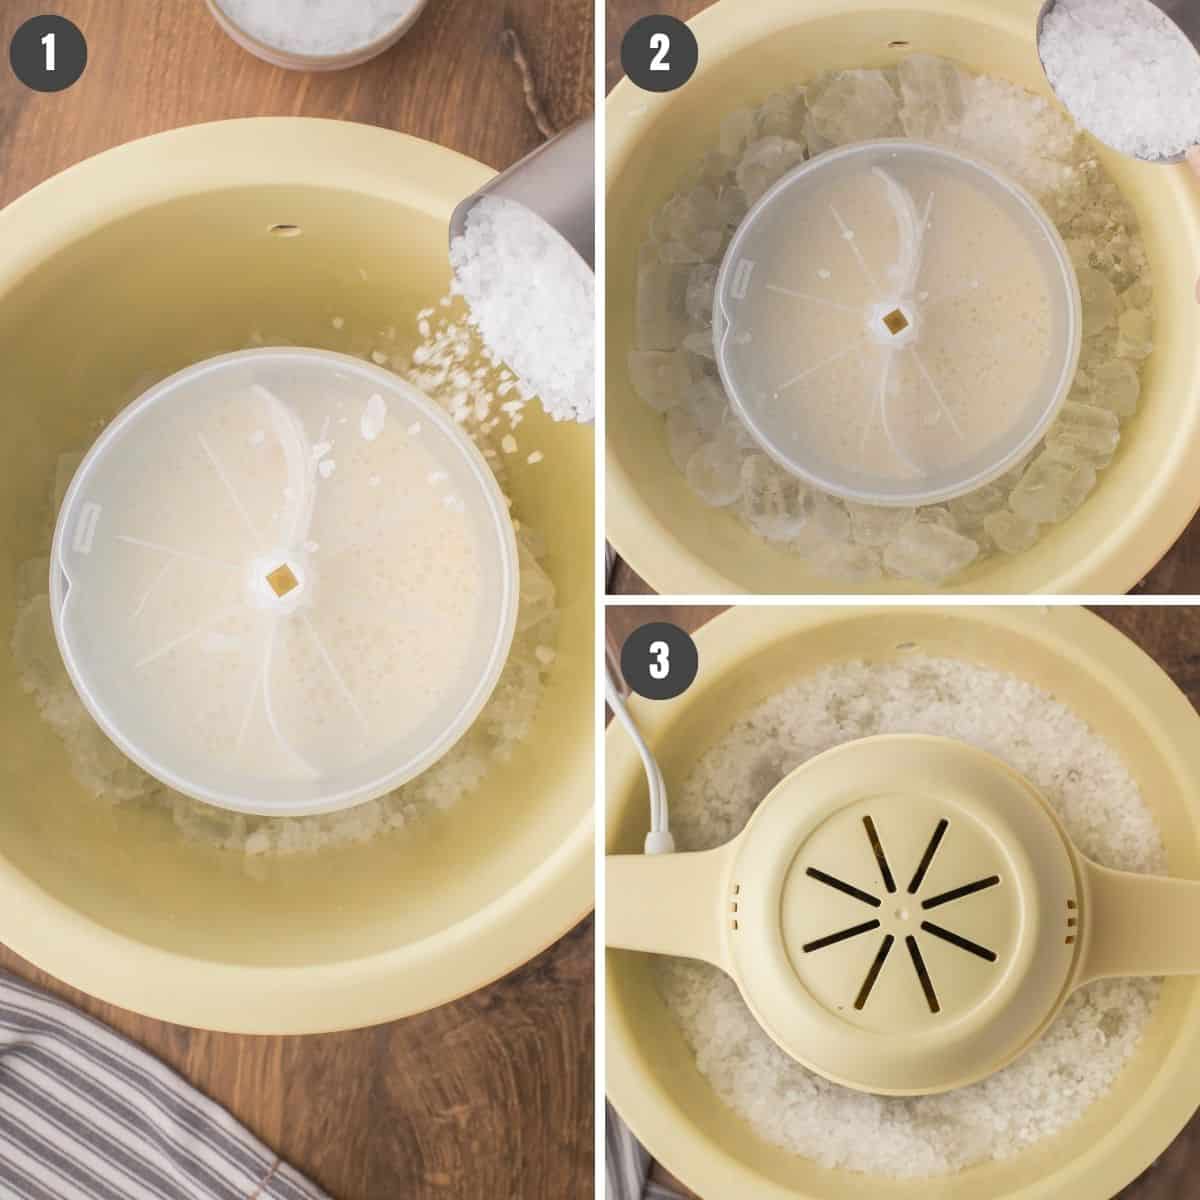
- Put the lid on, and place the metal canister down into the bucket of your ice cream maker.
How to Freeze Ice Cream with an Old Fashioned Ice Cream Maker
Freezing the mixture to make old fashioned ice cream is fairly easy, especially once you get it going. You will need to stay with it so you can monitor if it needs more ice, rock salt, or needs unplugged when done.
- Crush a big bag of ice, gradually pouring ice around the canister. Tip: You can add up to a gallon of water if needed, as well. We sometimes do this because our motor will seize up. Adding a bit of water will help it keep turning.
- Add 2-3 cups of rock salt as you add the ice, making sure to top it off with rock salt.
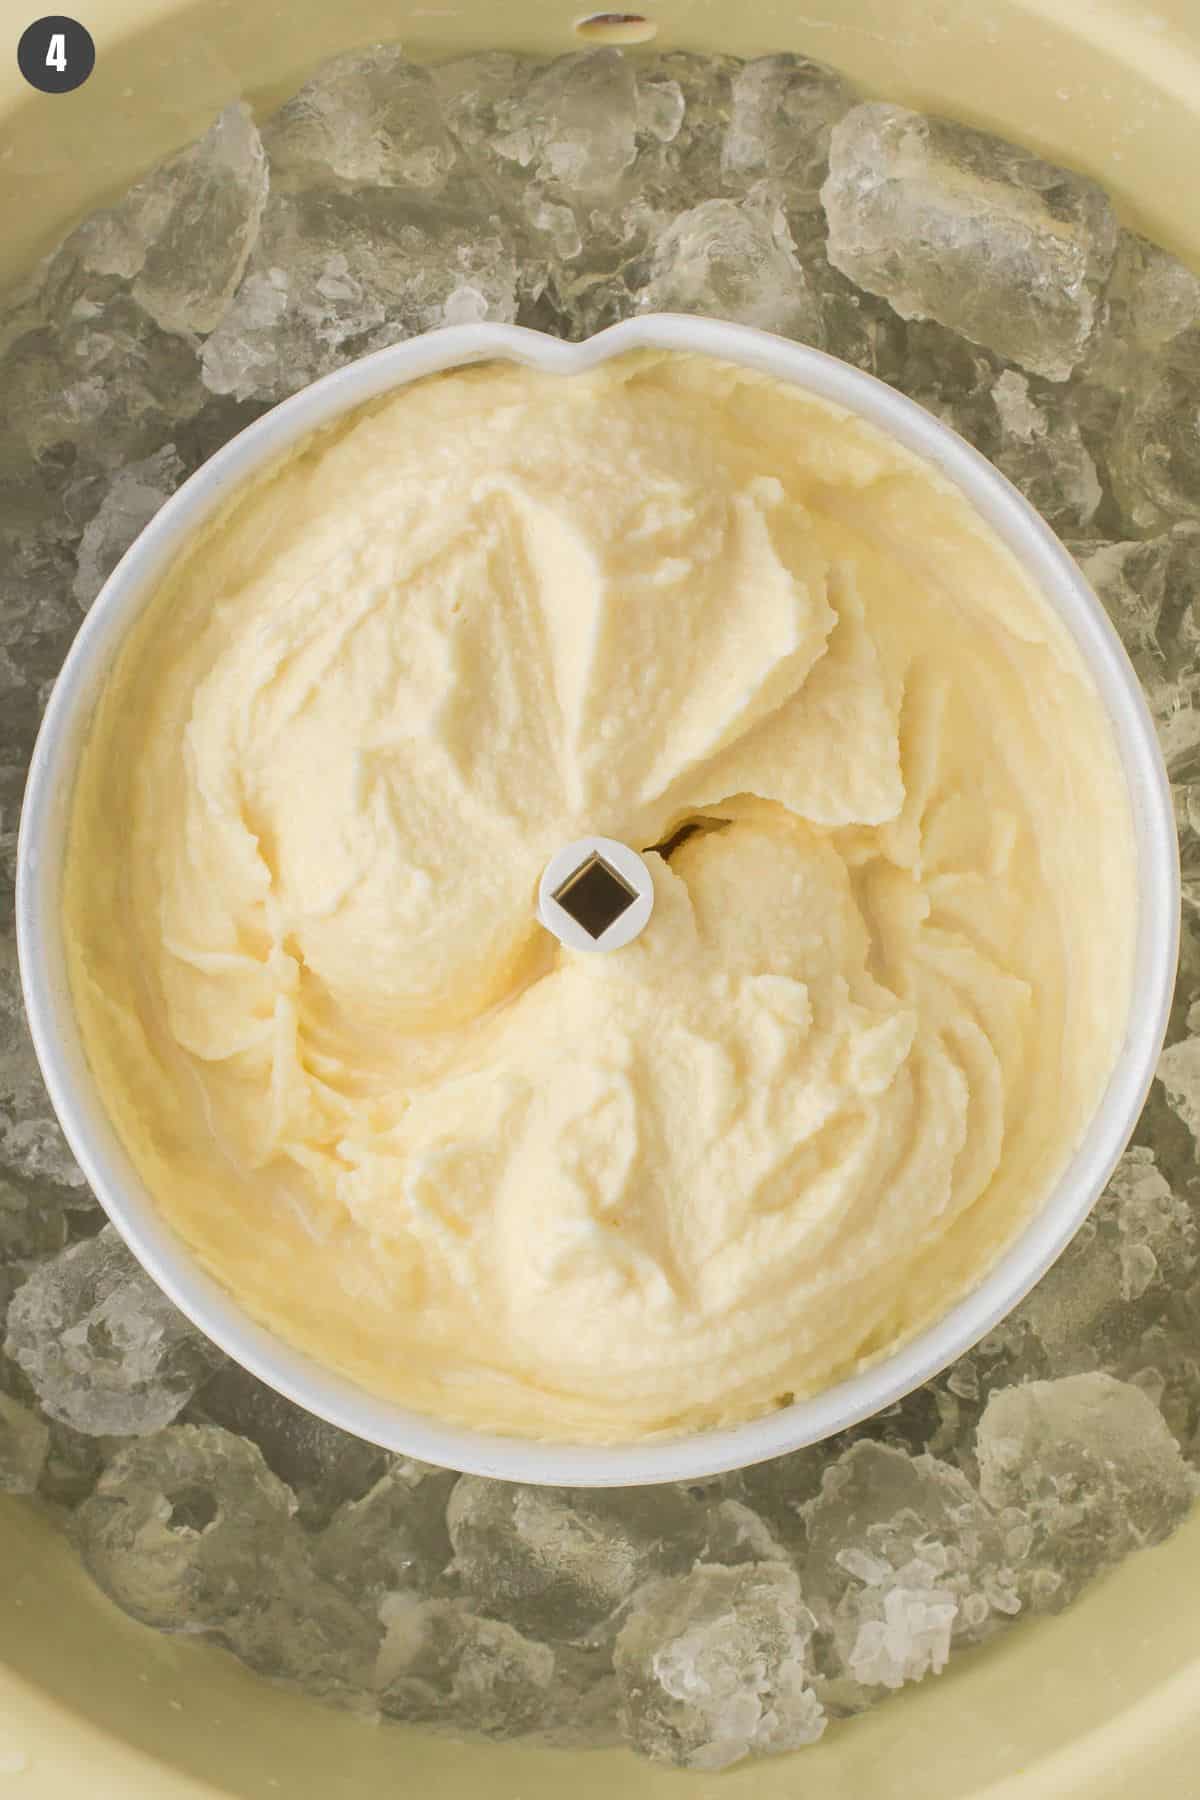
- Let the motor run until it stops. Once the ice cream is frozen, the motor on your ice cream maker will stop churning. Unplug it immediately. This should signal that the ice cream is completely frozen.
- Wipe any excess ice or rock salt off the lid and out from around the top of the canister. Then remove the lid, and carefully remove the churning paddle.
Serve the ice cream immediately. If you’re not ready to serve it up just yet, you can always leave the lid on, remove the motor, top the canister off with ice, and place a towel or two over it to insulate it and keep it cold.
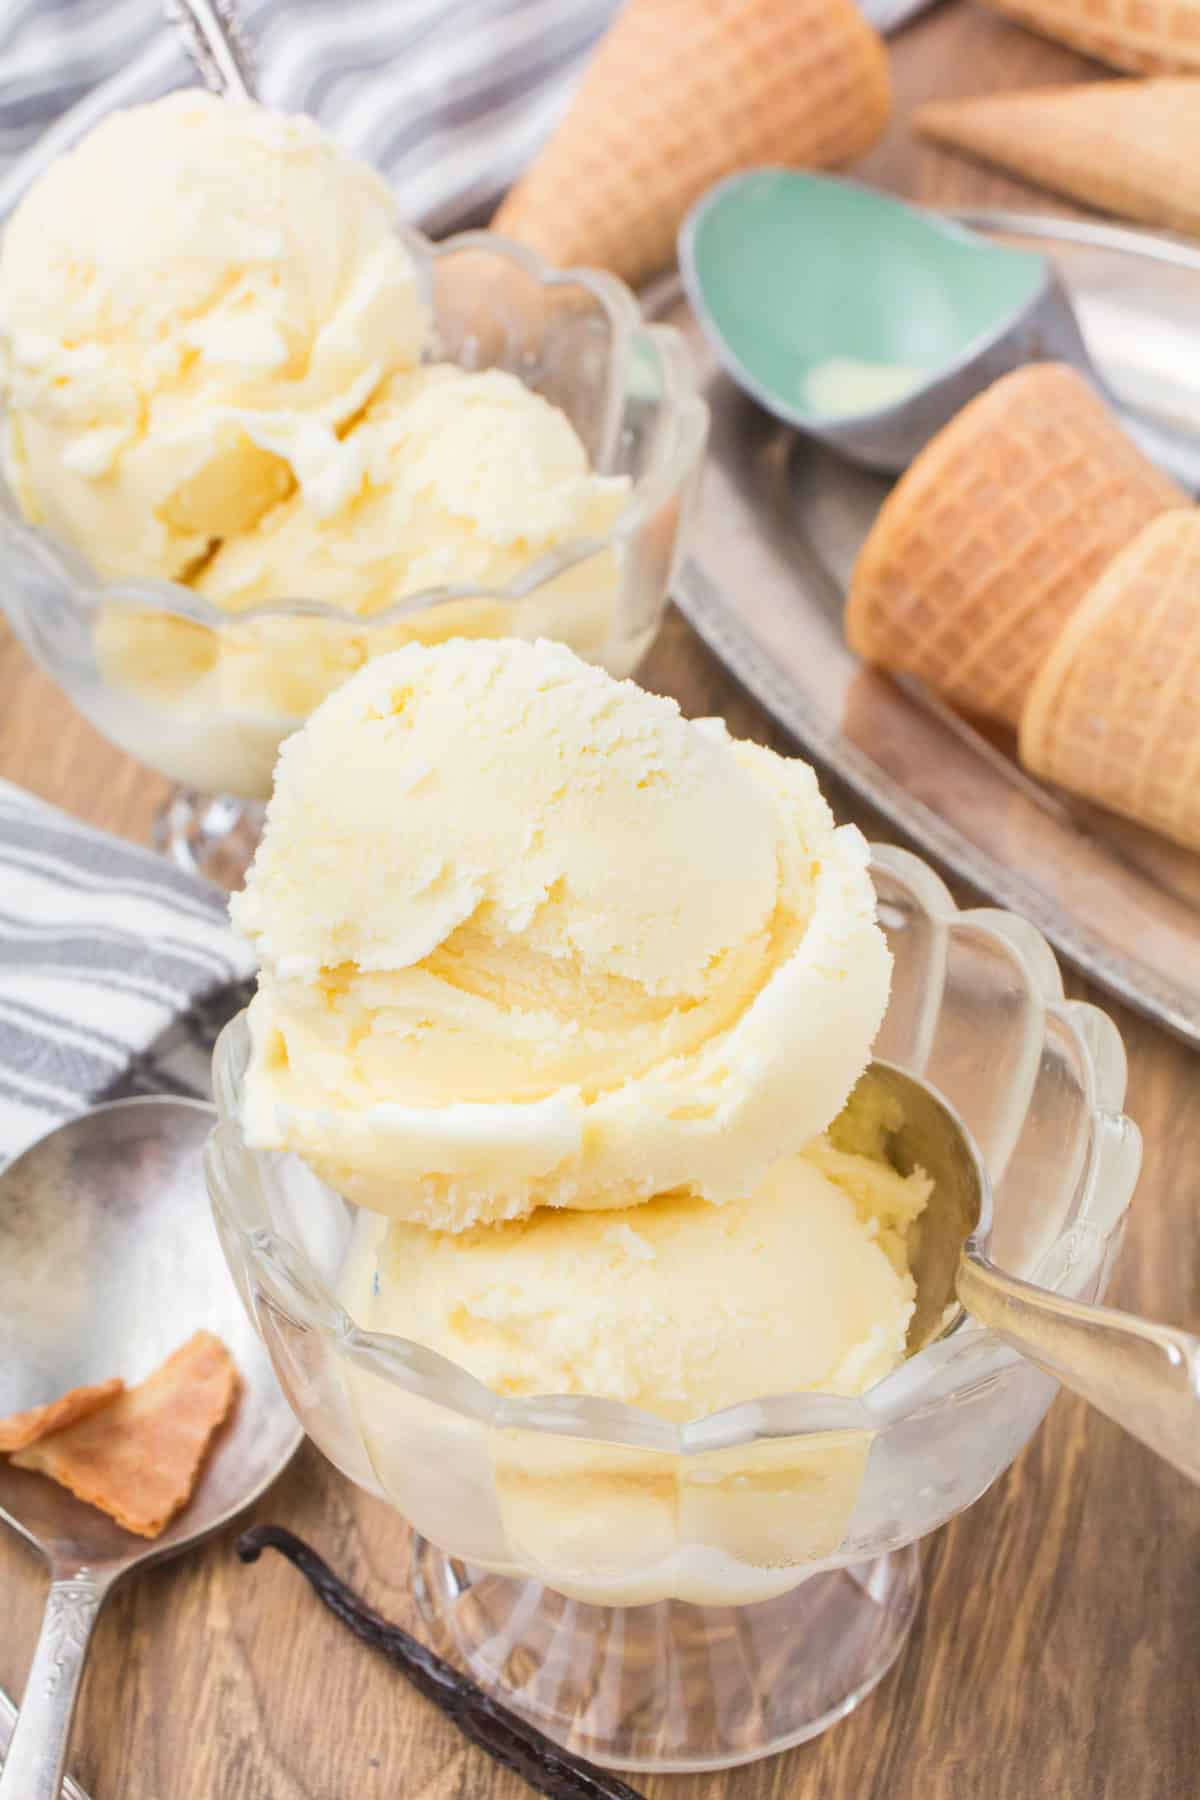
What to Serve With Homemade Ice Cream
Homemade vanilla ice cream pairs really well with peach cobbler, blueberry cobbler, and apple crumb pie. I LOVE a scoop of vanilla ice cream on this Dutch oven cherry cobbler! You can use frozen leftovers to make delicious homemade ice cream sandwiches and ice cream cones.
Expert Tips and Recipe FAQs
I’ve shared how to make the ice cream, but here are a few tips for things to avoid when making and freezing homemade ice cream.
- Avoid low-fat ingredients, for example, skim milk. You’ll get the best ice cream with a creamy texture when you use full fat ingredients, like whole milk.
- If possible, try not to mix by hand. Blend the ingredients really well, using either a blender or a mixer. Either one works just fine. This will ensure you have a smooth, creamy mixture going into the ice cream maker.
- Try not to overfill the ice cream canister in your ice cream maker. Overfilling will lead to one big mess if it overflows while freezing. Remember… Freezing means expansion. Always leave room for expansion, and don’t go over the fill line on your ice cream maker.
- When freezing the ice cream in an ice cream maker, place the maker down in a sink, or freeze it outside on a porch. You’ll flood your countertop with a mess from all the ice, water, and rock salt if you don’t.
- When the ice cream is done, don’t open the lid ’til you’ve wiped all the rock salt and ice off the top. That way you avoid getting any of the gunk in your ice cream.
Yes, you can make this recipe in a freezer bowl ice cream maker. Just keep in mind that it might be slightly more soft-serve consistency than with a traditional, salt-and-ice ice cream maker.
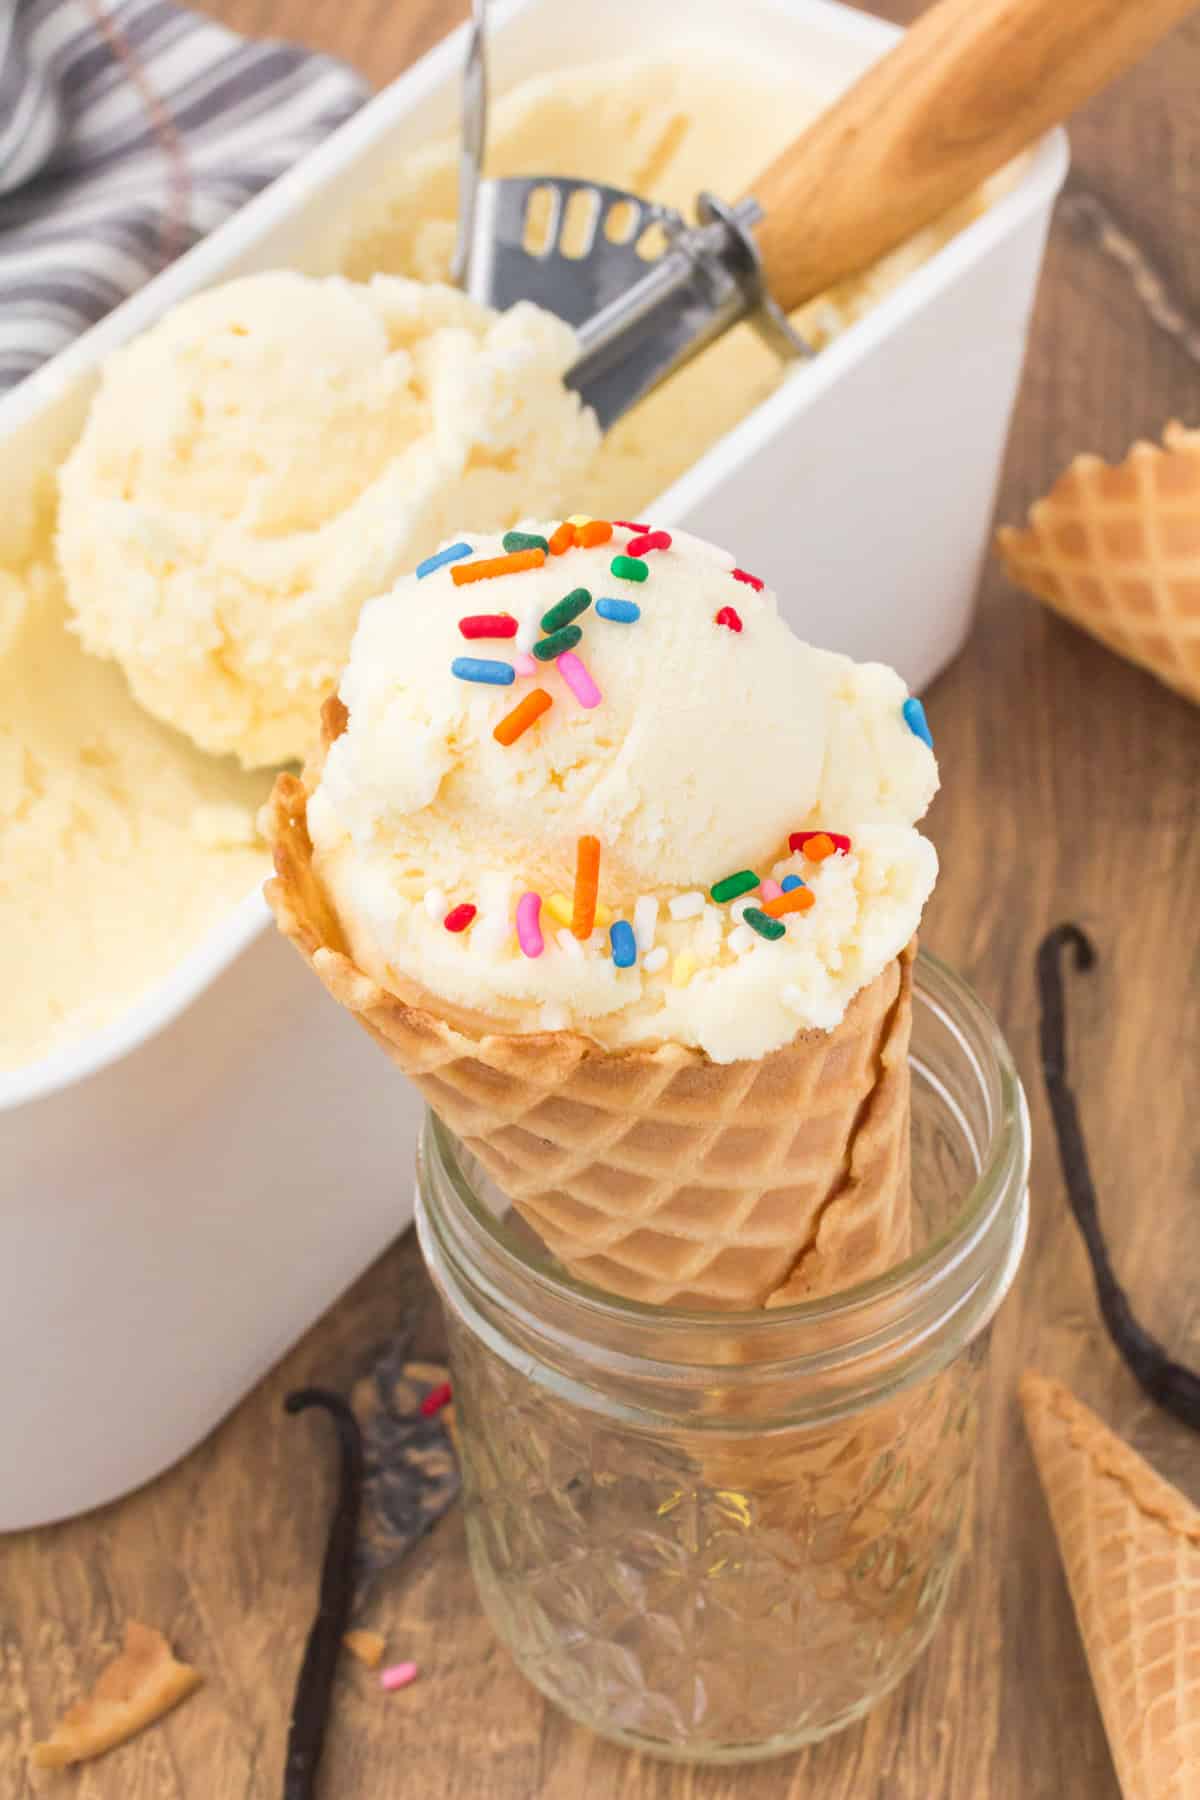
If you prefer a more firm ice cream than soft-serve that you can actually scoop, just place your ice cream in ice cream containers and stick it in the freezer, ’til it reaches the preferred consistency. It’ll usually firm up enough to scoop onto an ice cream cone within 3-4 hours.
Store your leftovers in the freezer for up to 1 month. We always have a lot of leftover ice cream when we make it homemade, so we purchased some of these freezer containers to hold all the leftovers. If you have an upright freezer, I’d place it on the shelves, rather than the door, so it doesn’t melt or have a higher risk of freezer burn.
Optional Add-Ins & Ice Cream Toppings
There are so many things you can mix into your ice cream to make it even more fun, especially with kids.
- Fruit or Fruit Jam – We especially love mixing strawberry jam or old fashioned blackberry jam into our ice cream or on top of our ice cream to make ice cream sundaes.
- Chocolate Syrup, Butterscotch Topping, Caramel Sauce, etc. – With whipped cream and a cherry on top, classic.
- Oreo Cookies – I especially love crushing up Oreo Minis. It’s my favorite way to add mix-ins, especially when enjoying a bowl of mint Oreo ice cream.
- Chocolate Candies – Like M&M’s, Snickers, Reese’s Peanut Butter Cups, and more treats.
- Chocolate Chips and Sliced Strawberries
- Brownies or Cookies
More Homemade Ice Cream Recipes
If you love this ice cream recipe as much as we do (isn’t it a great recipe?!), you’ll love these flavors too…
- Old-Fashioned Homemade Chocolate Ice Cream
- Butterfinger Ice Cream Recipe
- Fruity Pebbles Ice Cream Recipe
- Homemade Gooey Butter Cake Ice Cream
- And if you want a no-churn recipe, my friend Kelly from Eat Picks makes a delicious no-churn cherry chocolate chunk ice cream.
If you try this recipe, why not leave a star rating in the recipe card right below and/or a review in the comment section further down the page? I always appreciate your feedback. You can also follow me on Pinterest, Facebook, Instagram, and YouTube. And subscribe to my email list too!
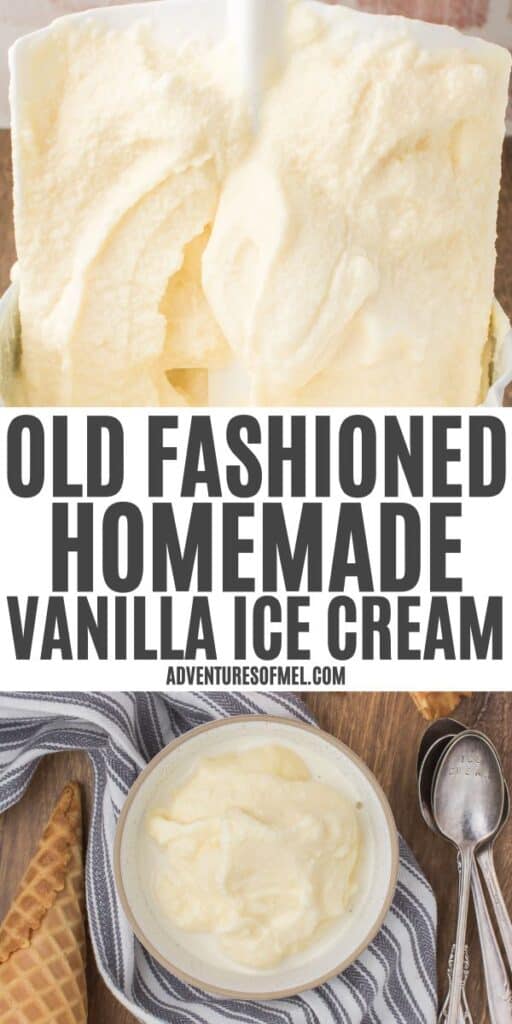
Old Fashioned Homemade Vanilla Ice Cream
Ingredients
Ice Cream:
- 6 large eggs *
- 1 1/4 cups cane sugar
- 4 teaspoons vanilla extract
- 14 ounces sweetened condensed milk
- 24 ounces evaporated milk
- 1 teaspoon sea salt
- 6 cups whole milk *
Freezing Supplies:
- 16 pounds ice
- 3 cups rock salt
Instructions
- In a large bowl, mix the eggs and sugar together using a mixer.
- Then add in the vanilla extract, sweetened condensed milk, evaporated milk, and salt.
- Pour the mixture into the metal canister of your ice cream maker.
- Finish topping off the canister with whole milk, making sure to fill it about 3/4 of the way full, leaving room for expansion as it freezes. Your metal canister should have a fill line.
- Put the lid on, and place the metal canister down into the bucket of your ice cream maker.
- Crush a big bag of ice, gradually pouring ice around the canister. Tip: You can add up to a gallon of water if needed, as well. We sometimes do this because our motor will seize up. Adding a bit of water will help it keep turning.
- Add 2-3 cups of rock salt as you add the ice, making sure to top it off with rock salt.
- Let the motor run until it stops. Once the ice cream is frozen, the motor on your ice cream maker will stop churning. Unplug it immediately. This should signal that the ice cream is completely frozen.
- Wipe any excess ice or rock salt off the lid and out from around the top of the canister. Then remove the lid.
- Carefully remove the churning paddle.
- Serve the ice cream immediately. If you’re not ready to serve it up just yet, you can always leave the lid on, remove the motor, top the canister off with ice, and place a towel or two over it to insulate it and keep it cold.


This is cream recipe is AMAZING!!! It’s the only one we’ll use from now on. It is be at fresh. Once it is in the freezer it hardens and just doesn’t taste the same. It only took a little more than 45 minutes for this to finish, we expected hours.
Ida, thank you so much! I’m so glad you enjoyed it.
I am an hour into the freezing process…not even close to freezing yet. Other recipes I have made generally take 45 minutes to an hour. Hope I haven’t wasted a lot of ingredients, as another reviewer did! I am using Morton Ice Cream Rock Salt, which I use for other ice cream recipes as well. I will update my review if it turns out!
Jamie, I’m not sure why it wouldn’t be freezing. We’ve never had a problem with this recipe.
We had this trouble while making it at the fire station.
Wouldn’t freeze took the top off and was a thin layer frozen hard next to the outside and was insulated from the ice.
Be sure you start turning the freezer before adding ice and salt. Never had a problem if start turning then adding ice and salt
Great tip, David! Thank you!
This was AMAZING. I have made ice cream before but had lost my recipe while moving, this was better than my previous recipe. I only used 1 can of evaporated milk and I did bring the eggs (mixed with some of the milk) to 160 degrees, just how I have always done it. Thank you so much for sharing. This is now my go to recipe for ice cream.
Hollie, thank you so much! I’m so glad you enjoyed it. That is a great tip about the eggs… I think I will try that the next time we make it.
I always make mine the day before so I can cook the eggs & refrigerate overnight. No sick people on my watch!!
Sounds like a great plan, Suze!
Thank you for all the detailed instructions as it helped every step of the way. I was worried about the raw egg thing, but everyone agreed that we don’t care because even if we get sick, it was well worth it! Lol! Everyone loved it so much! I have a very old electric ice cream maker, (probably at least 30 years old) and it worked perfectly thanks to your step by step instructions. Rock salt is definitely the key!
Marsha, thank you! I’m so glad everyone enjoyed it. I’m getting ready to make a batch of peach ice cream this weekend; my boys are excited. We have an old ice cream maker too, and it works like a charm. Yes, rock salt is the key!
I used this recipe with my electric Rival ice cream maker, and it never did freeze. Supposed to take up to 40 minutes, and I am 2 hrs in. So disappointing.
Linda, did you use rock salt and ice? Rock salt is the key to getting it to freeze properly.
Linda, Did it ever freeze for you? I’m 90 minutes in, and so far it isn’t freezing!
Can you use Splenda instead of sugar?
Linda, I’m not sure what the ratio would be, but I think you probably could.
Would I be able to make this in an electric ice cream freezer?
Susan, I’m not sure how it would turn out since the recipe highly depends on the churning. If it’s a churning maker, I don’t see why not, but you may need to cut it in half or cut it down if the maker is smaller.
This recipe is amazing. The best ice cream ever. Thank you so much for sharing. Will make this again and again
Thank you so much, Tim! It’s definitely one of our summer favorites.
Is this for a 2 qt. or 4 qt. freezer? I see the yield is 30 servings but serving size is not noted. Will you provide that info. so this turns
out well? I just got a new 4qt. freezer and want to make this recipe. Its like the one I grew up with.
Hi Debbie, sure! Ours is a 4 qt. freezer. Yes, the yield is about 30 servings, and the nutritional values in the nutrition facts are per serving. I hope you enjoy the recipe!
LOL – I figured it out with the amount of ingredients. We’ve made it twice, mixing a batch now! Just like I remembered growing up.
Thanks!
Debbie, that’s great! I’m so glad you’re enjoying the recipe.
Can you mix eggs sugar and vanilla ahead of time and leave in fridg.
Cindy, I don’t see why not. I wouldn’t leave it in there for too long, but if you’re making it that day or the next day, I don’t see why not.
I did not read where the eggs were cooked. Are you putting raw eggs in this recipe?
Hi Kayce, yes, we use raw eggs. It’s an old-fashioned ice cream recipe.