Skip to content
Menu
Home
Recipes
Recipe index
Course
Breakfast and Brunch Recipes
Appetizers
Dinner Ideas
Sides
Desserts
Drinks
Type
Quick & Easy
Burgers & Sandwiches
Soups & Stews
Salads
Pasta
Instant Pot
Slow Cooker
Canning & Freezing Recipes
Ingredient
Beef Recipes
Pork Recipes
Chicken & Turkey Recipes
Seafood Recipes
Eggs
Cuisine
Tex-Mex
Holidays
4th of July
Fall Favorites
Halloween
Thanksgiving
Christmas
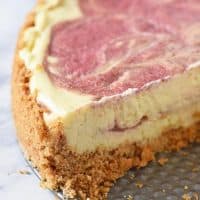
Valentine’s Day
St. Patrick’s Day
Easter
Shop
Etsy Shop
About Mel
About Mel
Work with Mel
Contact
FAQs
Privacy Policy
Disclosure Policy
Disclaimer and Terms of Service
Favorites
Favorites:
Breakfast and Brunch Recipes
Instant Pot
Desserts
Camping Recipes
Appetizers
Kitchen Tips & Tools
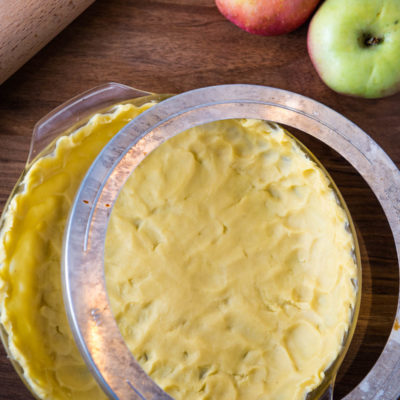
How to Keep Pie Crust from Burning – 3 Ways to Protect Edges
How to Cut a Pepper 4 Easy Ways
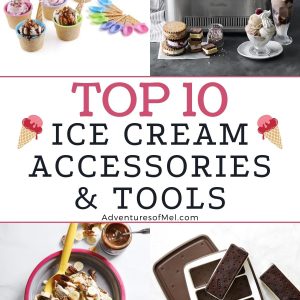
Top 10 Ice Cream Accessories and Tools
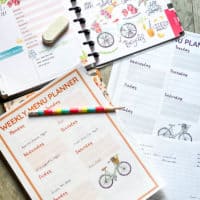
How to Make a Weekly Meal Plan from Your Pantry
Easy Homemade Cleaning Wipes with 3 Ingredients
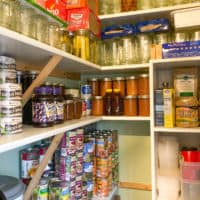
Working Prepper Pantry List with Guide to Stocking
No Fail Pie Crust Recipe with Butter
Easy Homemade Fire Starters That Work like a Charm
Campfire Cooking Equipment (The Ultimate Guide)
Minecraft Grass block Cake without Fondant
Easy Graham Cracker Crust Recipe
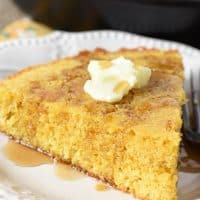
Buttermilk Cornbread with Milled Corn
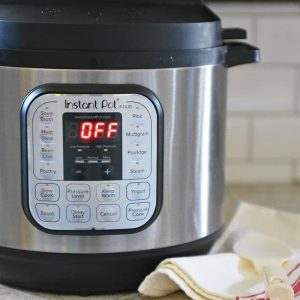
Instant Pot Quick Start Guide for Easy Home Cooking
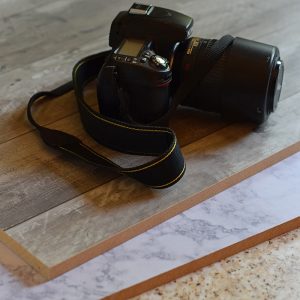
How to Make a Beautiful DIY Photography Background on the Cheap
featured on ...
Meet Mel
Work with Me
FAQ's
Contact
Shop
Recipes
Dinner Ideas
Instant Pot
Slow Cooker
Tex-Mex
↑ Back To Top