
Last Christmas Dan and the boys got me a gift certificate to one of my favorite antique stores. I pretty much knew right away what I wanted to get with it. I'd been wanting to build suitcase shelves for quite awhile, so it only made sense to use part of it for an old suitcase. We already had the suitcase cabinet, and we had the suitcase table. We definitely needed shelves. Off on the hunt I went.

It was in the very back of the antique store that I found a booth filled to the gills with vintage suitcases. There were several on a table, underneath the table, under a bird cage, stacked on top of one another, everywhere. I dug and dug until I found what felt like just the right fit for my project. The entire suitcase had a certain charm to it, from the clasps on the front to the hinges on the back.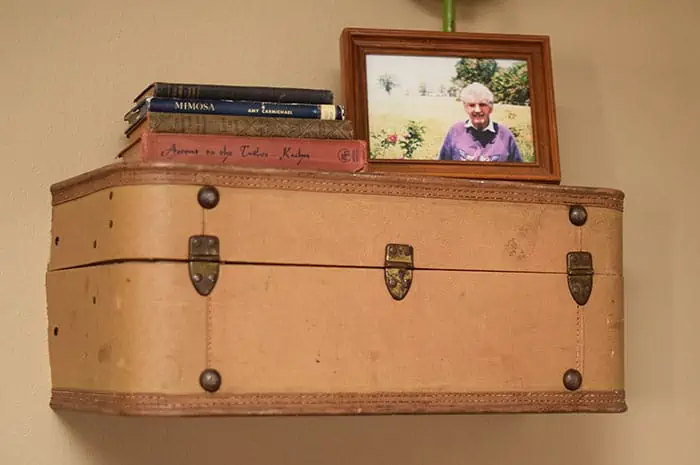 And the color was neutral but absolutely beautiful. It was a bit roughed up, a part of its character that only adds more charm, in my opinion.
I brought it home, and we got to work, ready to build suitcase shelves that would add even more character and charm to our living area.
Supplies You'll Need to Build Suitcase Shelves
You'll need a few supplies for this DIY project, including the following:
- 1 old suitcase, preferably a level design
- Wood
- Tape measure
- Sharpie or carpenter's pencil
- Saw (Sawzall, table saw, hand saw, miter saw)
- Cutoff tool or grinder
- Vacuum cleaner
- Screw gun (or screwdriver) and screws
How to Build Suitcase Shelves
First you'll want to clean out your suitcase, removing any unnecessary fabric or metal pieces/framework.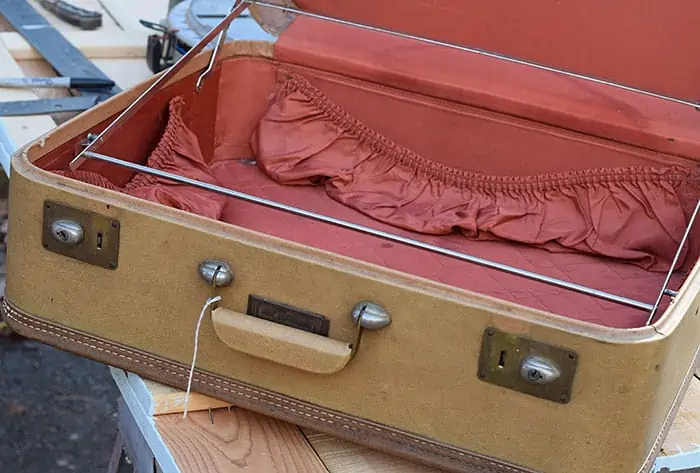
Measure and cut your suitcase in half in the direction you desire.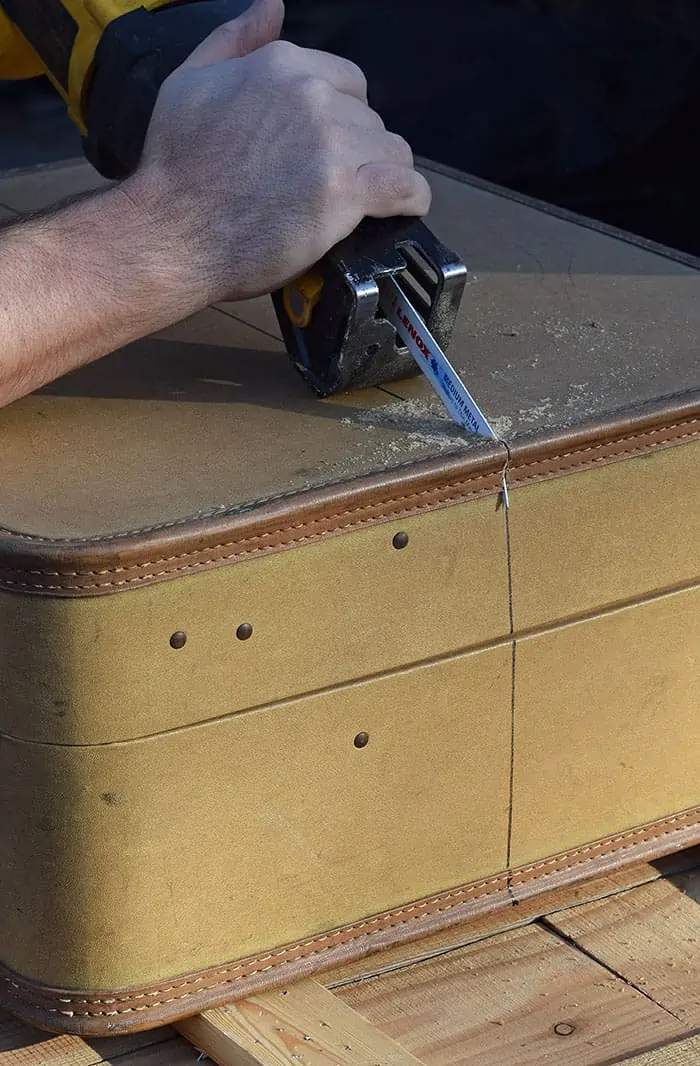 We intended to use both the top half and the bottom half of the suitcase as shelves. So, we cut right down the middle using a Sawzall.
Measurements of the wood you plan to use are case by case, since suitcases vary in size, and it will depend what size your suitcase is. Cut pieces of wood, using a table saw or hand saw, to screw to the inside of the suitcase to hold the suitcase halves together. Otherwise, each part will want to flop open.
Build your shelf framework. This is the piece of wood you'll place on the wall with 3 perpendicular pieces of wood jutting into the suitcase.
To place your suitcase shelves on the wall, attach the framework to the wall. Slide your suitcase half on, and screw the suitcase to the framework from the top down.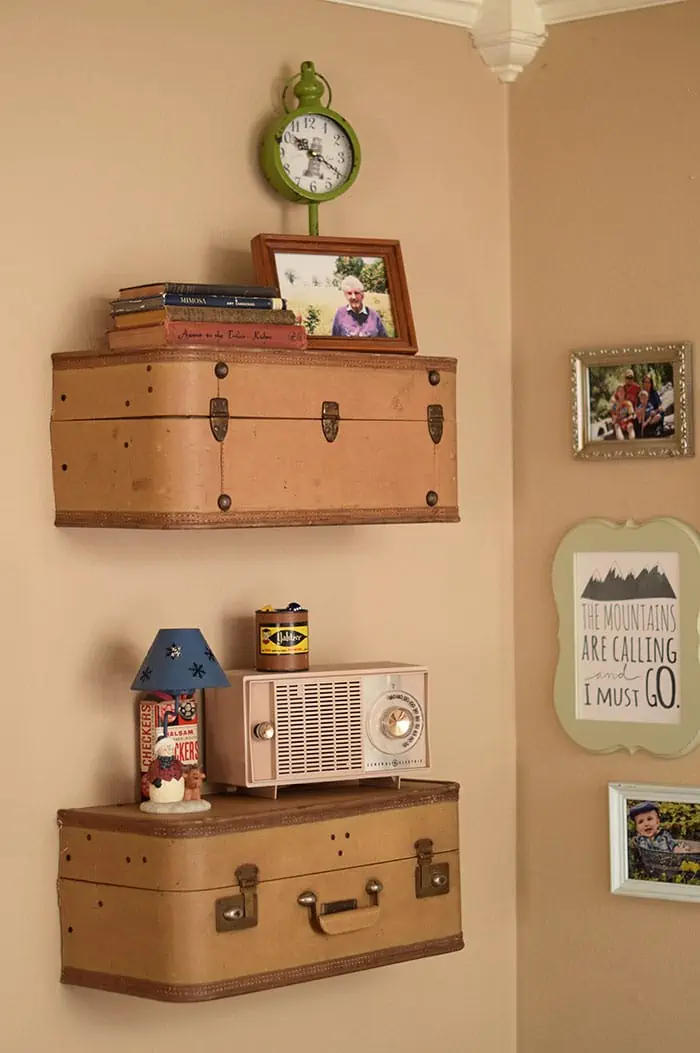
You can watch this video to see the entire process, from start to finish.
Finally, you're ready to decorate your vintage shelves however your heart desires.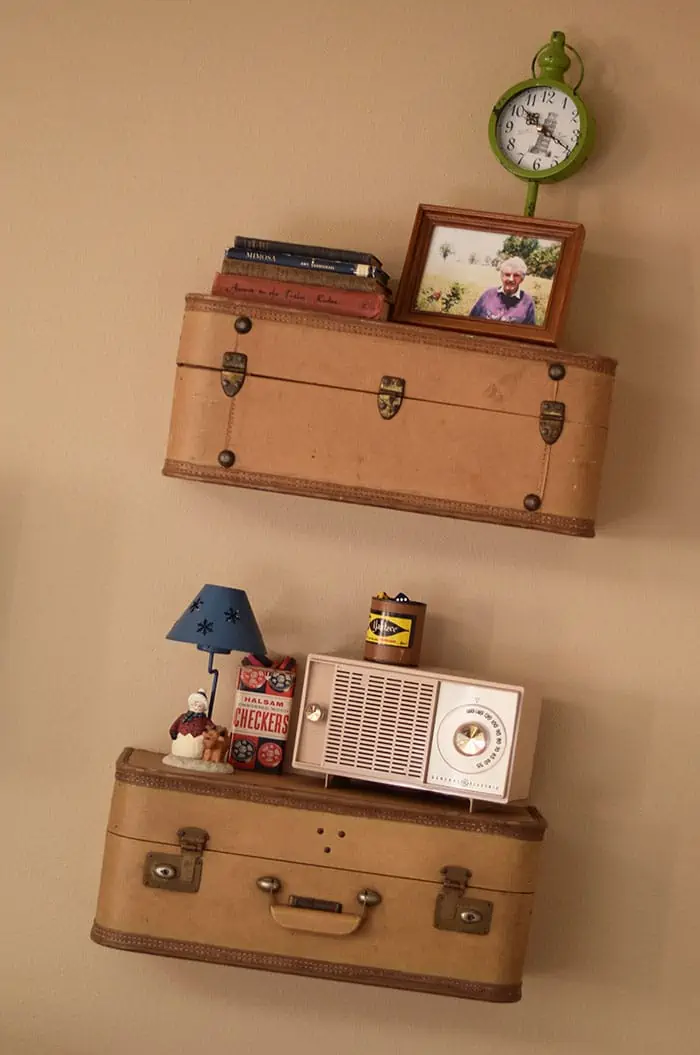 It's such an easy DIY project, and they add so much vintage flair to a living area.
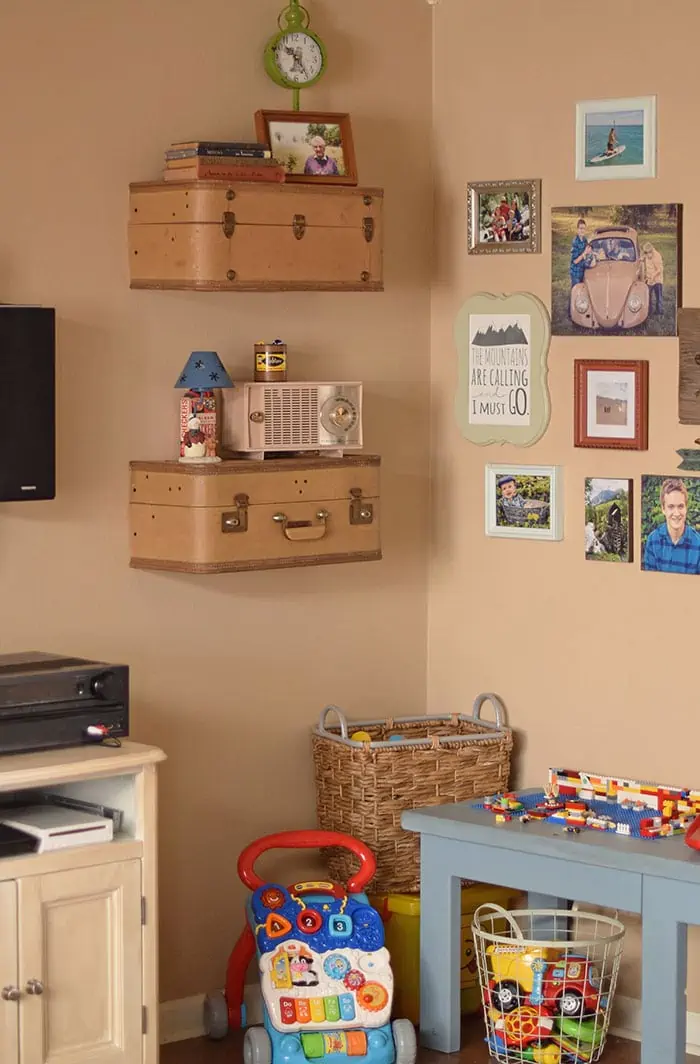
Looking for more thrifty DIY project inspiration?
- How to Make a Beautiful DIY Photo Canvas on the Cheap
- DIY Photography Background on the Cheap
- Beautiful DIY Earrings with Mod Podge
- How to Upcycle Vintage Cake Tins to DIY Light Fixtures
- 11 Free or Super Cheap DIY Planner Supplies and Printables
- DIY Changing Table
Can't build them just yet? Pin it for later!


So cute! I love the way you carried out the vintage theme with accessories. Your tutorial is clear and thorough – I have a pile of old suitcases – time to get out the saw!
This is so cool and crafty. thanks for sharing
Looks like a fun project.
I like the bug in the picture too!