


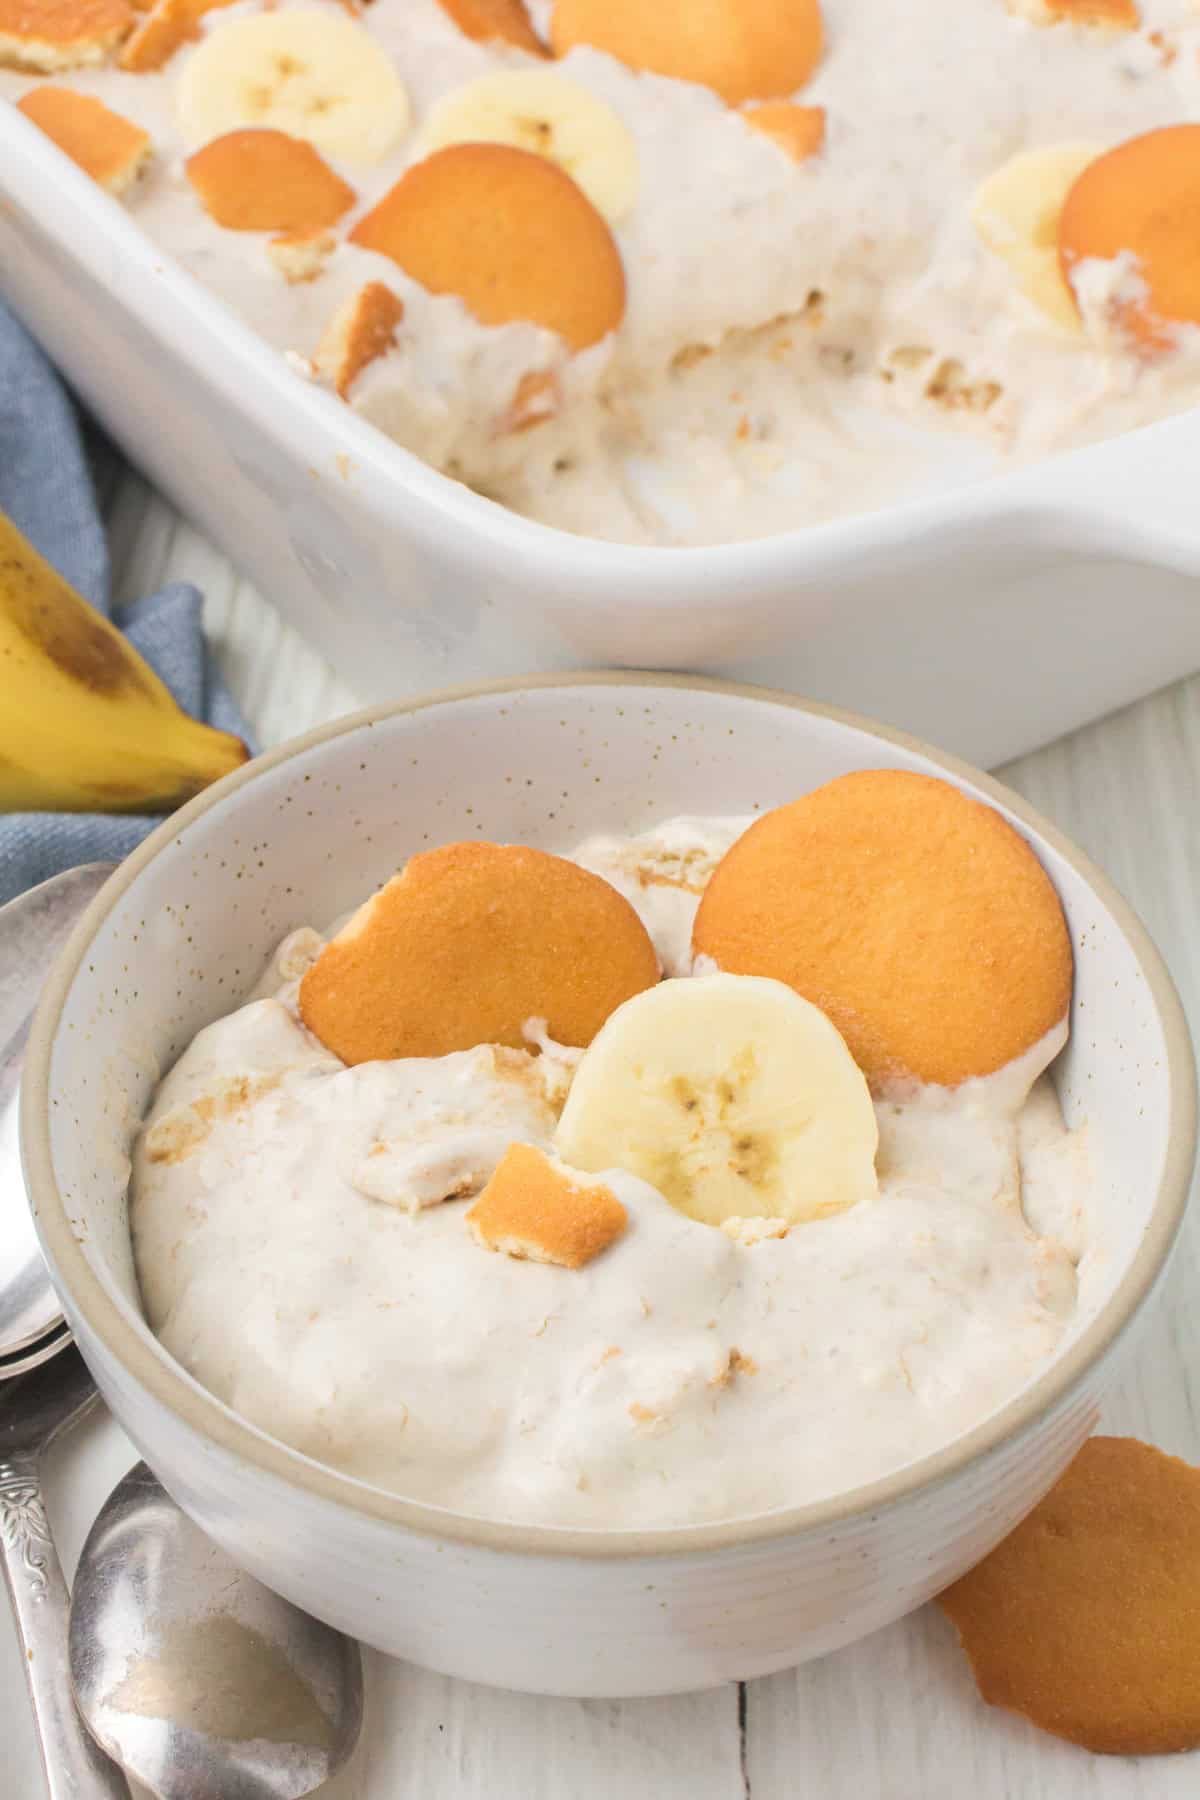
Learn how to make an easy no bake banana pudding with layers of vanilla wafers, rich cream cheese, and fresh, perfectly ripe bananas. This is a classic 9×13 dessert that’s perfect for potlucks, family reunions, and holiday get-togethers.
I love a good 9×13 dessert because it’s just big enough to feed a crowd. For years, I’ve made peach delight, no bake blueberry yum yum, strawberry delight and pumpkin delight all in a 9×13 casserole dish. I’m about to show you how to make the best no bake banana pudding in a 9×13 dish too!
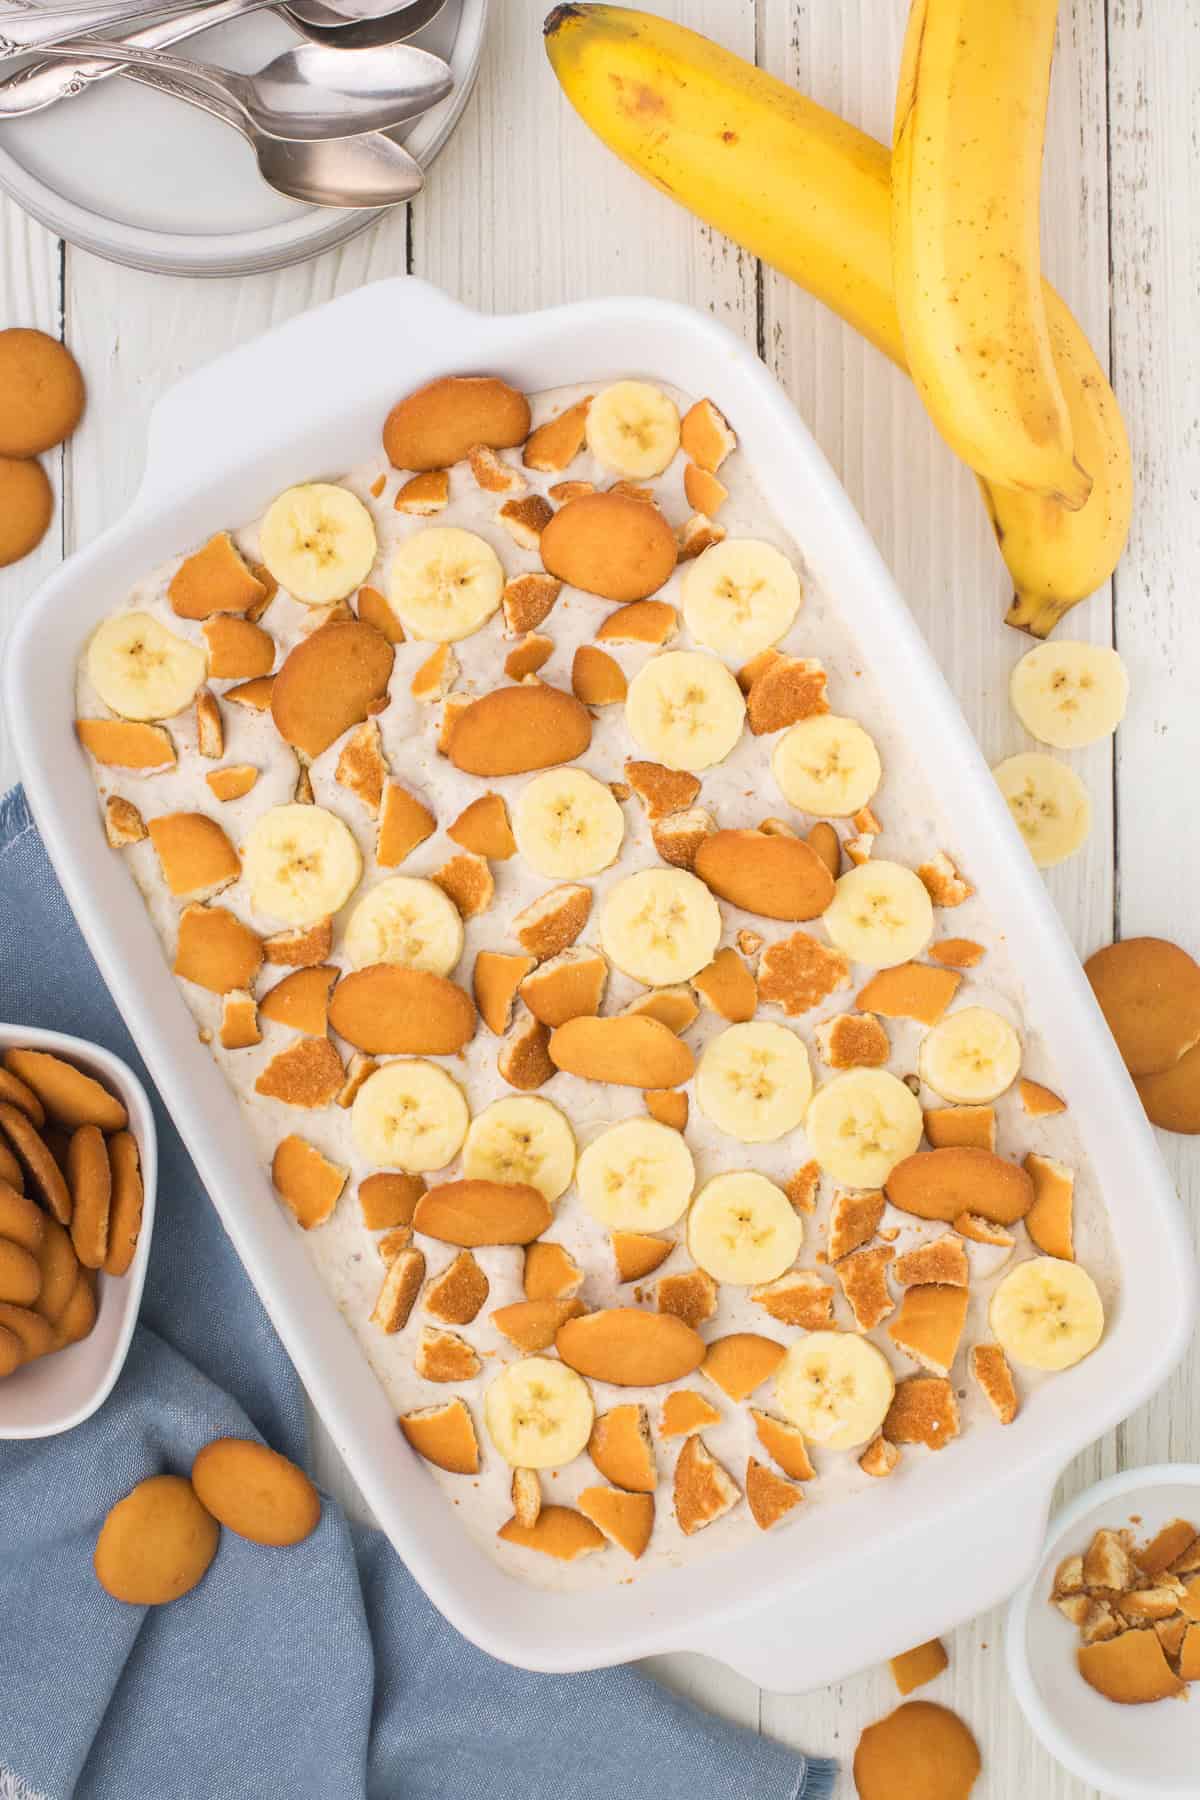
My mom made this no bake banana pudding all the time growing up. Unlike southern-style banana puddings, this recipe doesn’t require sweetened condensed milk, and you don’t have to cook an egg custard. It’s so easy because you can pretty much just layer everything in and go.
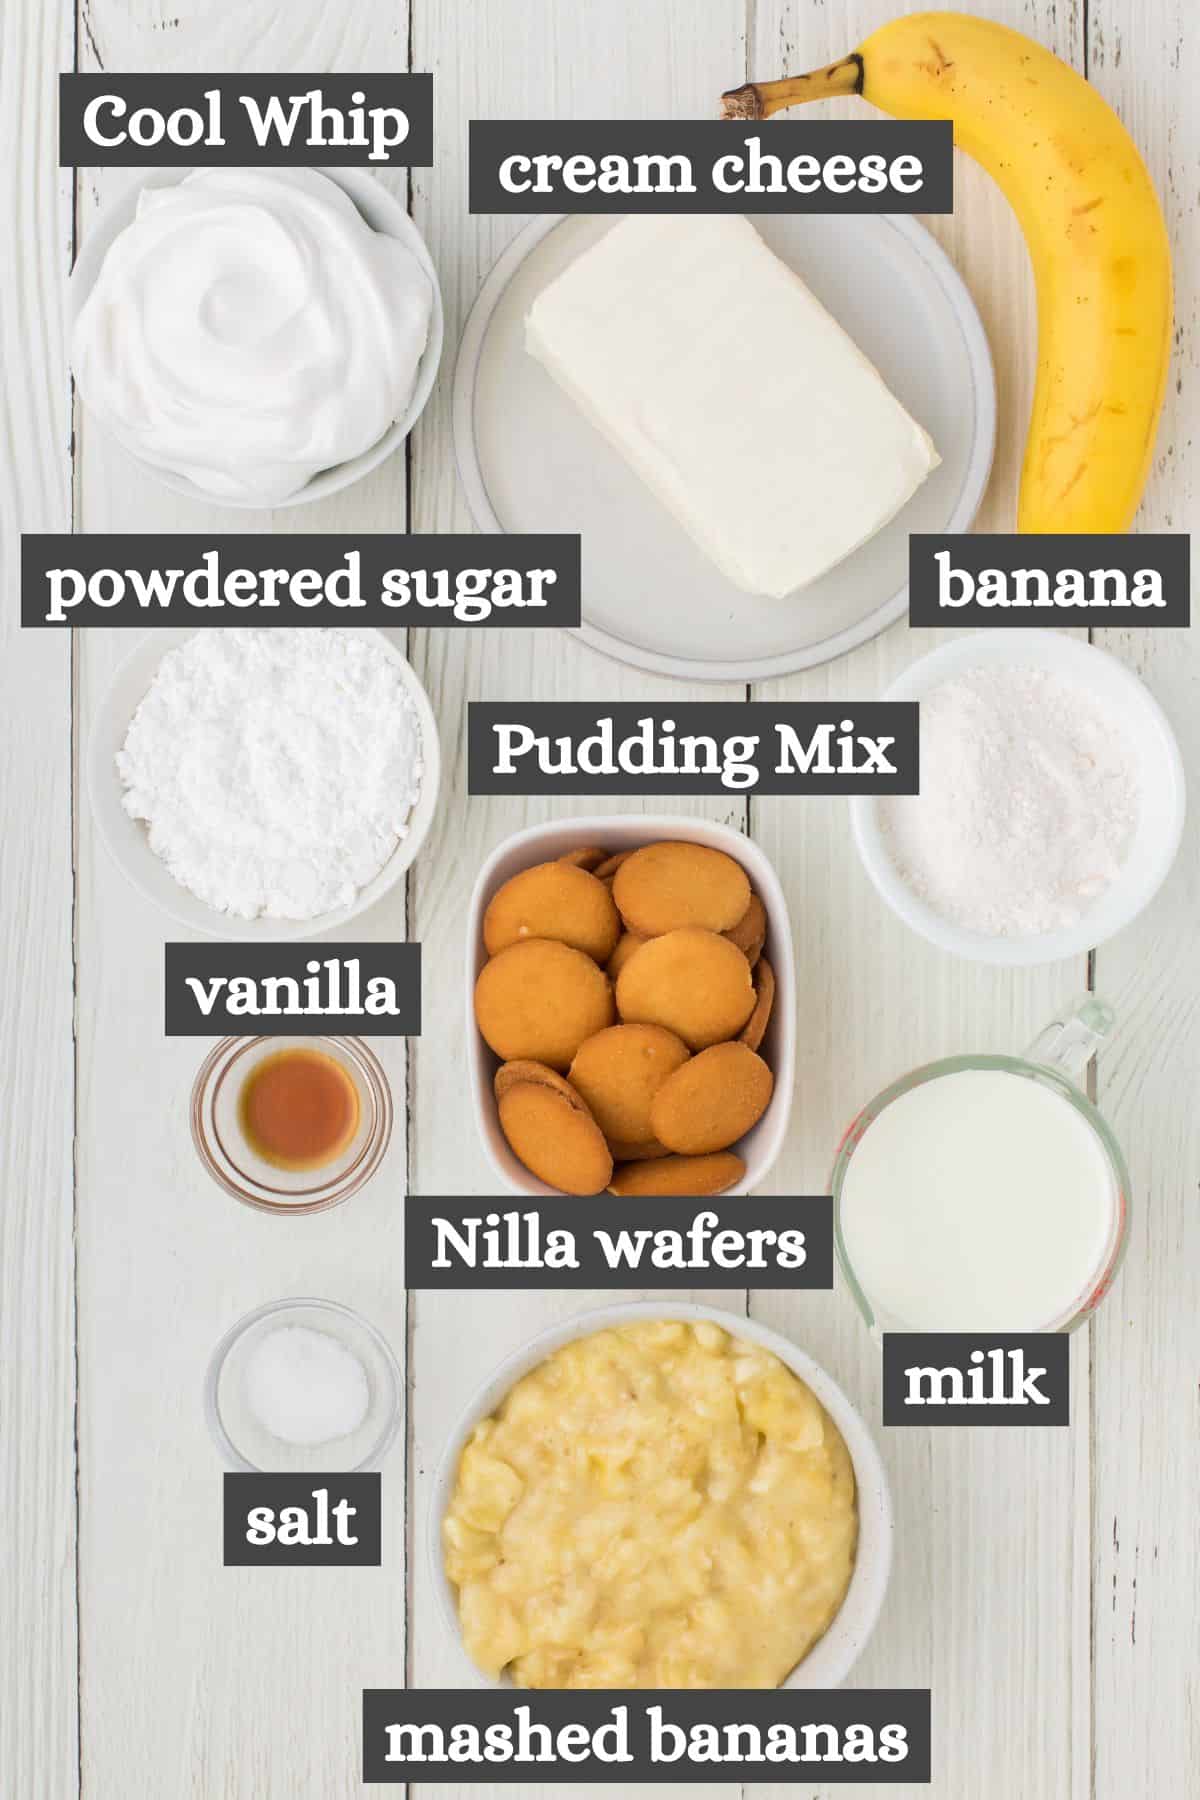
Ingredients & Substitutions Notes
- Cream Cheese – The cream cheese base is what gives the filling that velvety thick, rich and creamy texture.
- Bananas – This recipe uses mashed bananas in the filling, as well as sliced bananas on top. Don’t be tempted to use overripe bananas, as they’ll cause a watery filling. Instead, save the overripe bananas for banana bread, and use fresh bananas that are at peak ripeness for no bake banana pudding. You want them to be solid yellow with a few speckled brown spots and no green whatsoever.
- Instant Vanilla Pudding Mix – This recipe uses instant vanilla pudding mix so that you don’t have to cook the filling. If you prefer a southern-style banana pudding with a cooked pudding base, make this old-fashioned banana pudding recipe instead.
- Cool Whip – I prefer Cool Whip for this recipe. You can use homemade whipped cream, but it will require stabilization via. whipping it ’til it forms stiff peaks before it can be folded into the filling. This will prevent it from separating and weeping liquid into your cream cheese filling.
- Vanilla Wafers – I’ve always made my no bake banana pudding with vanilla wafers. You can make this recipe gluten free with gluten free vanilla wafers.
How to Make No Bake Banana Pudding
Before getting started, get your 9×13 casserole dish out and ready to go. You’ll also need to mash up the bananas for the filling, and then you can slice up a banana for the topping.
Whip the Cream Cheese Base
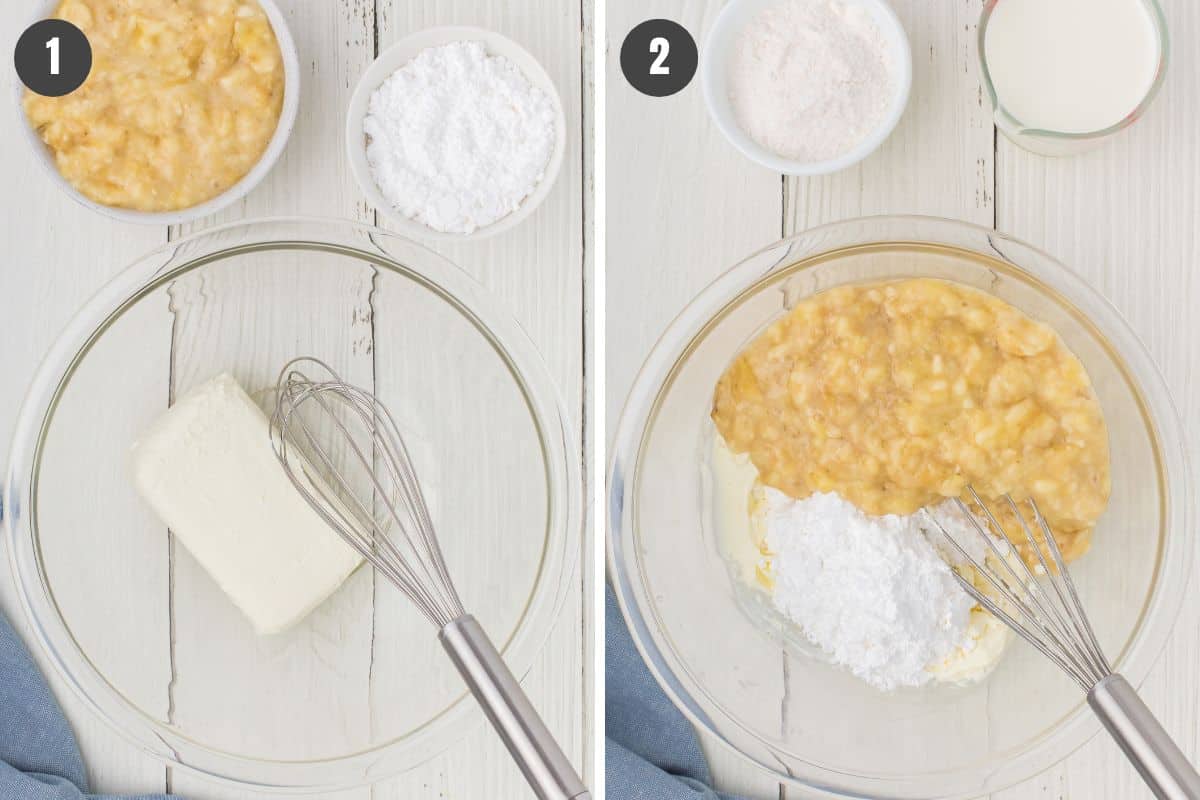
- In a large mixing bowl, whisk the cream cheese for at least 1 minute, ’til smooth and creamy.
- Blend the mashed bananas and powdered sugar with the cream cheese ’til smooth and well combined.
Mix and Set the Pudding
- In a separate bowl, whisk together the pudding mix and salt with the milk and vanilla extract for about 2 minutes; then let rest for 3-5 minutes to thicken.
- Slowly blend the pudding into the cream cheese mixture.
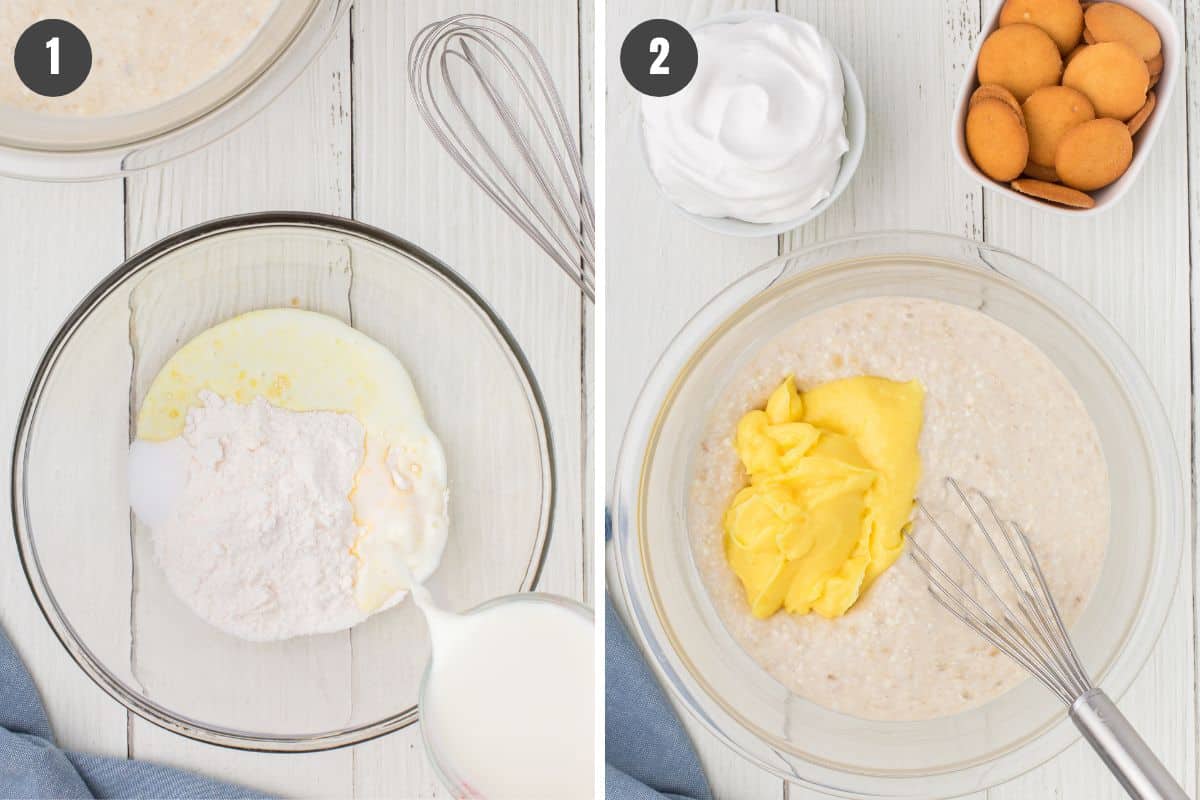
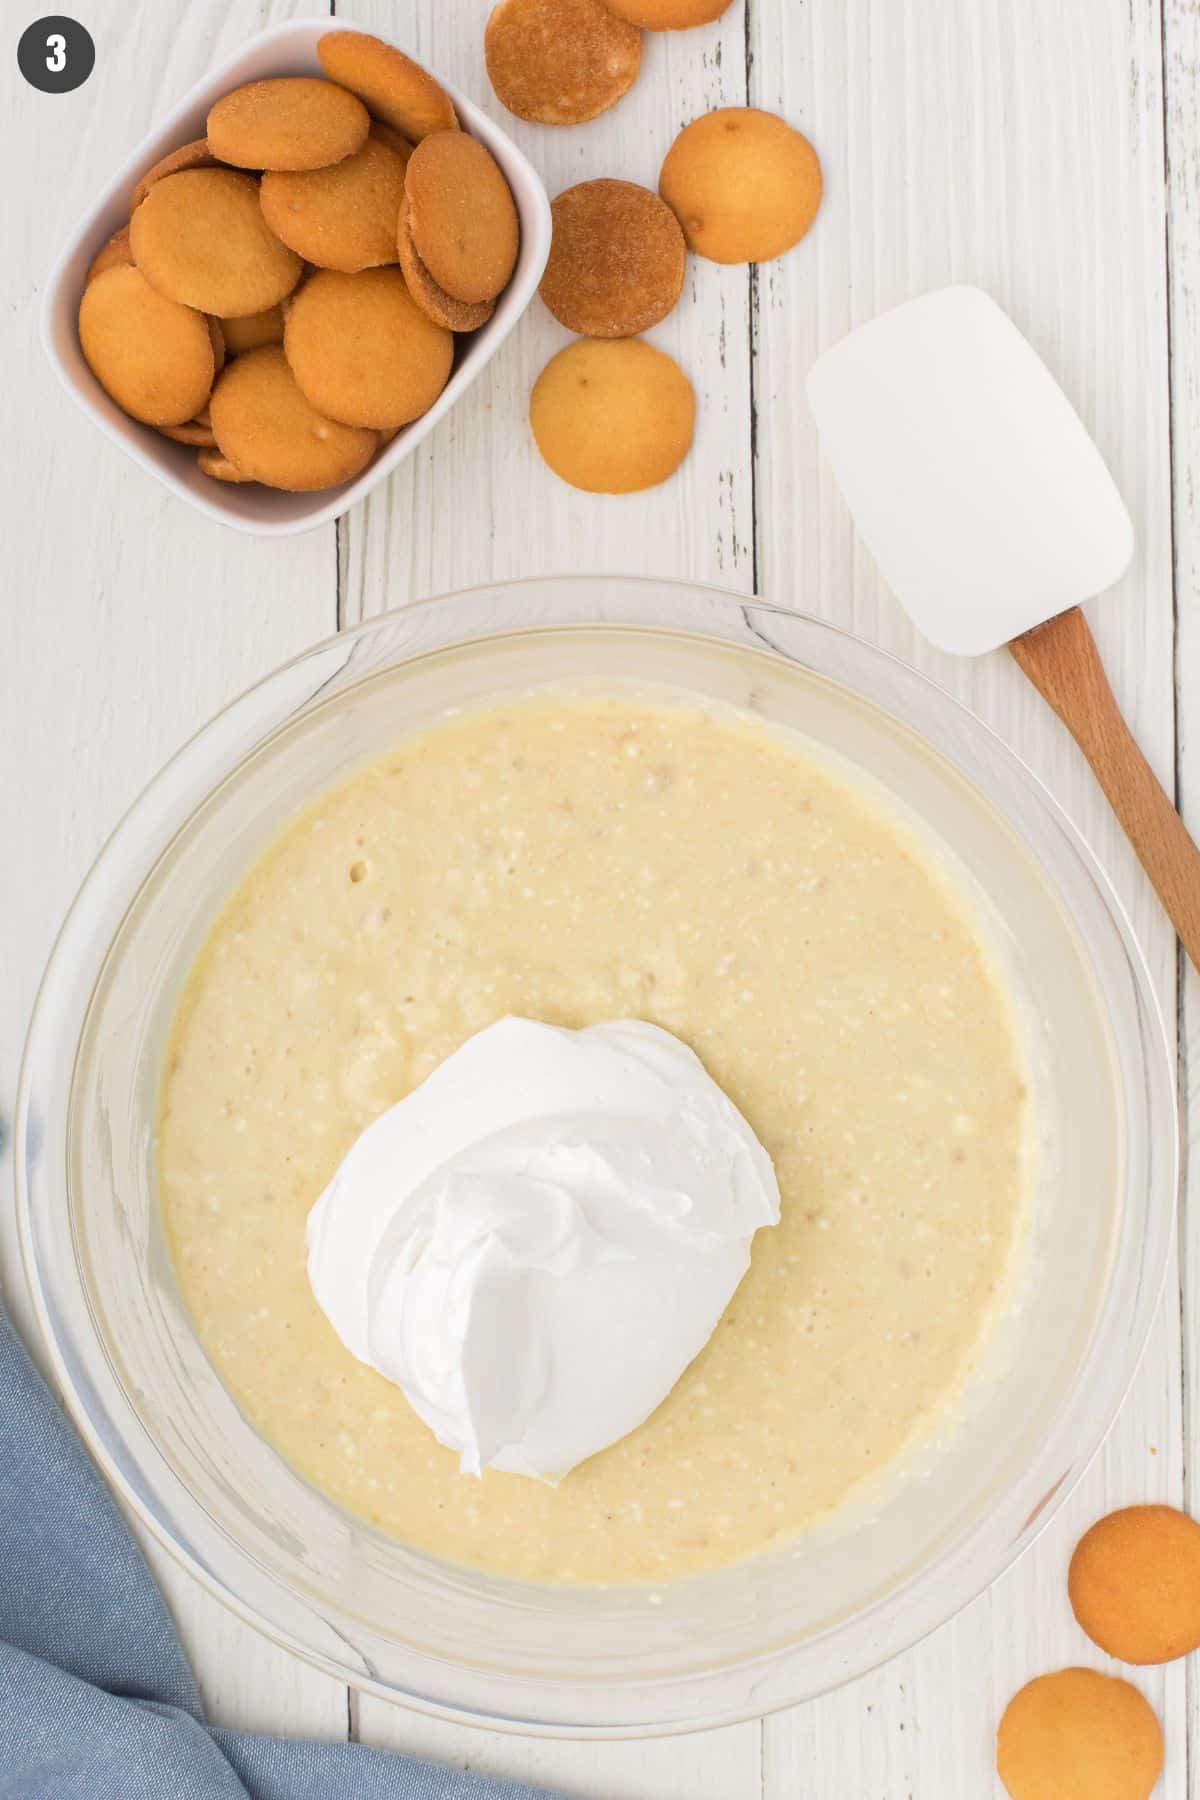
- Fold in the Cool Whip ’til everything is well combined.
Layering No Bake Banana Pudding
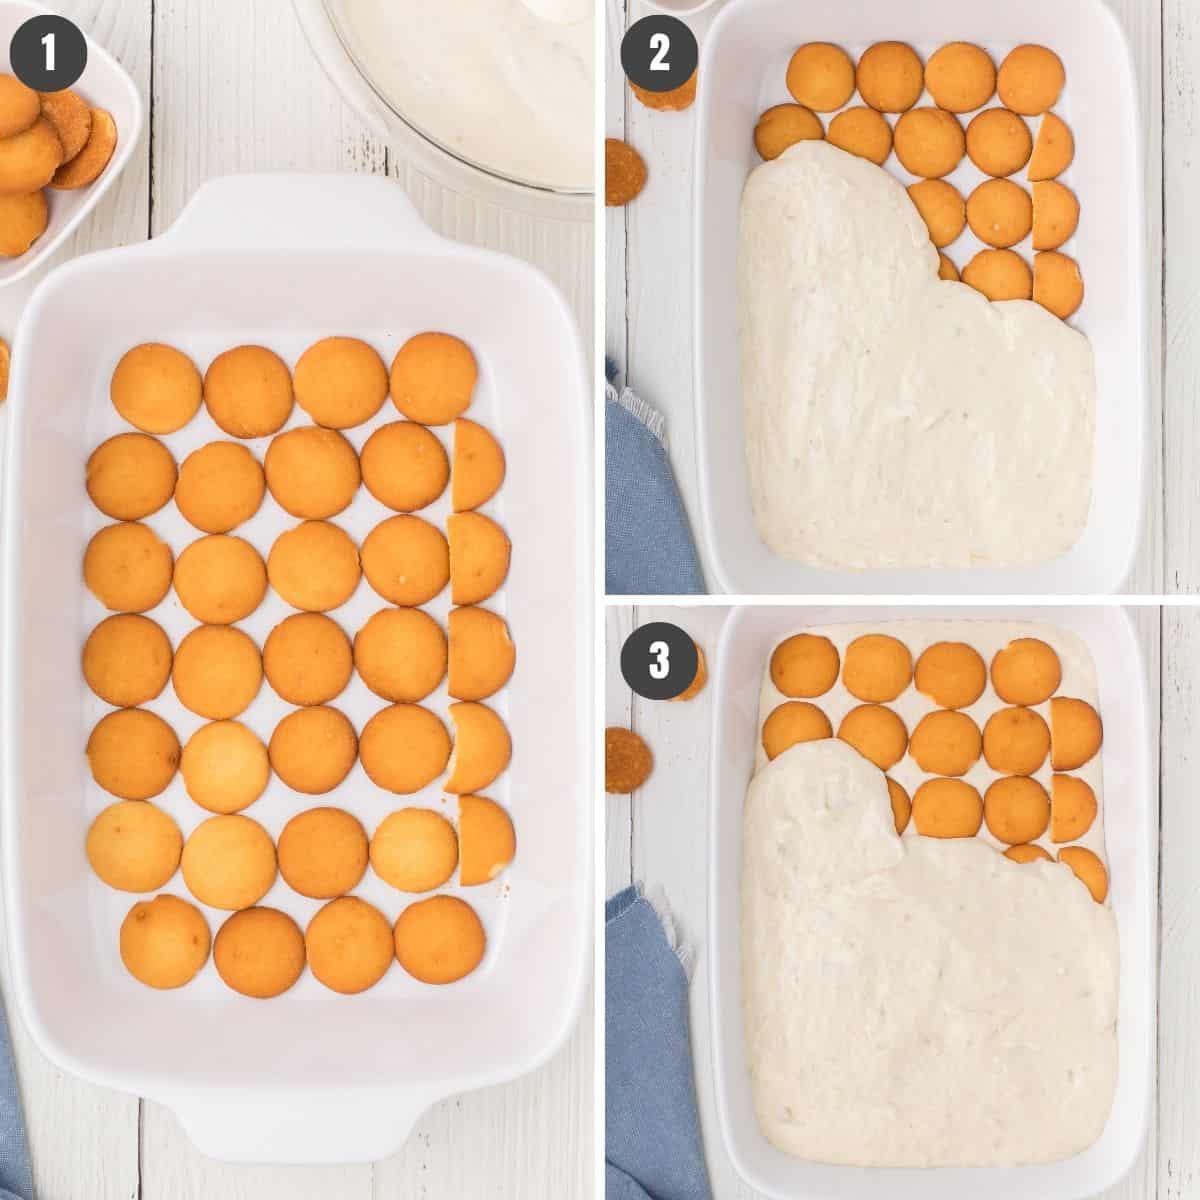
- In a large 9×13 baking dish, add a bottom layer of vanilla wafers.
- Add a layer of pudding on top of the cookies.
- Then repeat the layers, vanilla wafers then pudding.
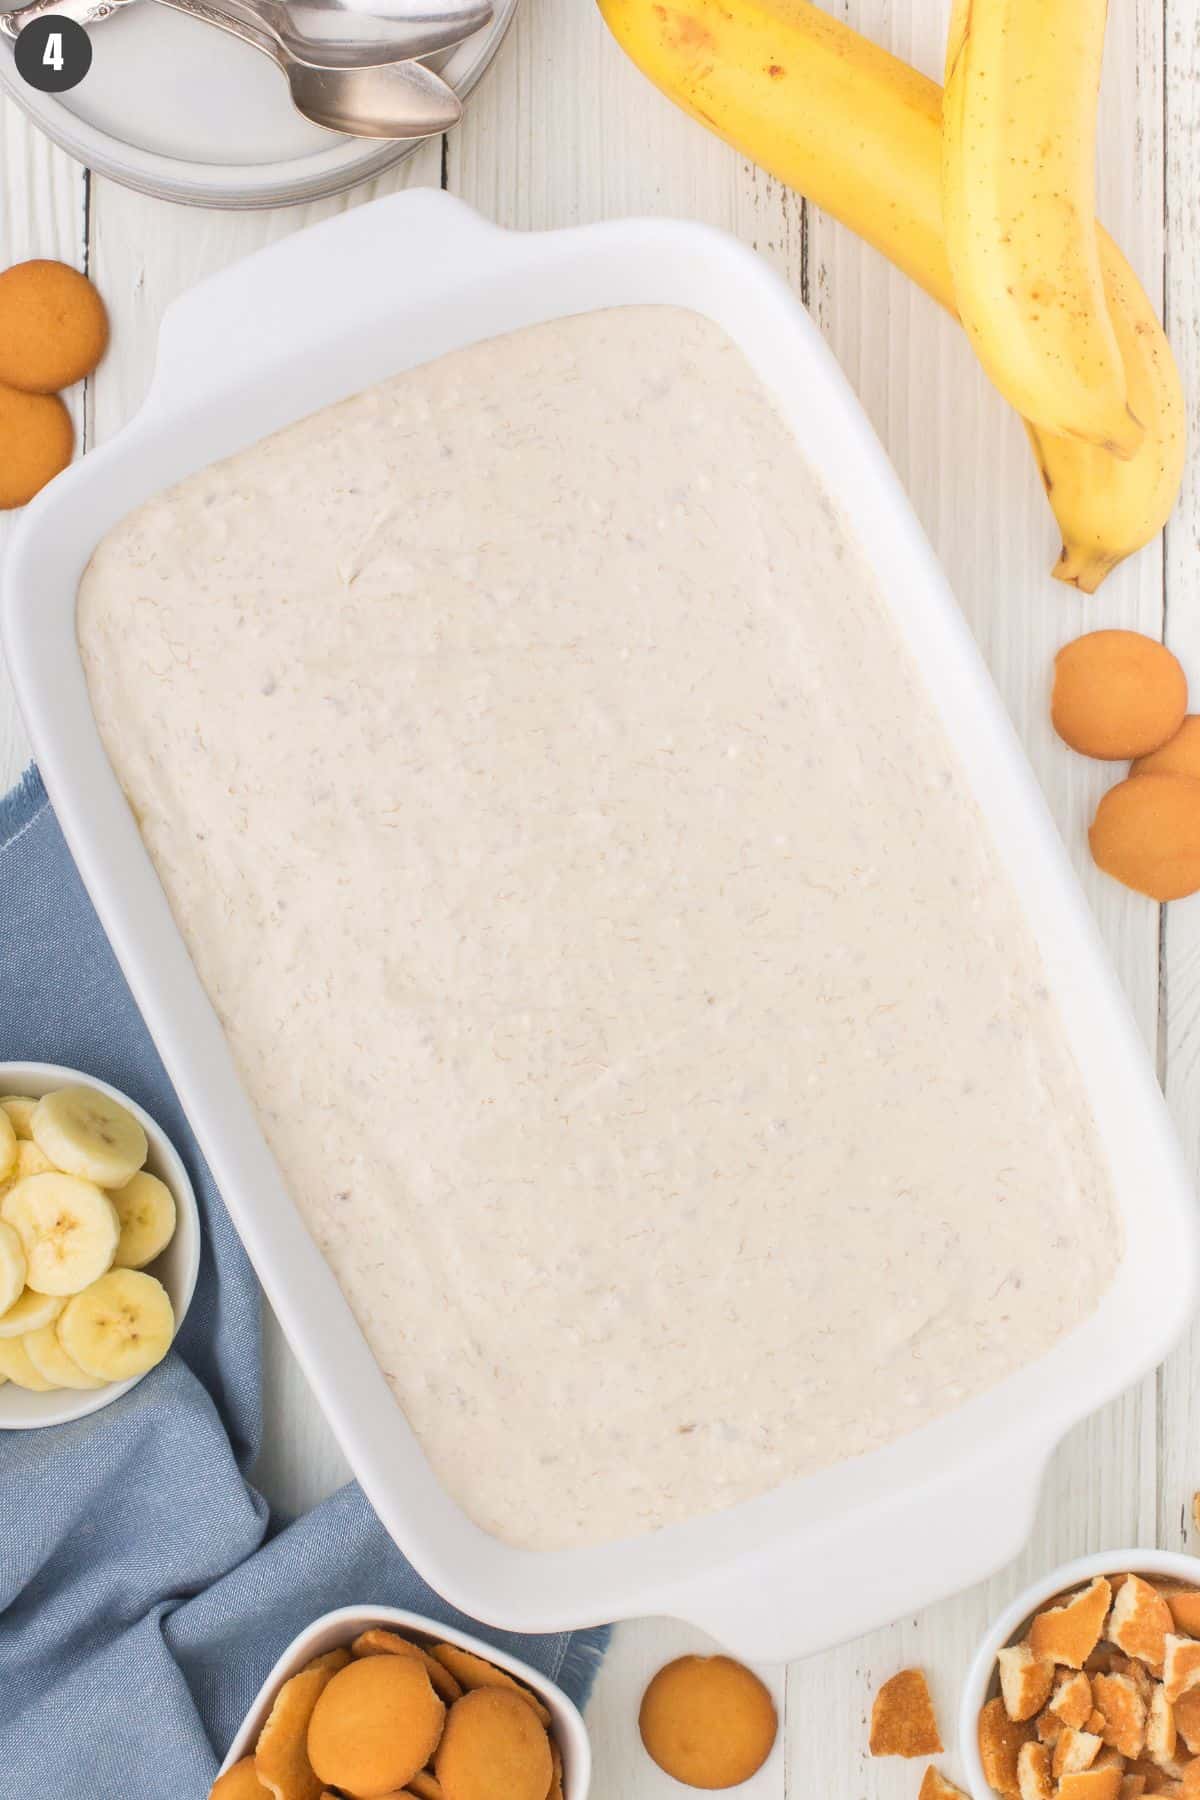
- Cover and chill in the fridge for at least 4 hours.
- When ready to serve, garnish with the remaining cookies, cookie crumbs, and sliced banana evenly over the top of the pudding.
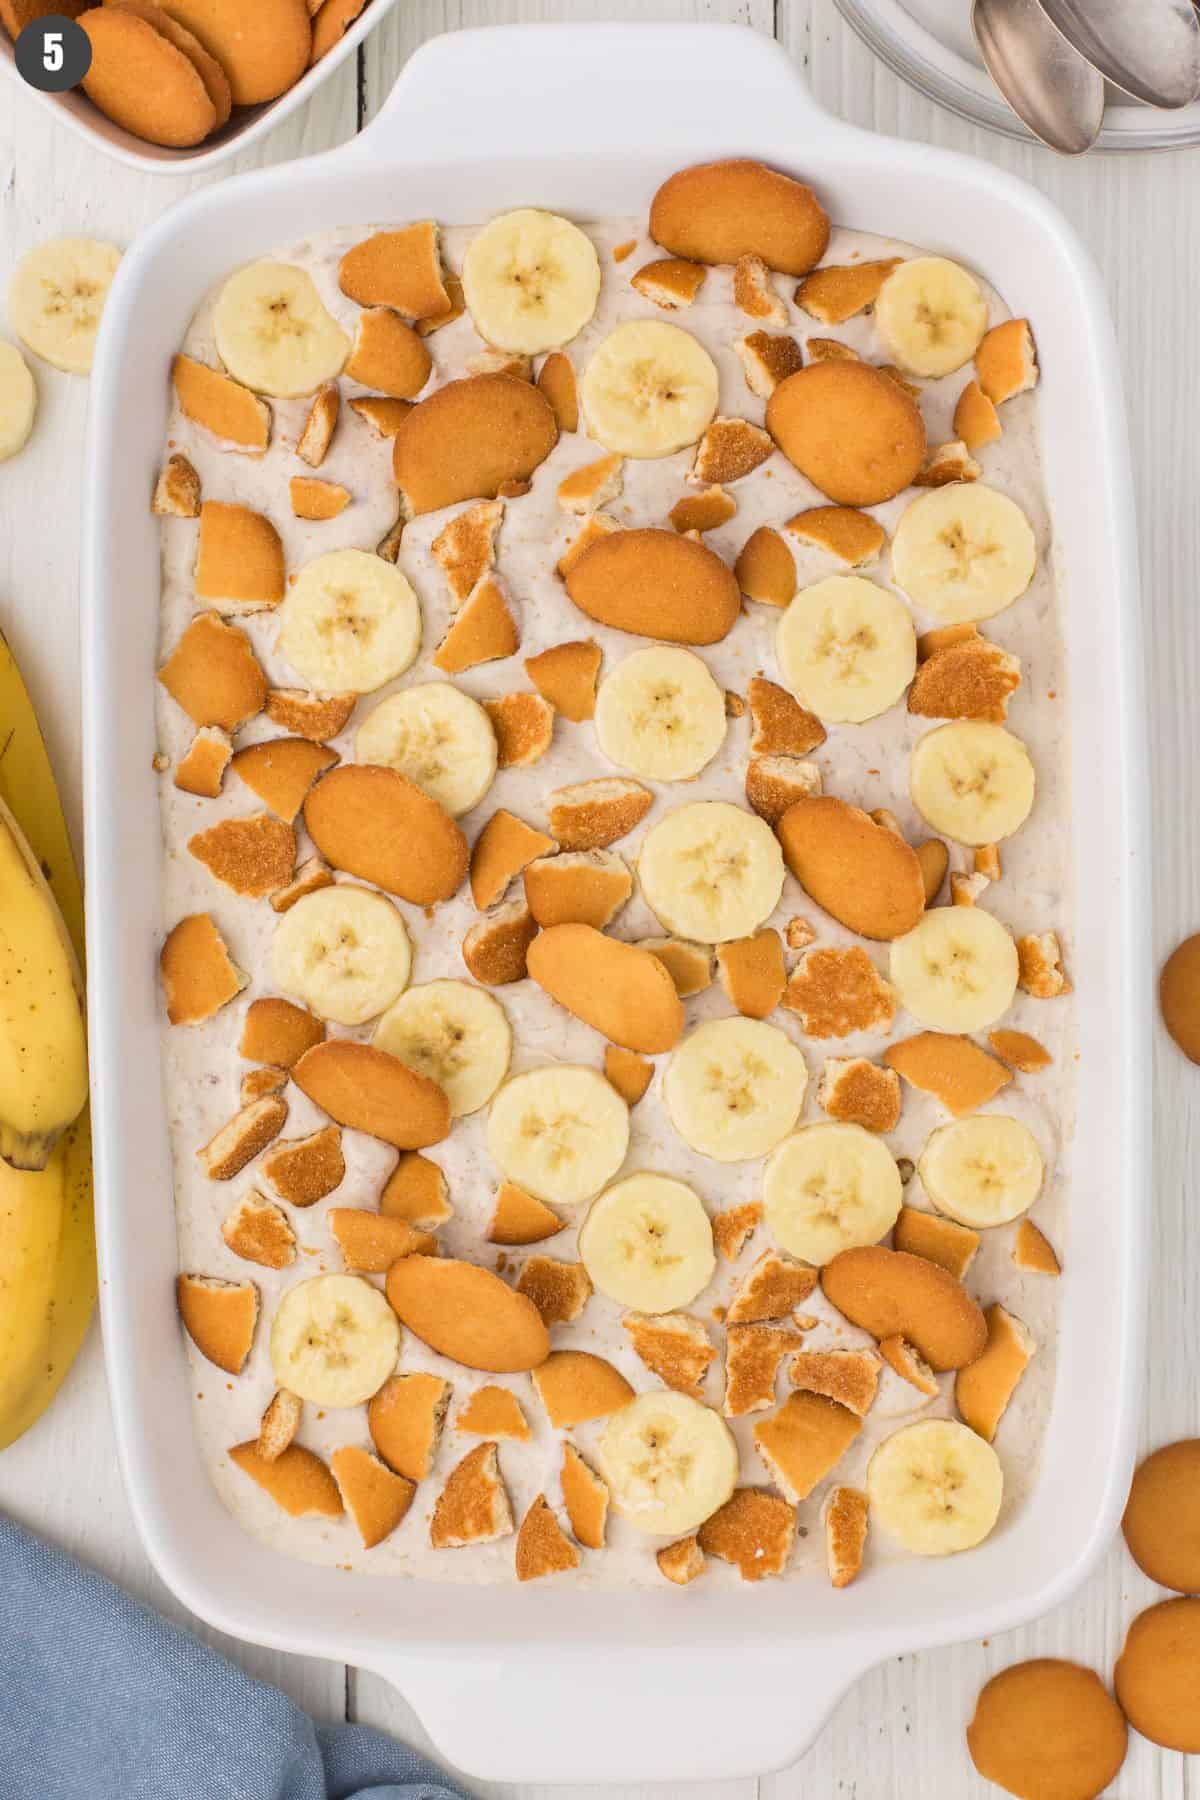
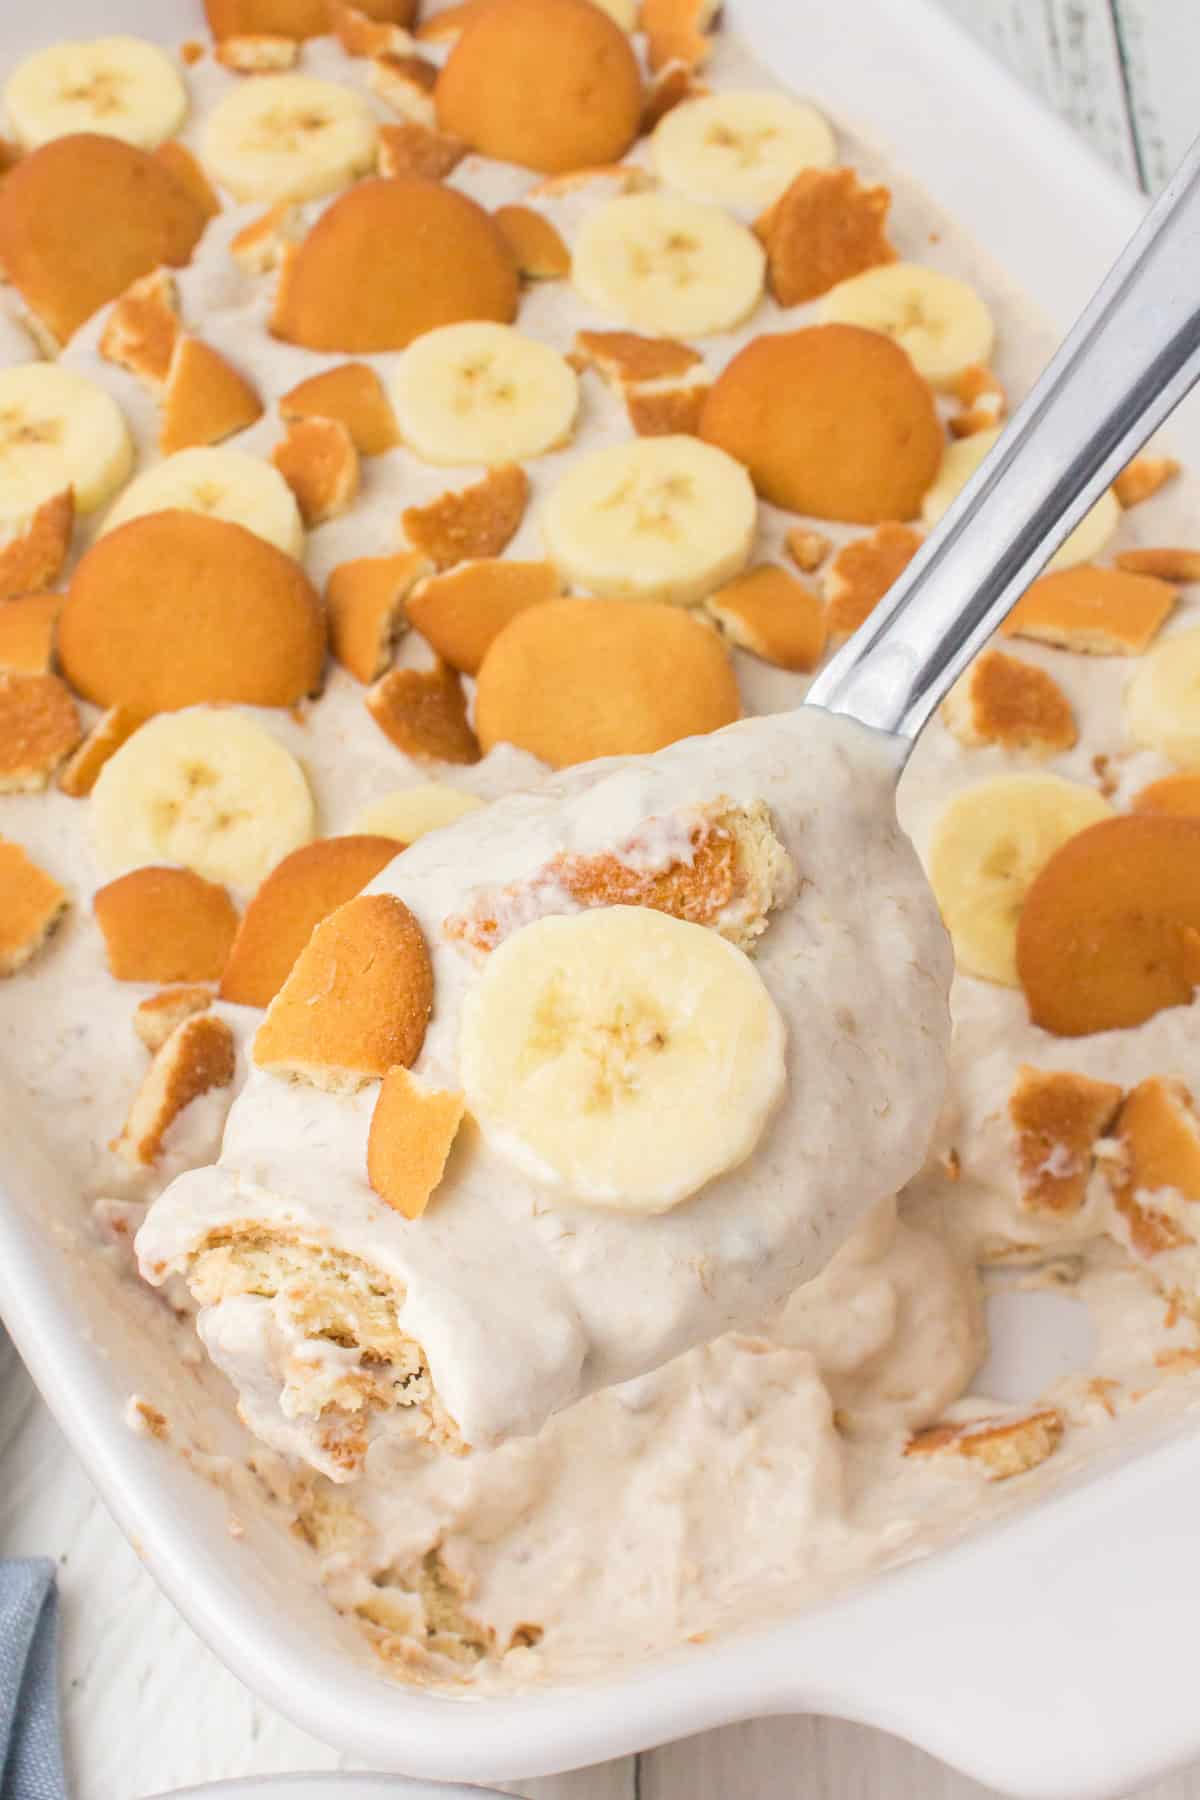
That’s it! Your no bake banana pudding is ready to serve. Once it’s chilled for enough time, the vanilla wafers will turn soft and cake-like, and the filling layers will set up nice and firm for easier scooping.
Expert Tips and Recipe FAQ’s
This can happen for a few reasons. First, it’s possible that you didn’t whip the instant vanilla pudding mix enough. On the other hand, it also might just need more time to set in the refrigerator if it hasn’t had enough chill time yet. Additionally, if you used whipped cream that was not stabilized properly (whipped ’til stiff peaks form), the whipped cream will separate and weep excess liquid into the filling. Finally, overripe bananas can release excess moisture, which is why I recommend using bananas that are at peak ripeness– neither overripe nor underripe.
This is a great recipe to make ahead of time. Covered with plastic wrap, no bake banana pudding will keep in the fridge for up to 2-3 days before the texture and flavor start to change.
No, I do not recommend freezing no bake banana pudding. Freezing will cause the bananas to turn mushy and brown. The whipped topping will separate, causing the vanilla wafers to become soggy.
More Easy Banana Desserts
If you try this recipe, why not leave a star rating in the recipe card right below and/or a review in the comment section further down the page? I always appreciate your feedback. You can also follow me on Pinterest, Facebook, Instagram, and YouTube. And subscribe to my email list too!
No Bake Banana Pudding
Ingredients
- 8 ounces cream cheese softened
- 4 whole bananas peeled and smashed
- 3/4 cup powdered sugar
- 3.4 ounces instant vanilla pudding mix
- 1/2 teaspoon sea salt
- 1 1/4 cups whole milk
- 1/2 teaspoon vanilla extract
- 8 ounces Cool Whip
- 16 ounces Vanilla Wafers
- 1 whole banana peeled and sliced
Instructions
- In a large mixing bowl, whisk the cream cheese for at least 1 minute, 'til smooth and creamy.
- Blend the smashed bananas and powdered sugar with the cream cheese 'till smooth and well combined.
- In a separate bowl, whisk together the pudding mix and salt with the milk and vanilla extract for about 2 minutes; then let rest for 3-5 minutes to thicken.
- Slowly blend the pudding into the cream cheese mixture.
- Fold in the Cool Whip 'til everything is well combined.
- In a large 9×13 baking dish, add a bottom layer of vanilla wafers.
- Add a layer of pudding on top of the cookies.
- Then repeat the layers, vanilla wafers then pudding.
- Cover and chill in the fridge for at least 4 hours.
- When ready to serve, garnish with the remaining cookies, cookie crumbs, and sliced banana evenly over the top of the pudding.