


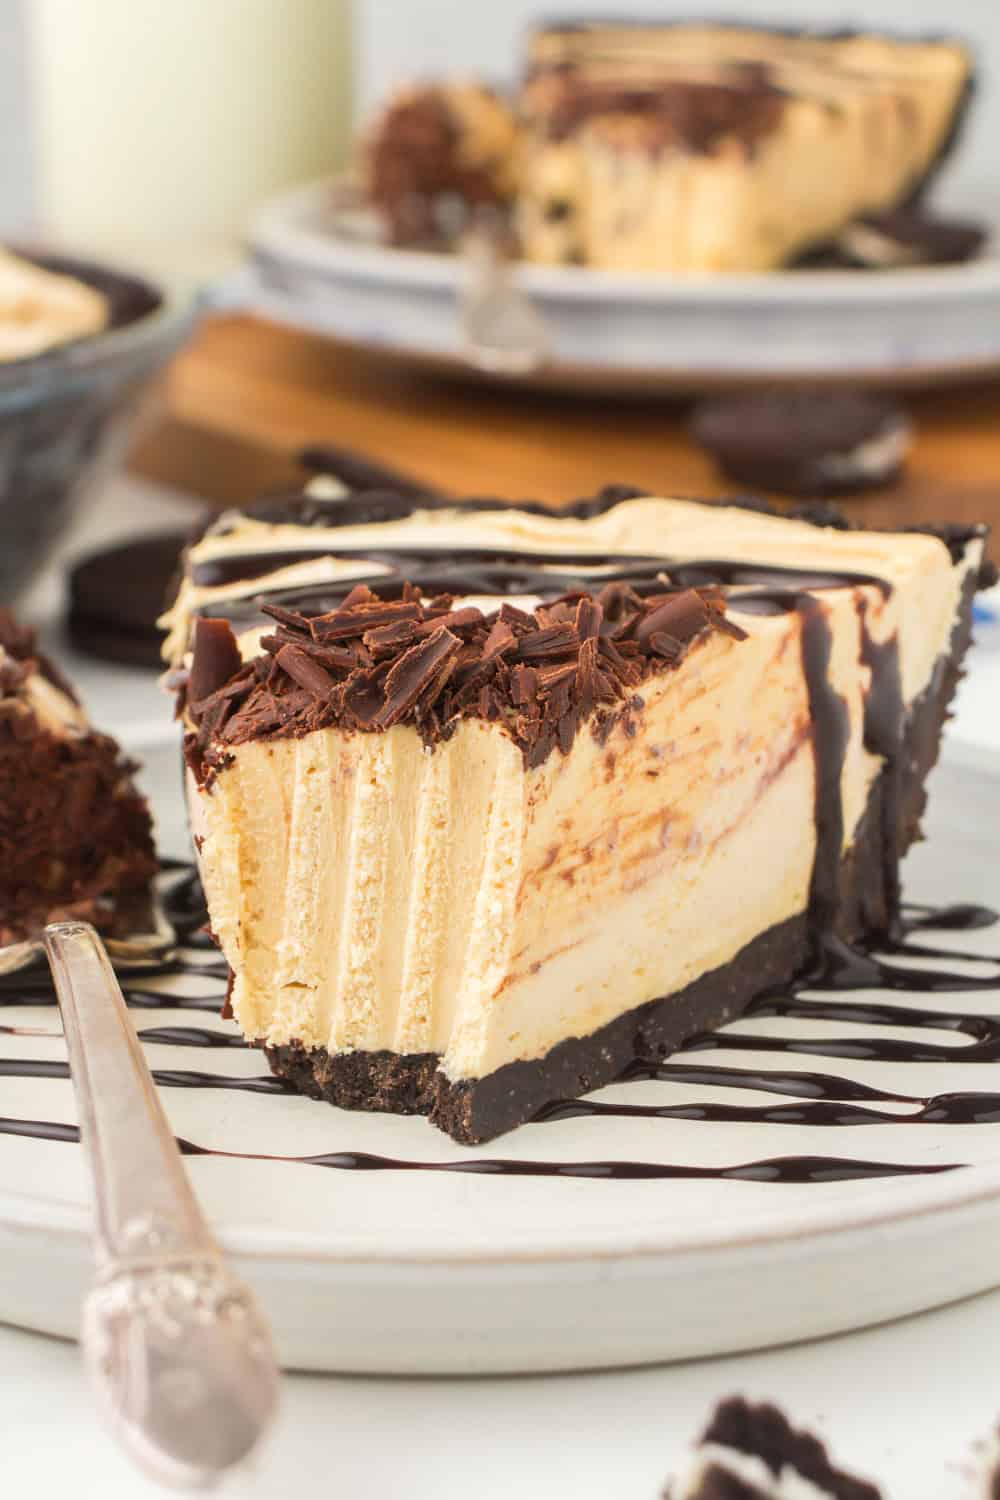
This classic no bake peanut butter pie is ultra-rich and creamy, and it saves precious oven time during your holiday dinner prep. This recipe pairs a chocolaty Oreo cookie crust with a cream cheese peanut butter filling. After 30 minutes of prep and about 6 hours of chill time, you’ll have an indulgent, no-fail peanut butter pie that will be the first to disappear from the holiday spread.
This decadent dessert is truly foolproof, and it’s one that my family asks for every year! By scraping out the creme filling from the cookies and binding the crumbs with real chocolate, the no-bake Oreo crust stays crisp without getting crumbly or soggy. I’ll also show you how to fold Cool Whip into the filling so it stays light and fluffy, while still holding up to clean slicing.
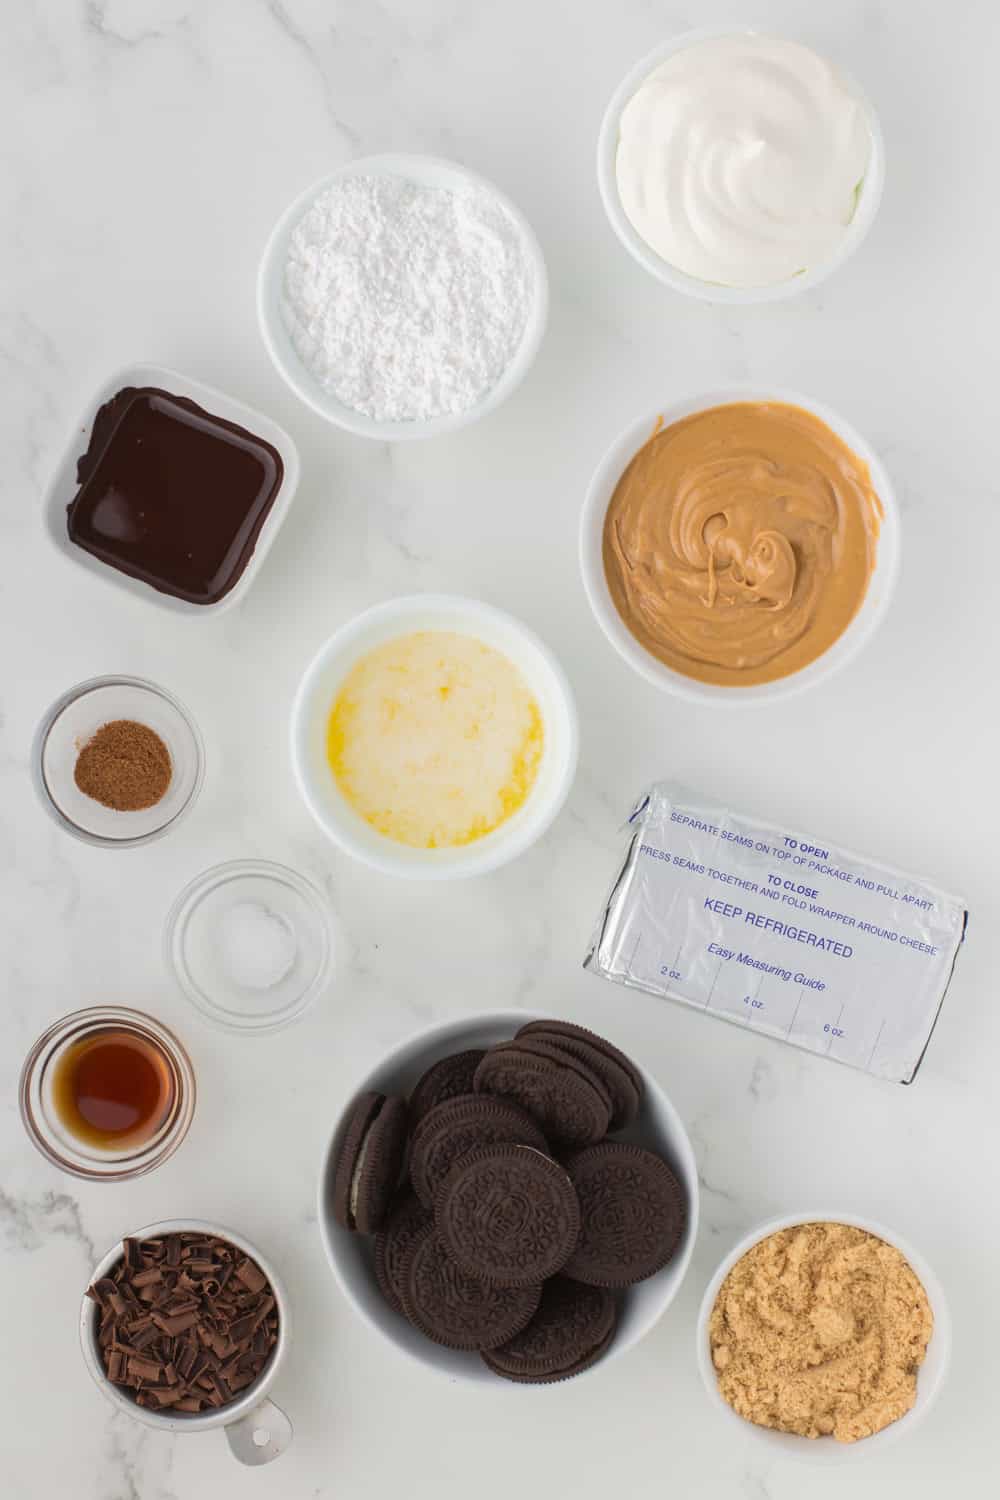
Ingredients You’ll Need
For the Homemade Oreo Crust
- Oreo Chocolate Cookies – Scrape off the creme filling to keep the crust from getting greasy.
- Light Brown Sugar – Adds some moisture and subtle caramel notes to balance the cocoa.
- Ground Nutmeg – Just a pinch really warms up the chocolate crust base.
- Salted Butter – Melted to bind the dry crumbs together.
- Unsweetened Chocolate – Melted alongside the butter, this also helps to firm up the crust. After it hardens in the fridge, it’ll help the crust hold up to slicing without getting crumbly.
For the Peanut Butter Filling
- Cream Cheese – Use full-fat cream cheese, and let it soften to room temperature so it beats completely smooth without lumpiness.
- Powdered Sugar – Dissolves instantly into the cream cheese without leaving a grainy texture, providing structure and sweetness to the filling.
- Creamy Peanut Butter – Use regular creamy peanut butter (like Jif or Skippy). Avoid natural peanut butters, because the oil sometimes separates, causing a greasy filling.
- Sea Salt – Or plain table salt.
- Vanilla Extract – Enhances the peanut butter flavor.
- Cool Whip – Thaw overnight in the refrigerator before folding in. Cool Whip provides a stable aeration for a light and fluffy consistency, but it’ll still slice cleanly once chilled.
- Mini Chocolate Chips – Optionally sprinkled onto the top as a garnish. You can also use chocolate shavings.
How to Make No Bake Peanut Butter Pie (Step-by-Step)
All in all, the prep time for this recipe takes about 30 minutes. After de-creaming the Oreos, you’ll need to mix up the crust and press it into an 8 or 9-inch pie plate. Then we’ll mix up the filling, spread it into the crust, and let it chill for about 6 hours or overnight.
Prep the Oreo Crust
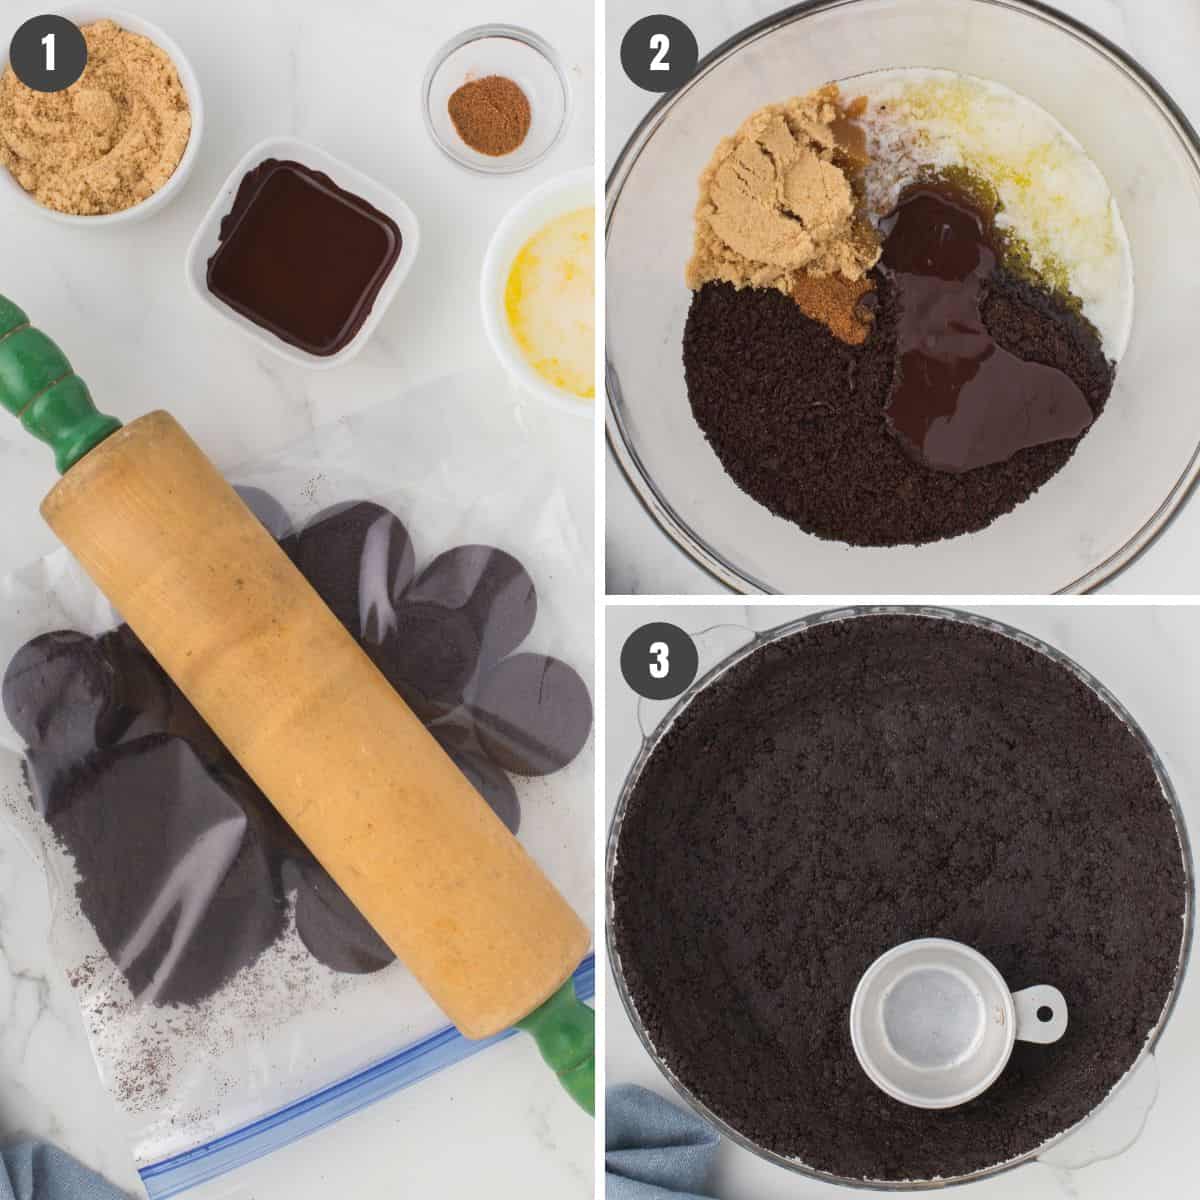
- Scrape the cream off of about 36 chocolate sandwich cookies, and drop the cookies into a gallon bag. Crush them up with a rolling pin to get 1 1/2 cups of coarse Oreo cookie crumbs.
- Stir the chocolate cookie crumbs with the brown sugar, nutmeg, melted butter, and melted unsweetened chocolate in a large mixing bowl until thoroughly incorporated.
- Press the Oreo mixture into an un-greased 8-inch or 9-inch pie plate. Cover with plastic wrap, and let it chill in the refrigerator for 45 minutes to 1 hour, or until firm.
Beat the Cream Cheese Base
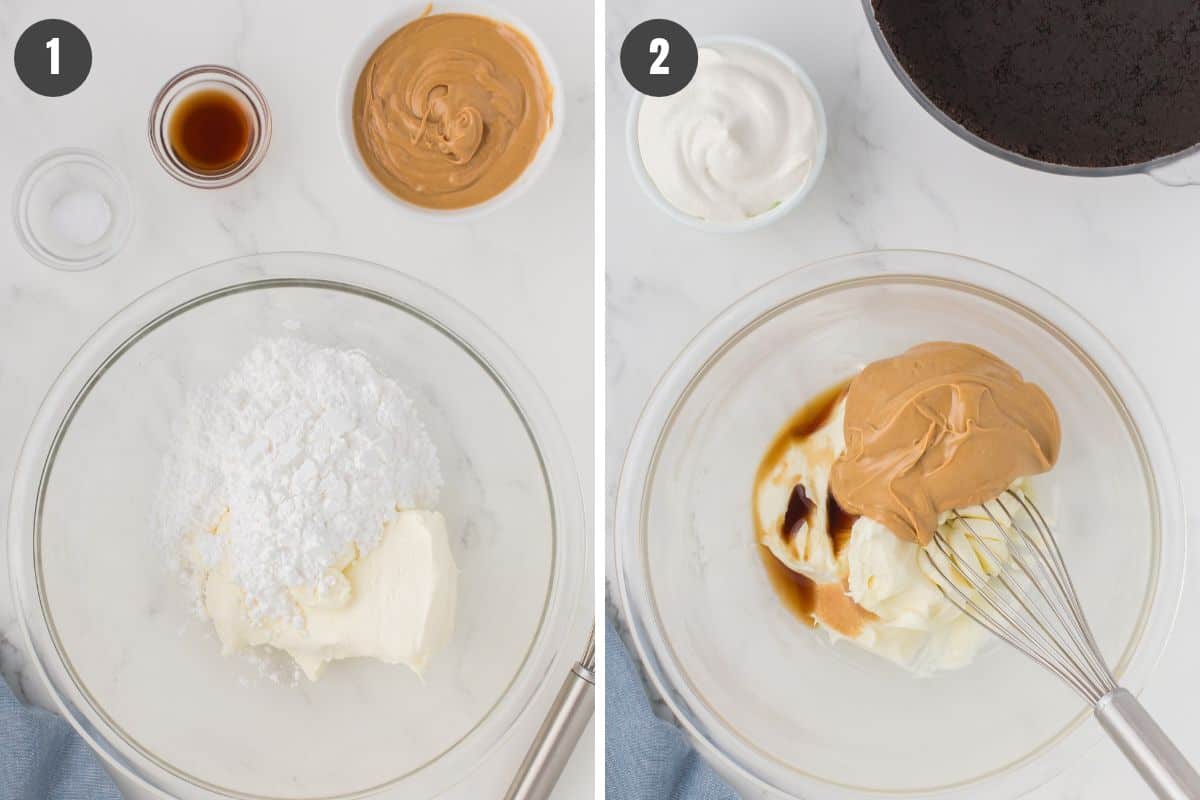
- Whisk together the cream cheese and powdered sugar in a large bowl. Alternatively, whip in the bowl of a stand mixer, or use the whisk attachments for an electric hand mixer.
- Mix in the peanut butter, salt, and vanilla extract until you have a smooth, creamy filling.
Fold and Assemble
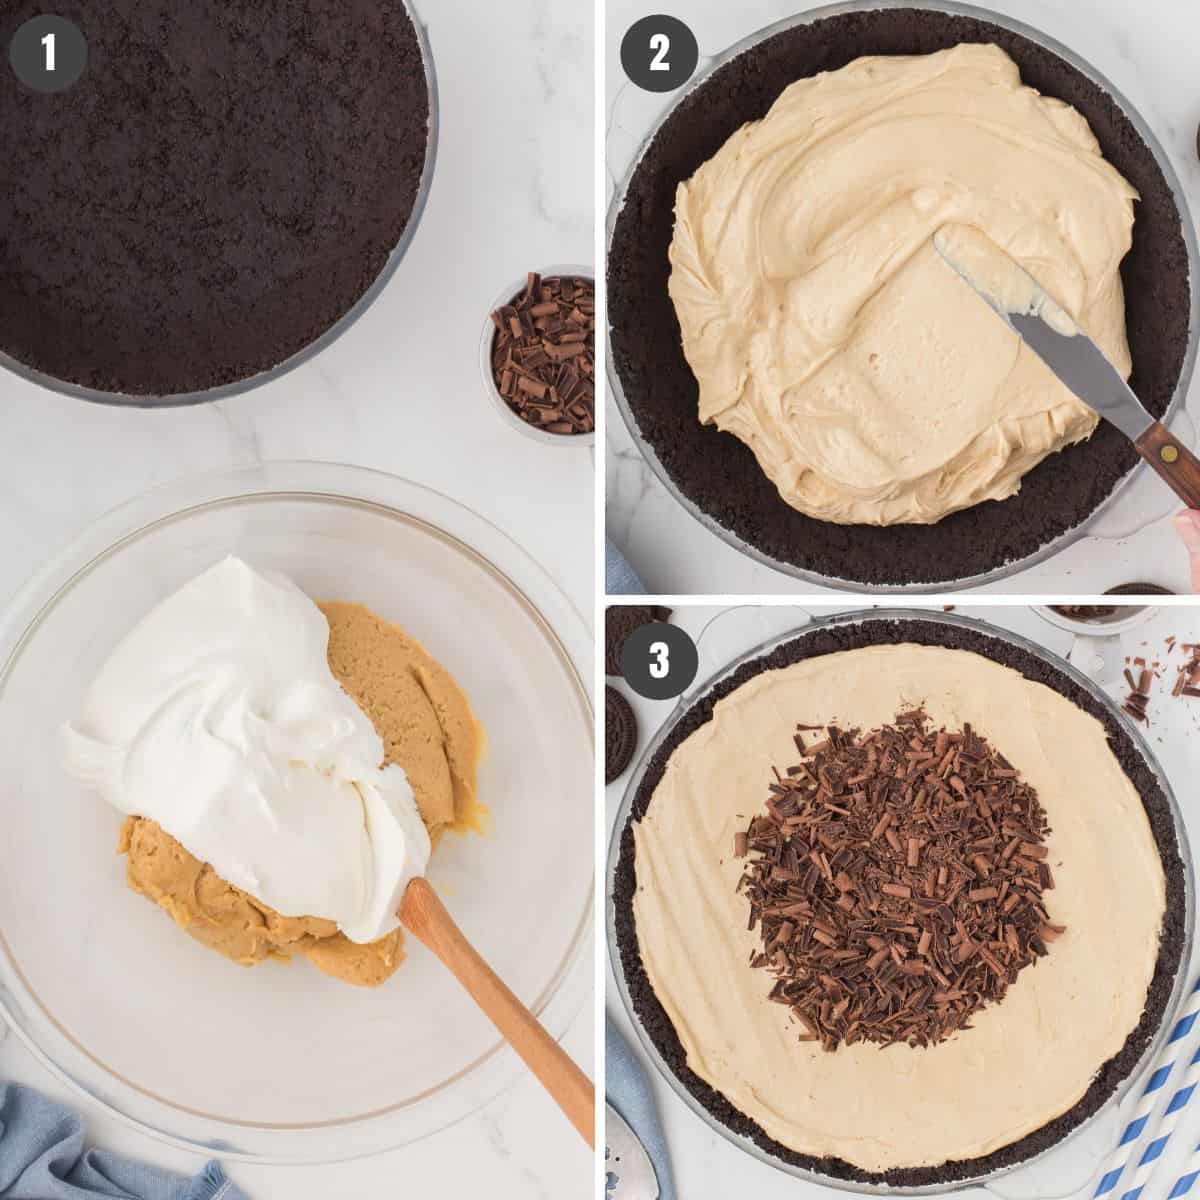
- Fold the whipped cream into the filling by hand, using a rubber scraper spatula.
- Spread your pie filling out into the Oreo crust, smoothing the top with your spatula.
- Garnish the center top of your pie with mini chocolate chips or chocolate shavings.
Chill and Set
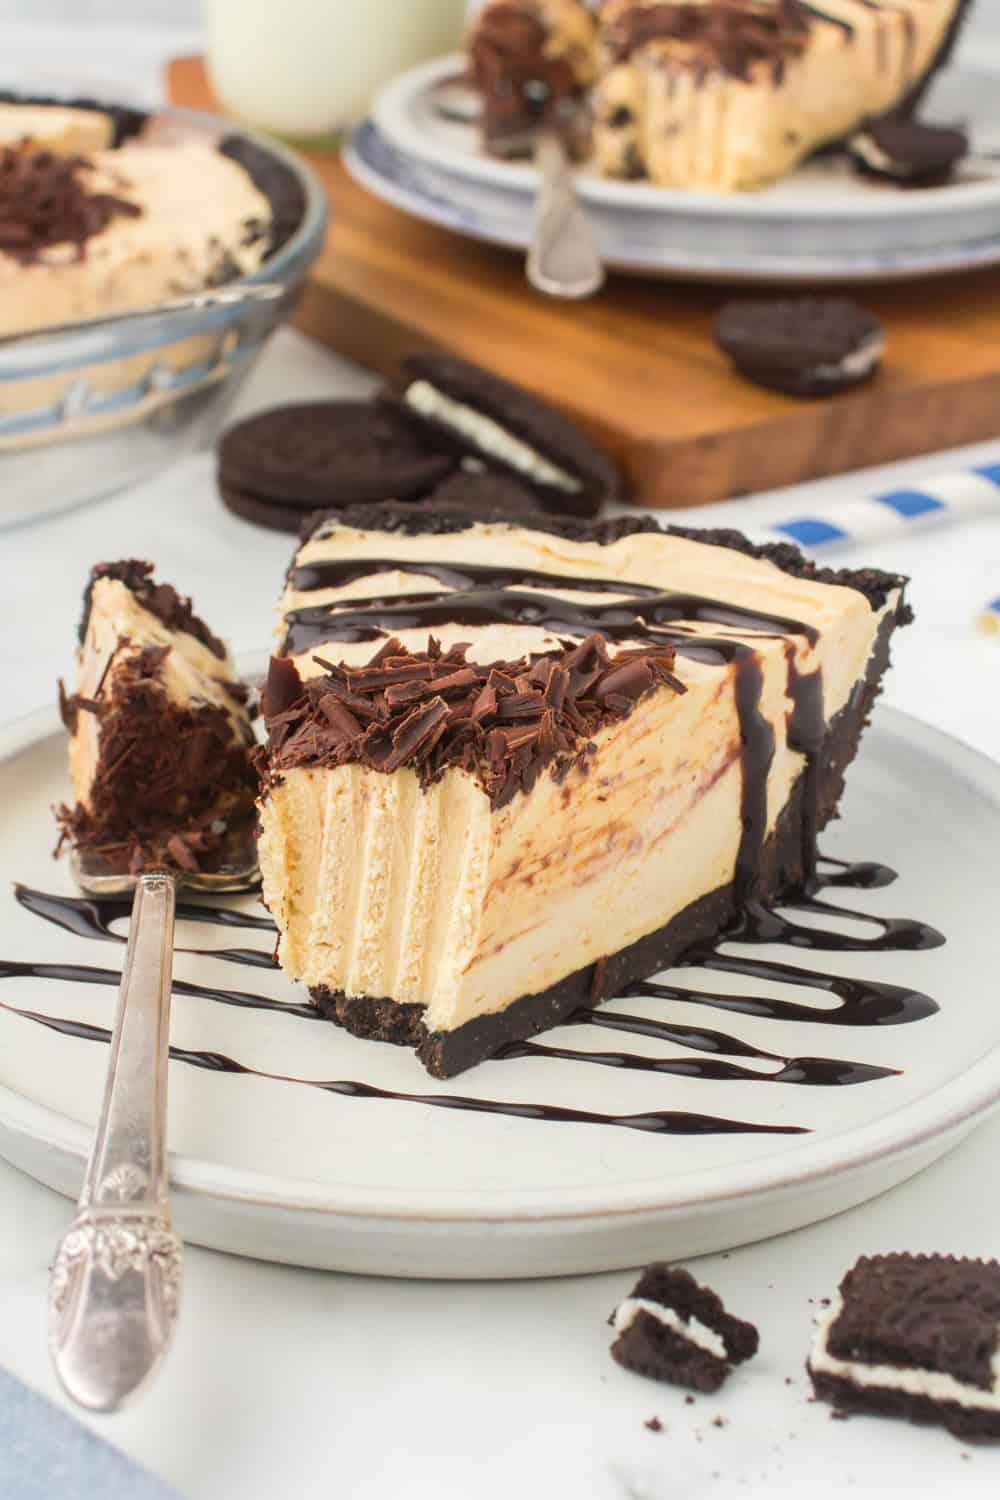
Cover your pie with plastic wrap, and let it chill in the refrigerator until the filling has set, which will typically take about 6 hours. I like to let it chill overnight before slicing and serving. Other desserts that you can make ahead and chill overnight with this peanut butter pie include no bake lemon Dream Whip pie and also my no bake Jello cheesecake.
Tips for Creamy No Bake Peanut Butter Pie
- Softened Cream Cheese: Always let your brick cream cheese soften completely to room temperature (65-68ºF) before mixing. Warm cream cheese will not blend smoothly, leaving stubborn lumps in the filling.
- Avoid Natural Peanut Butter: Stick to regular creamy peanut butter like Jif or Skippy instead. “Natural” peanut butters contain oils that separate during chilling. This can cause the filling to break or weep, which will make it soft and runny.
- Clean Slicing: For picture-perfect slices, dip a chef’s knife into a glass full of hot tap water for 10 seconds, wipe it completely dry with a paper towel, and then make your cut. Repeat those steps in between every single slice to prevent the filling from sticking to the blade.
Recipe FAQs
I haven’t tried it myself, but it should work to use heavy whipping cream in place of Cool Whip. I’d start by whipping about 1 cup of cold heavy whipping cream in a mixer with 2–3 tablespoons of powdered sugar until stiff peaks form. Gently fold into your filling in place of the 8-ounce tub of Cool Whip.
A runny pie usually happens for one of two reasons: using natural peanut butter (which separates and adds extra oil) or not chilling the pie long enough. Be sure to use full-fat brick cream cheese, regular creamy peanut butter, and chill the pie in the refrigerator for at least 6 hours so it sets up properly.
Absolutely! A pre-made 9-inch graham cracker crust or chocolate crust works great and saves prep time. Just pour the filling directly into the crust and chill as instructed.
Yes, you can make this recipe gluten free by using a gluten free chocolate cookie crust. Just be sure to check all of your other ingredients to ensure that they are labeled gluten free too.
Cover the pie loosely with plastic wrap and store it in the refrigerator for up to 4–5 days. Serve cold straight from the fridge so the filling stays firm and creamy.
Yes, this pie freezes well! Once you’ve fully assembled your pie, wrap the plate tightly in plastic wrap. Then follow that with a layer of aluminum foil. It should last up to 2-3 months in the freezer. You can slice and serve it straight from the freezer for an ice-cream-like treat, or thaw it in the refrigerator overnight before serving.
More No Bake Peanut Butter Desserts
- Microwave peanut butter fudge
- Buckeye peanut butter balls
- Chocolate covered Ritz cracker cookies with peanut butter
No Bake Peanut Butter Pie
Equipment
Ingredients
Crust:
- 1 1/2 cups chocolate Oreo cookie crumbs no icing*
- 1/4 cup light brown sugar
- 1/8 teaspoon ground nutmeg
- 1/3 cup salted butter melted
- 1 ounce unsweetened chocolate melted
Filling:
- 8 ounces cream cheese softened
- 1 cup powdered sugar
- 3/4 cup creamy peanut butter
- 1/8 teaspoon sea salt
- 1 teaspoon vanilla extract
- 8 ounces Cool Whip
- 1/3 cup mini chocolate chips or chocolate shavings
Instructions
Crust:
- Scrape the cream off of about 36 chocolate sandwich cookies, and drop the cookies into a gallon bag. Crush them up with a rolling pin. You'll need 1 1/2 cups of coarse Oreo cookie crumbs total.
- Stir the chocolate cookie crumbs with the light brown sugar, ground nutmeg, melted butter, and melted unsweetened chocolate in a large mixing bowl until thoroughly incorporated.
- Press the Oreo mixture into an un-greased 8-inch or 9-inch pie plate. Cover with plastic wrap, and let it chill in the refrigerator for 45 minutes to 1 hour, 'til firm.
Filling:
- Whisk together the cream cheese and powdered sugar in a large bowl. Alternatively, you can whip it in the bowl of a stand mixer or using an electric hand mixer with whisk attachments.
- Mix in the peanut butter, salt, and vanilla extract until you have a smooth, creamy filling.
- Fold the thawed Cool Whip into the filling by hand, using a rubber scraper spatula.
- Spread your pie filling out into the Oreo crust, smoothing the top with your spatula.
- Garnish the center top of your pie with mini chocolate chips or chocolate shavings.
- Cover your pie with cling wrap, and let it chill in the refrigerator until the filling has set, usually about 6 hours or overnight.