
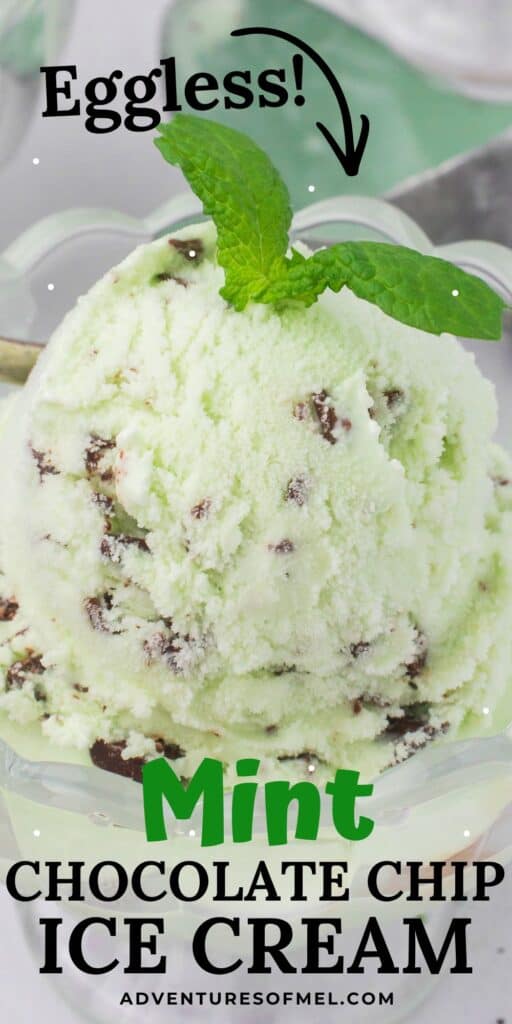
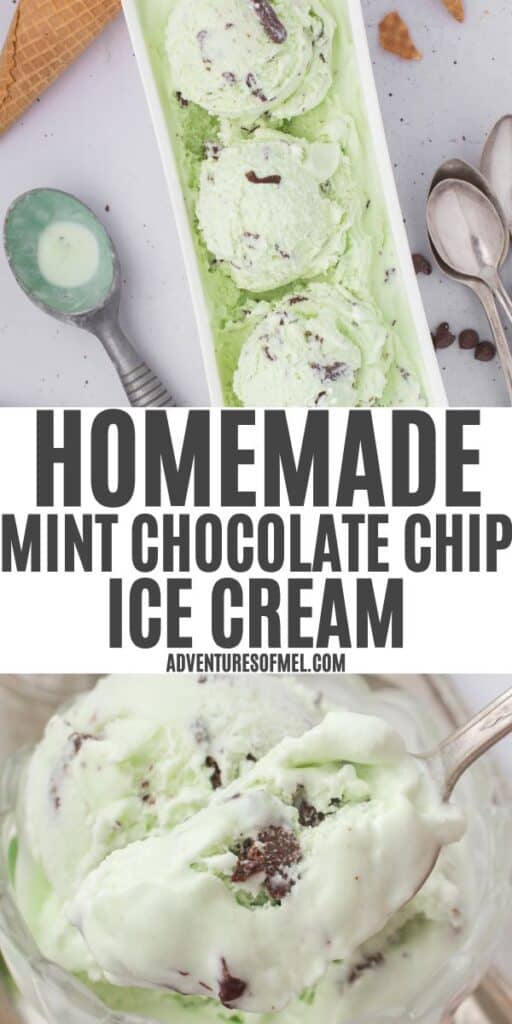
Learn how to make old fashioned homemade mint chocolate chip ice cream from scratch. Simple, churn-style ice cream maker recipe that’s completely eggless. I’ll show you how to use melted chocolate for perfectly crisp but delicate chocolate shards that don’t turn rock hard in the freezer.
I’m a longtime mint chocolate chip ice cream lover. And I’m proud to say that I’ve passed it right on down to my kids– In fact, mint Oreo ice cream is a family favorite in this household. But sometimes I just love a classic parlor-style mint chocolate chip ice cream, and it makes the best grasshopper sundaes for St. Patrick’s Day!
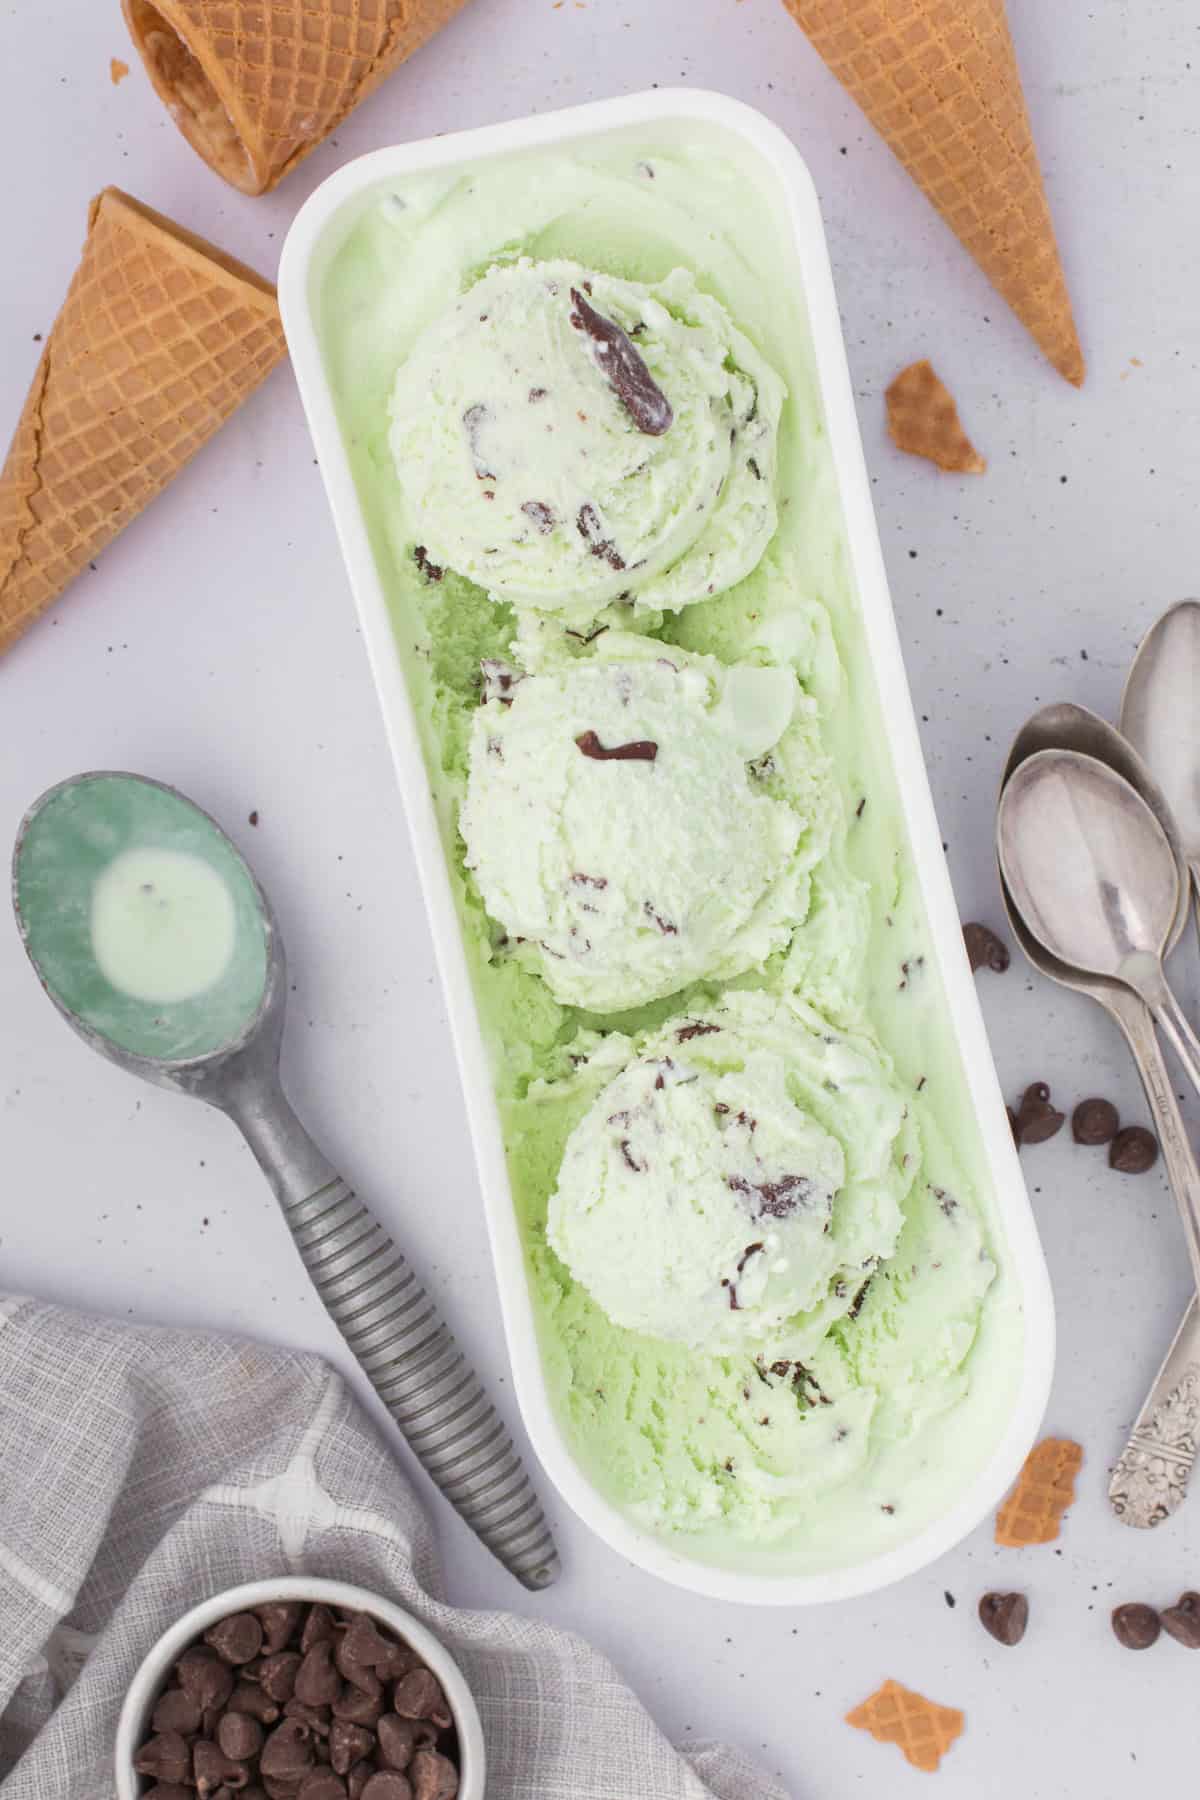
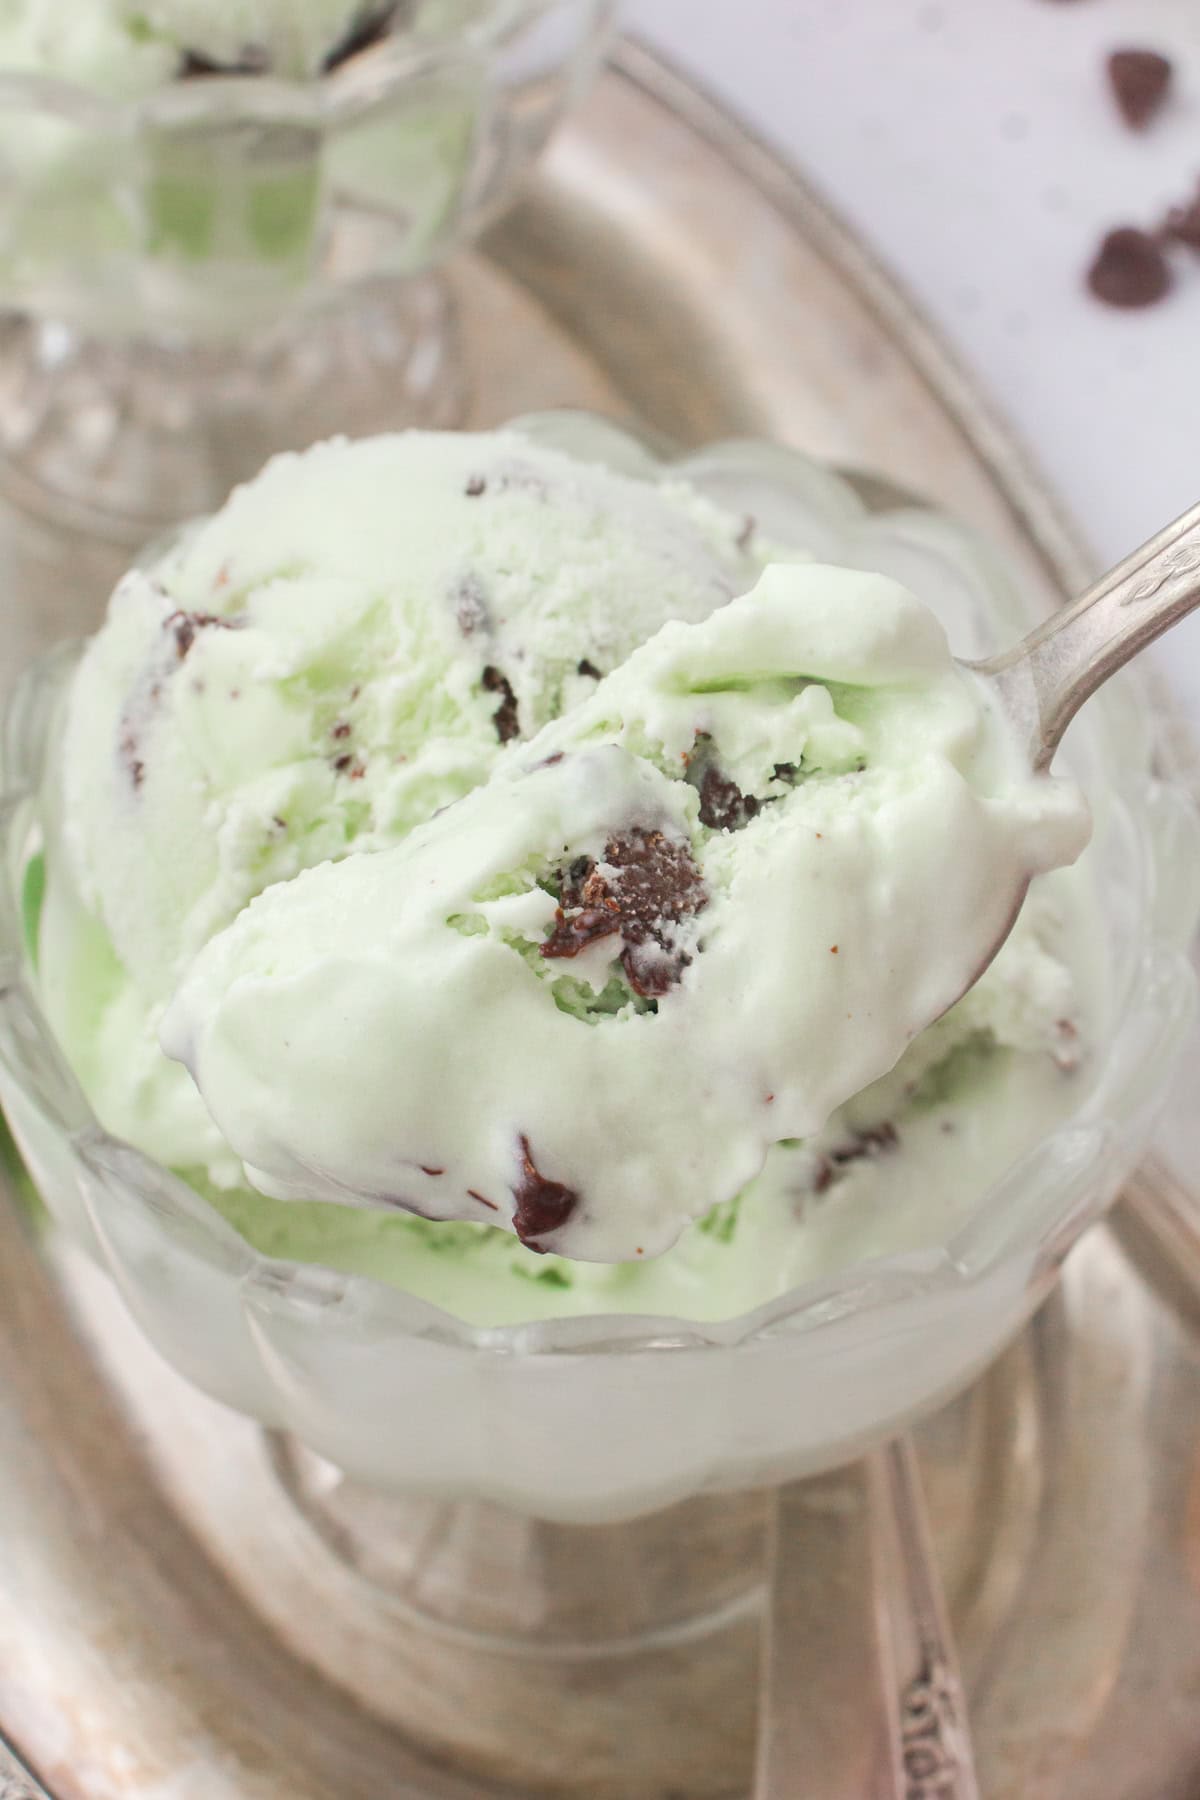
The problem with most mint chip ice cream recipes is that the chocolate chips always get so hard. I always wondered how ice cream parlors get those perfectly delicate and flaky, but still crisp ice cream chips mixed all throughout the ice cream. But then I figured out the secret, and I’ll show you exactly how I make the best old fashioned mint chocolate chip ice cream right at home.
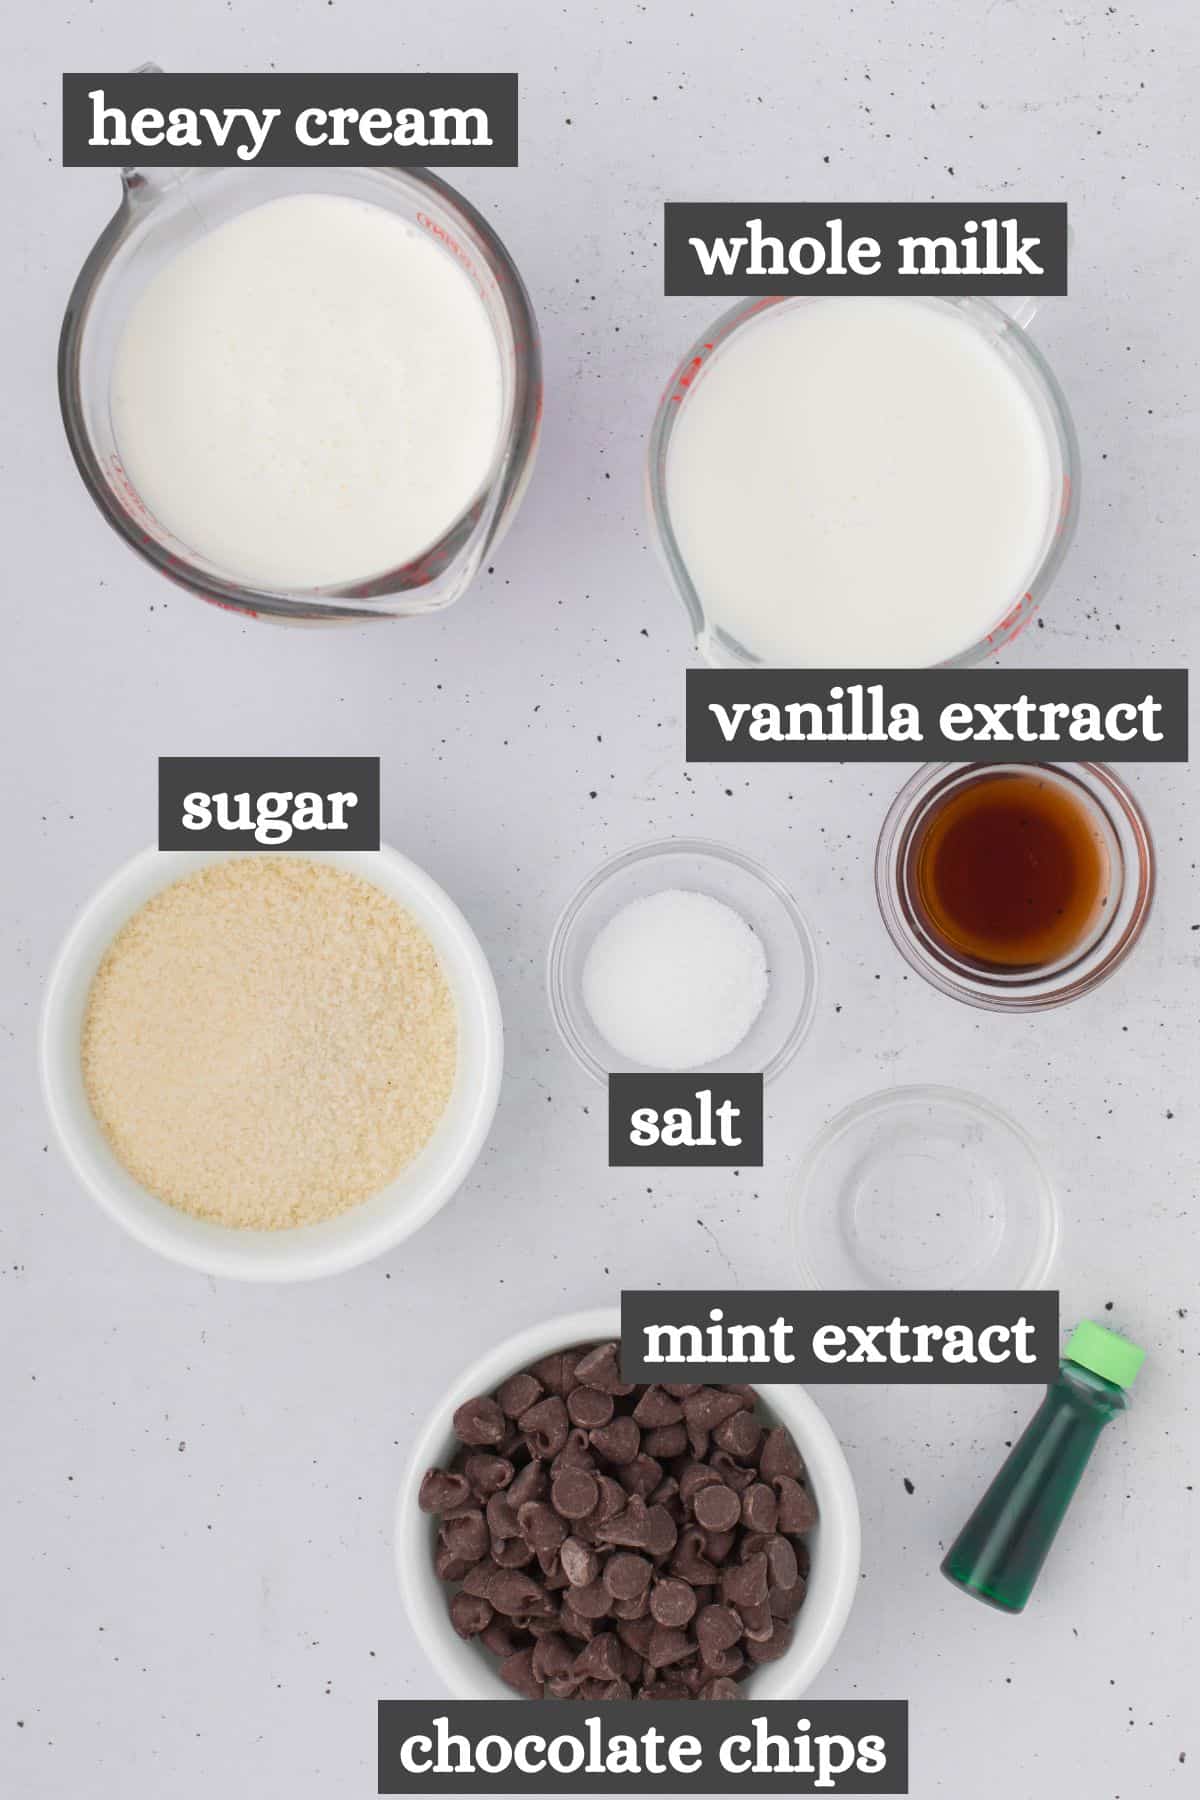
Ingredients & Substitutions Notes
- Whole Milk & Heavy Cream – The heavy cream and whole milk ratio is what makes ice cream soft and creamy. You want just enough cream to keep it from getting icy, but you also want just the right amount of whole milk to keep it from getting greasy.
- Mint Extract – I highly recommend using a pure mint extract for this recipe. Peppermint extract will taste more like candy canes, which isn’t desirable for a chocolate chip mint ice cream.
- Green Food Coloring – Green food coloring is totally optional, but it’s the reason that old fashioned mint chocolate chip ice cream is green. Your ice cream will taste exactly the same without it, but it’ll just look like vanilla ice cream with chocolate chips, which is totally fine too.
- Semi-Sweet Chocolate Chips – The secret to keeping the chocolate chips from getting so hard is to melt them first. When you drizzle melted chocolate into the ice cream mixture stracciatella-style, it’ll partially freeze up but stay flaky and delicate.
How to Make Homemade Mint Chocolate Chip Ice Cream
Before getting started, be sure to place the freezer bowl for your ice cream maker in the freezer at least 12 hours, preferably 24 hours, before making this ice cream recipe. You can also make this recipe in an old-fashioned ice cream maker; to do so, you’ll just need to pick up some rock salt and crushed ice beforehand.
How to Make the No Cook Ice Cream Base
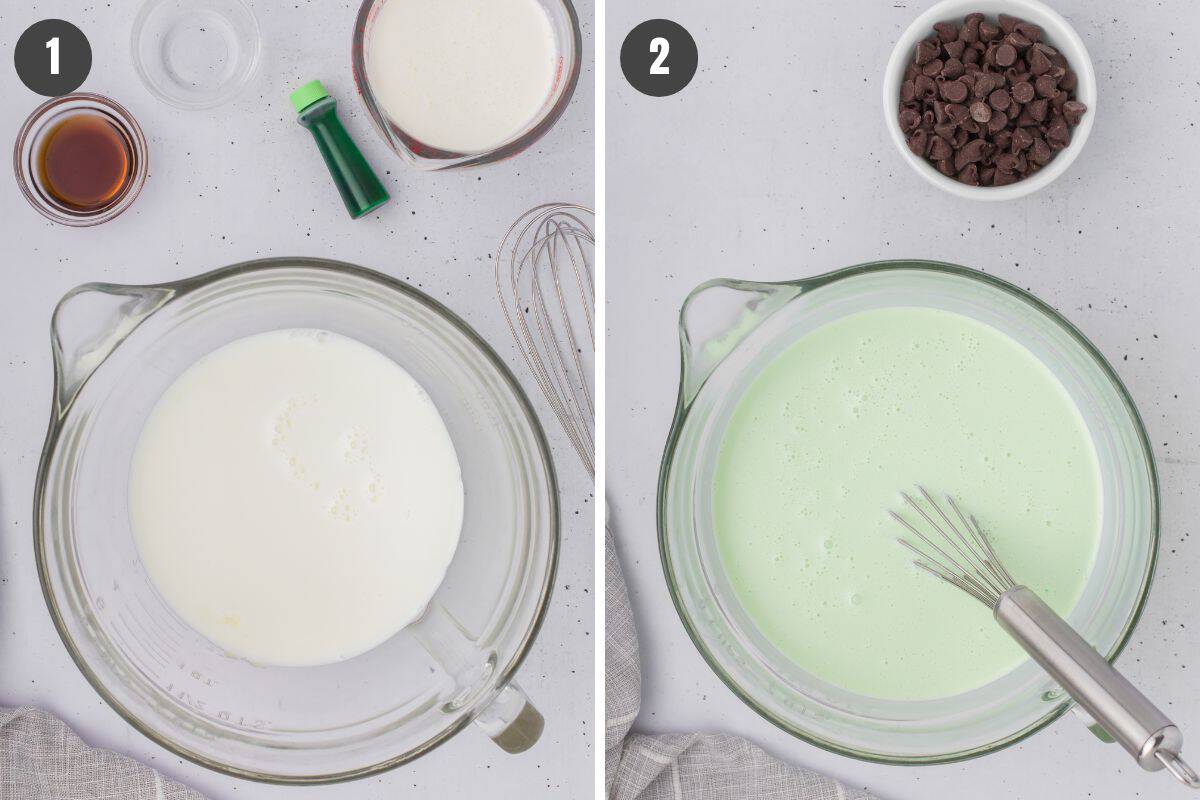
- In a large bowl, whisk together the milk, sugar, and salt ’til the sugar dissolves, about 1-2 minutes.
- Whisk in the heavy cream, vanilla extract, mint extract, and green food coloring.
Turn on the ice cream freezer, and pour the mixture into the pre-frozen freezer bowl with the churn paddle in place.
Adding the Chocolate Chips
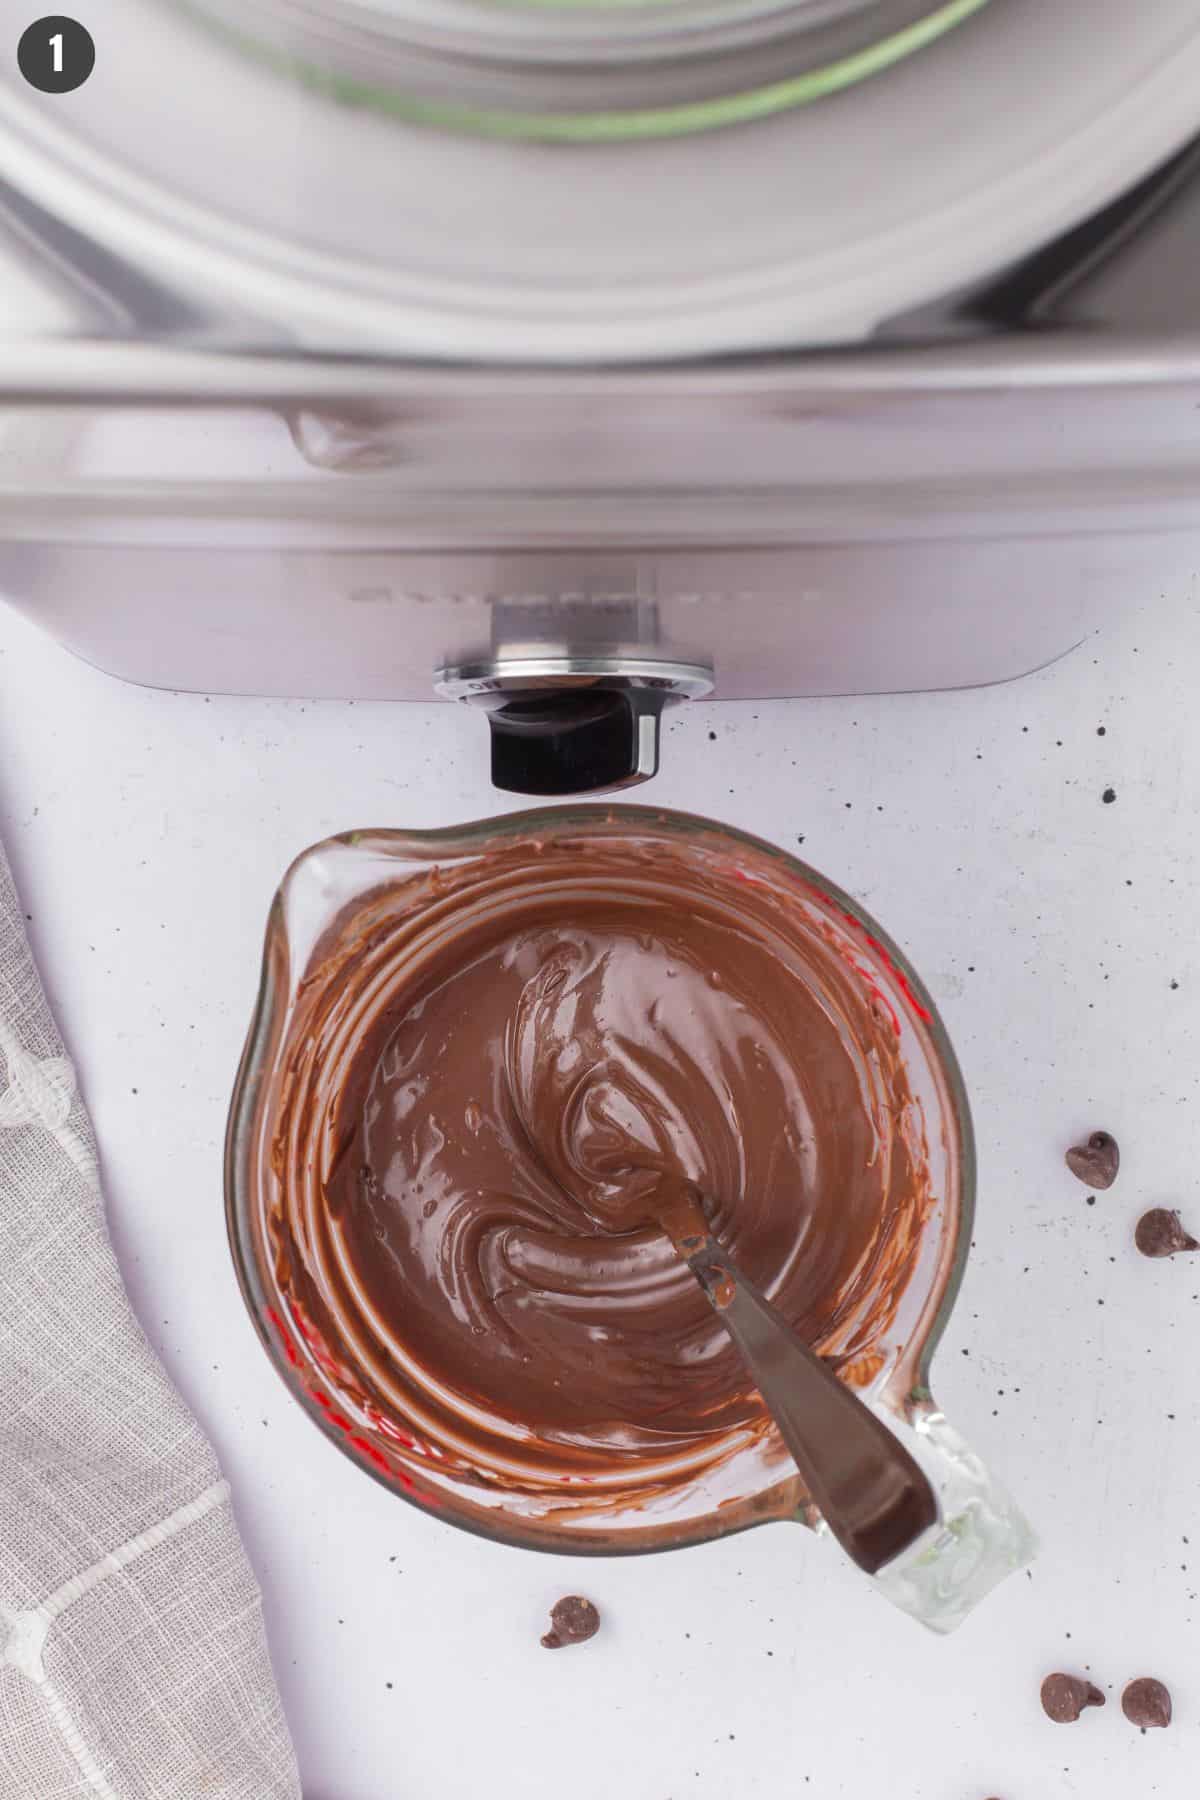
We’re going to melt the chocolate chips and add them into the no cook ice cream base stracciatella-style. Melting the chocolate first and adding it this way will prevent it from freezing rock hard vs. using solid chocolate chips.
- Add the chocolate chips to a microwave-safe bowl, and microwave in 30-second intervals, stirring well between each one, ’til the chocolate is melted and smooth. Let the chocolate sit on the counter for about 5 minutes, stirring occasionally.
Pro Tip: You want the chocolate to be thin and pourable, but no longer steaming or hot to the touch. If it’s too warm, it’ll melt the ice cream and clump rather than shatter in the next step.
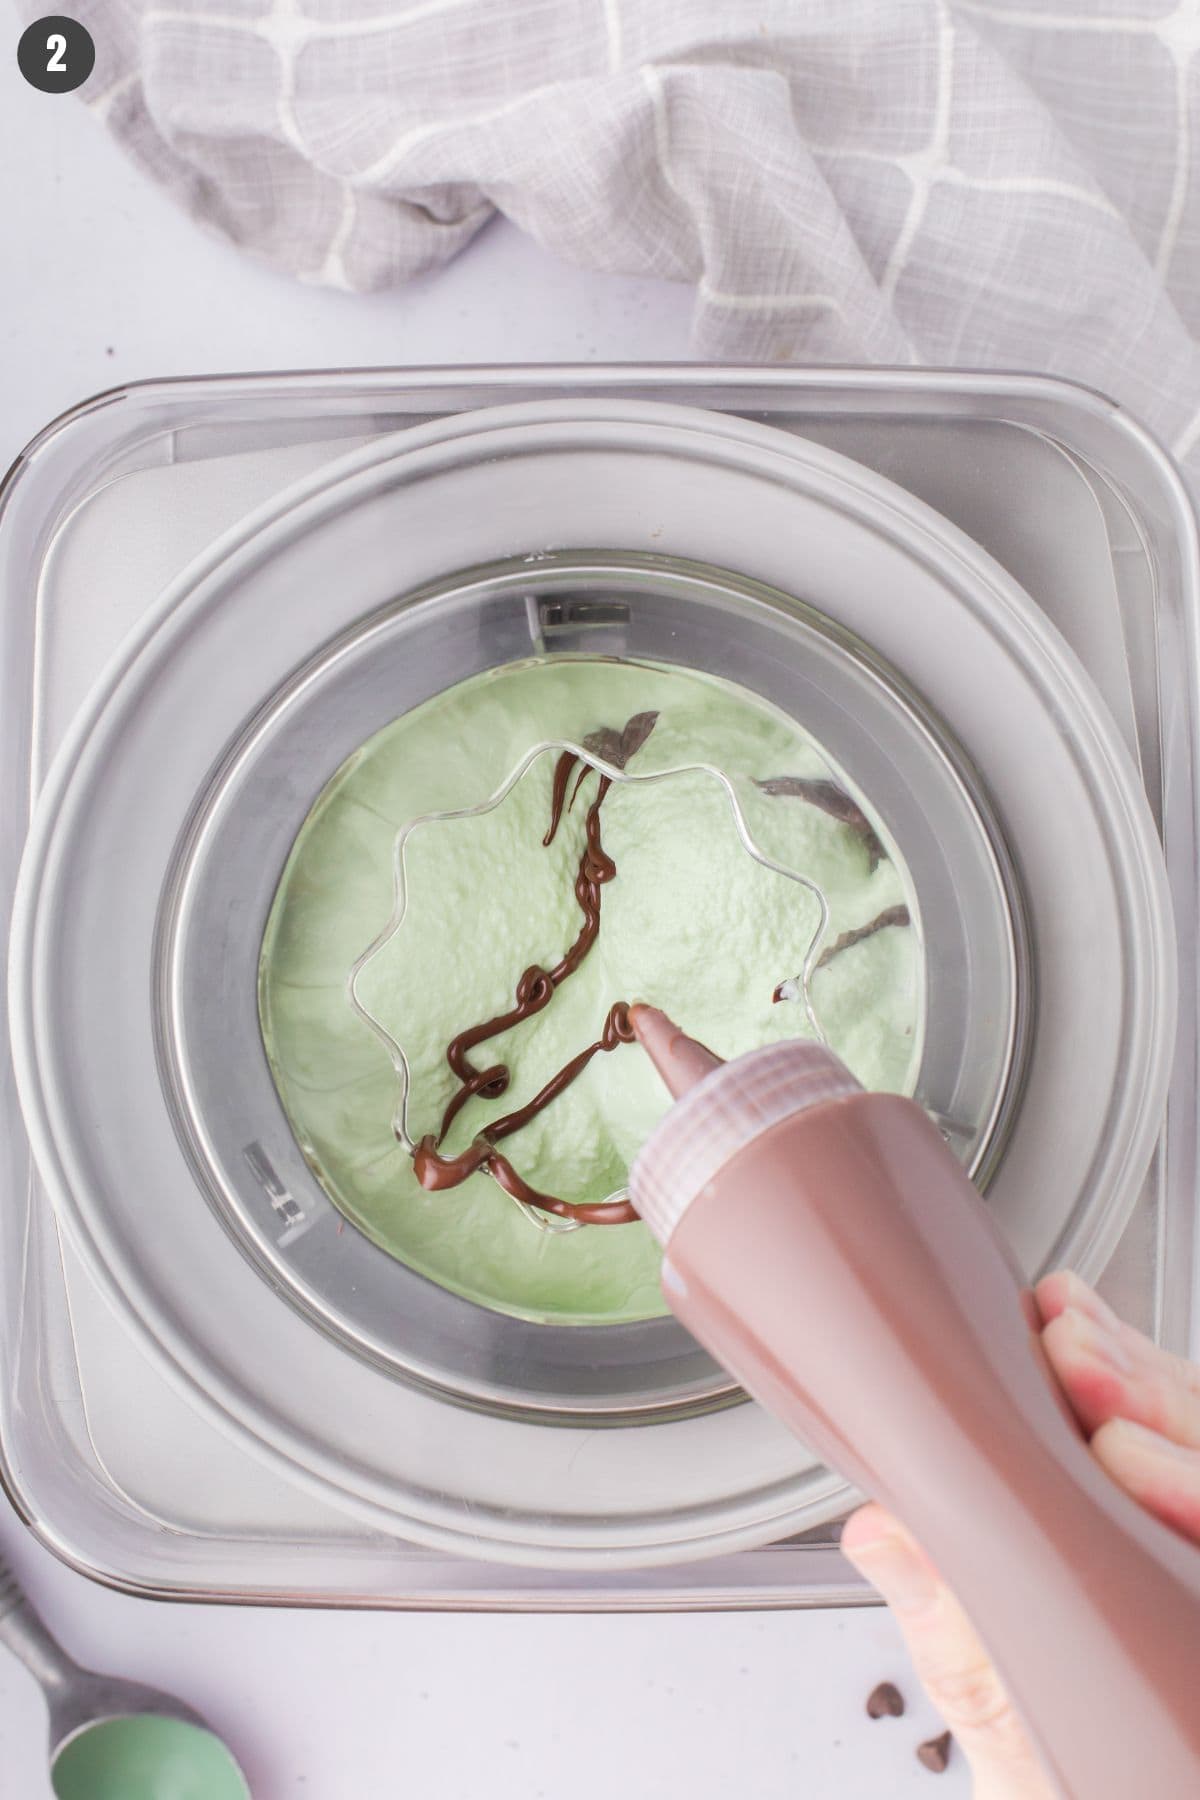
- Pour the chocolate into a squeeze bottle. In the last 2-3 minutes of freezing, squeeze the chocolate in a slow, thin, steady stream directly into the churning ice cream. The cold cream will grab and freeze the melted chocolate, and then the paddle will break it or shatter it into shards, distributing it evenly throughout the ice cream as it does so.
How to Serve Homemade Mint Chocolate Chip Ice Cream
That’s it! Turn off the machine. You can serve it up immediately as a soft-serve ice cream.
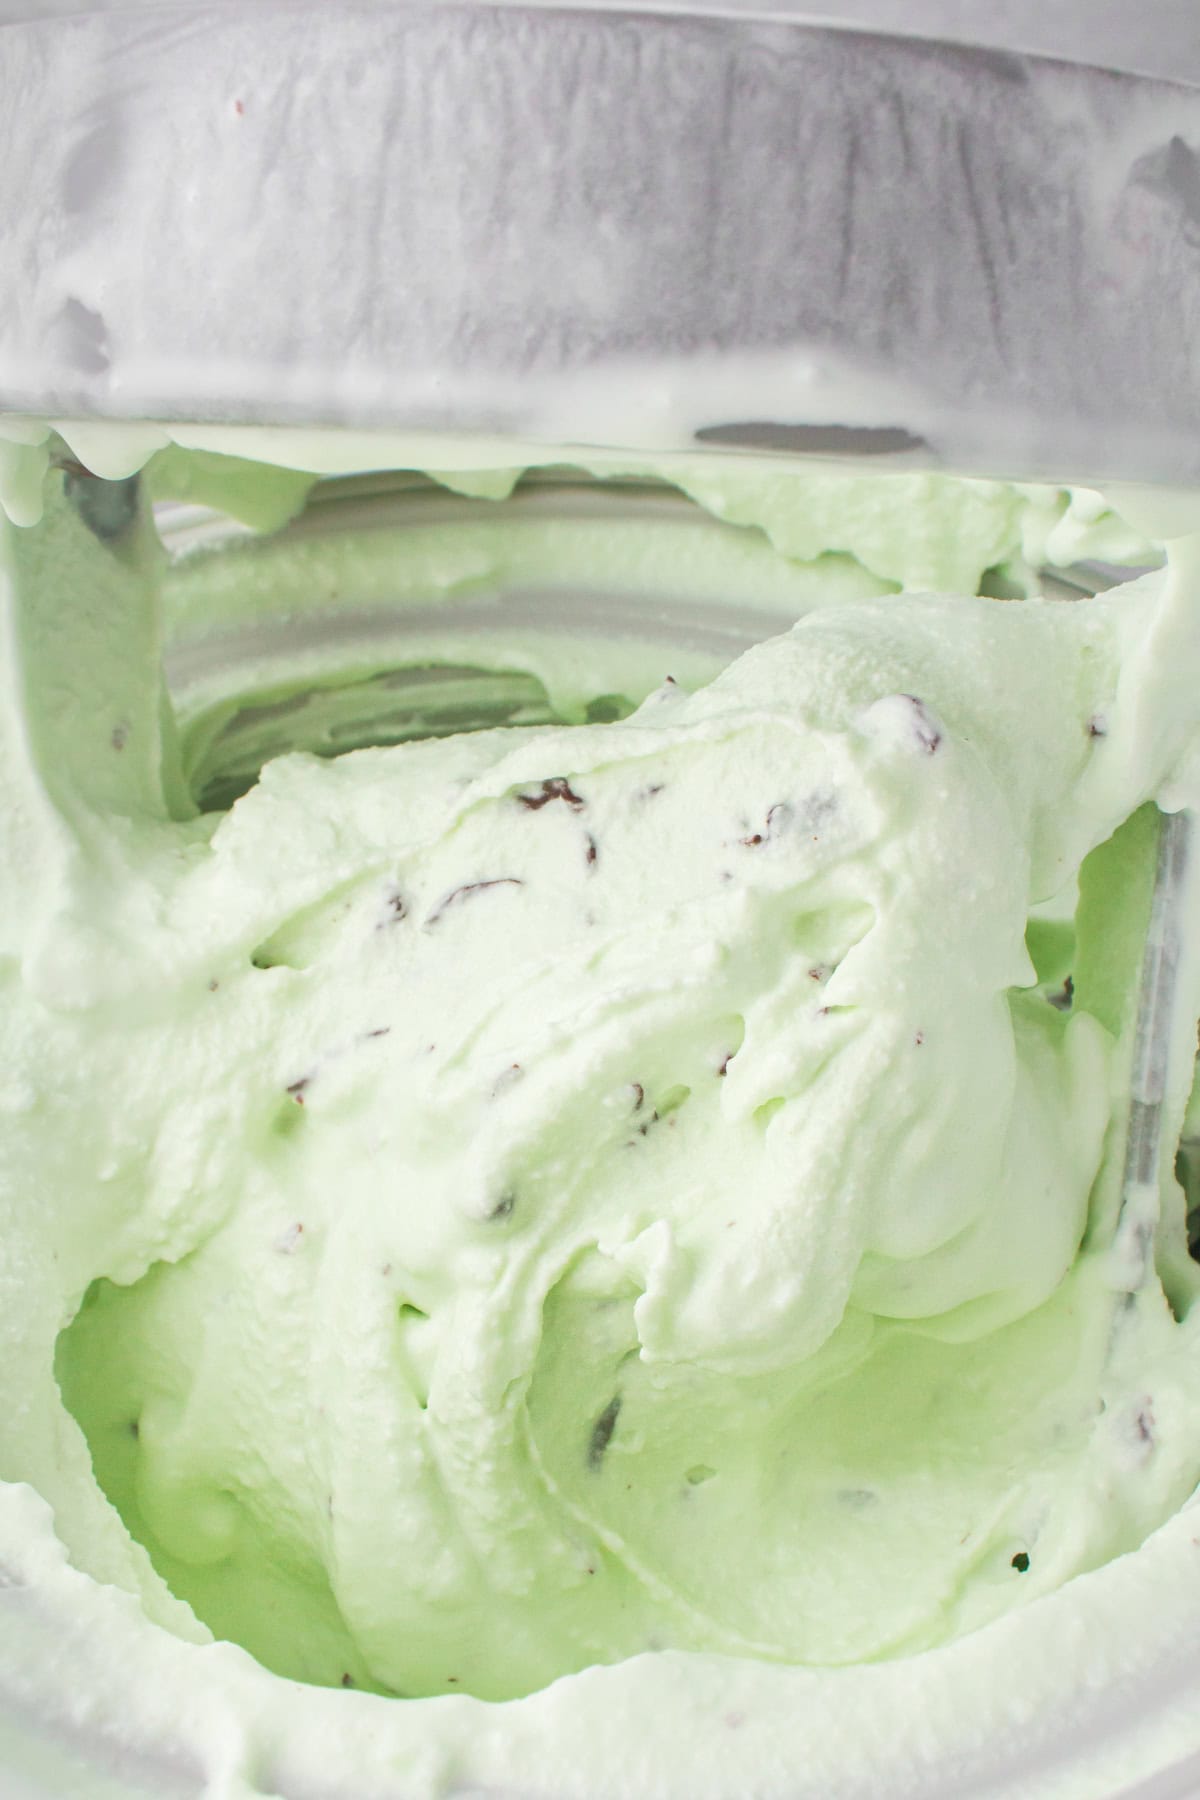
Alternatively, you can let it firm up in the freezer for a bit before serving for classic ice cream parlor texture. Scoop into airtight containers, and place in the freezer for 3-4 hours, or overnight. Then serve when ready.
Expert Tips and Recipe FAQ’s
To prevent your homemade ice cream from getting icy, make sure to use cold ingredients (except for the melted chocolate), and transfer it into an airtight container and into the freezer as soon as possible once it’s done churning. Also, don’t leave it out after you’re finished serving. Getting it into the freezer as soon as possible will keep it from melting, which would otherwise create ice crystals once it’s frozen back up.
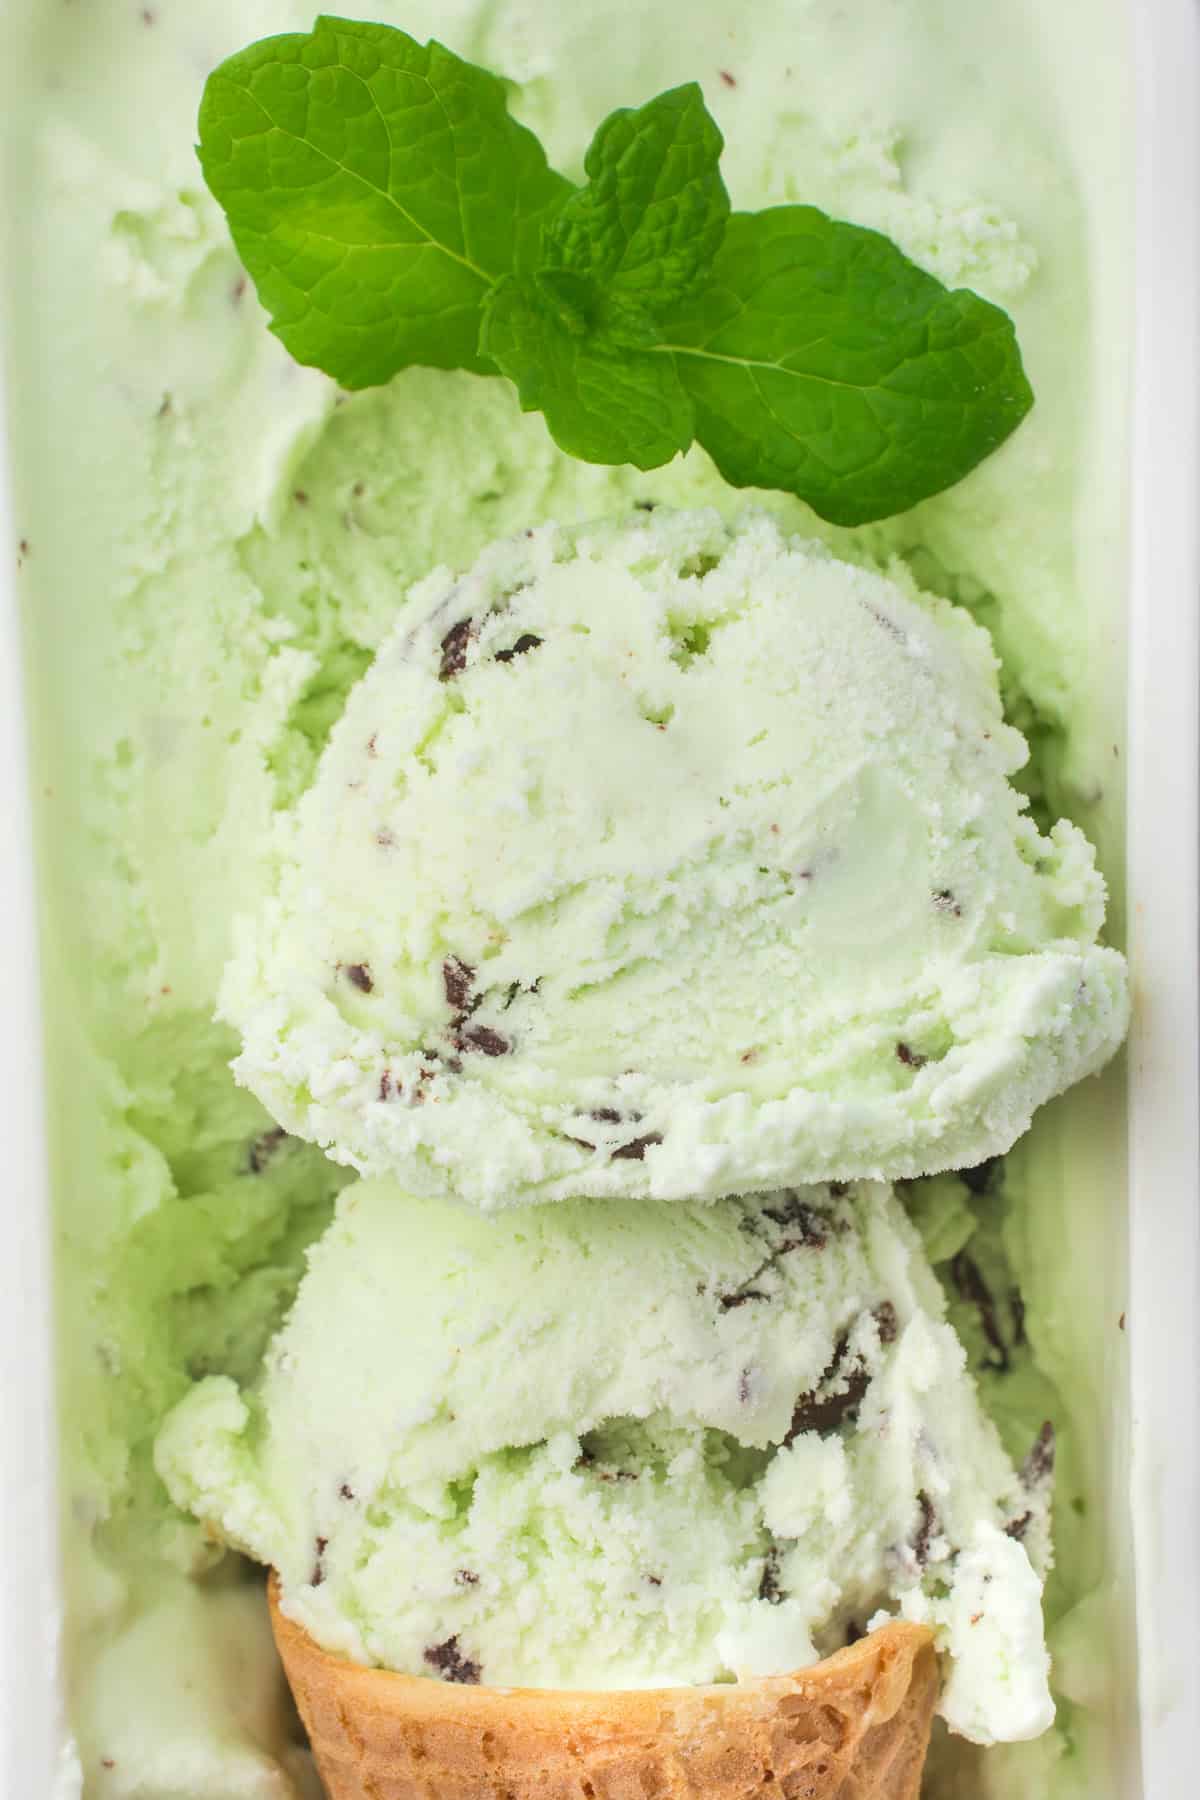
Homemade ice cream doesn’t have commercial stabilizers to keep it soft when frozen. I recommend letting it set out for 5-10 minutes to make it more easily scoop-able. It also helps to wipe off your ice cream scooper, and then dip it in a glass of cold water in between each scoop. This is a good way to ensure that you get clean, tight and perfectly round scoops every time.
Store it in an airtight container in the freezer for up to 2-3 weeks. It’ll be safe to eat beyond that so long as it stays frozen, but ice crystals will start to form.
More Homemade Ice Cream Recipes
- Cookies and Cream Ice Cream
- Strawberry Cheesecake Ice Cream
- Homemade Butterfinger Ice Cream
- Southern Butter Pecan Ice Cream
If you try this recipe, why not leave a star rating in the recipe card right below and/or a review in the comment section further down the page? I always appreciate your feedback. You can also follow me on Pinterest, Facebook, Instagram, and YouTube. And subscribe to my email list too!
Homemade Mint Chocolate Chip Ice Cream
Equipment
Ingredients
- 1 1/2 cups whole milk
- 1 1/8 cups cane sugar
- 1 teaspoon sea salt
- 3 cups heavy cream
- 2 teaspoons vanilla extract
- 1 teaspoon mint extract
- 1/8 teaspoon green food coloring optional
- 1 1/2 cups semi-sweet chocolate chips
Instructions
- In a large bowl, whisk together the milk, sugar, and salt 'til the sugar dissolves, about 1-2 minutes.
- Whisk in the heavy cream, vanilla extract, mint extract, and green food coloring.
- Turn on the ice cream freezer, and pour the mixture into the pre-frozen freezer bowl with the churn paddle in place.
- Place the cover on top, and let the mixture freeze 'til it thickens, about 20-25 minutes.
- Meanwhile, add the chocolate chips to a microwave-safe bowl, and microwave in 30-second intervals, stirring well between each one, 'til the chocolate is melted and smooth.
- Once the chocolate is melted, let the chocolate sit on the counter for about 5 minutes, stirring occasionally. You want the chocolate to be thin and pourable, but no longer steaming or hot to the touch. (If it's too warm, it'll melt the ice cream and clump rather than shatter in the next step.)
- Pour the chocolate into a squeeze bottle. In the last 2-3 minutes of freezing, squeeze the chocolate in a slow, thin, steady stream directly into the churning ice cream. The cold cream will grab the chocolate, and the paddle will break it or shatter it into shards, and it'll distribute evenly throughout the ice cream.
- Turn off the machine, and scoop the soft-serve ice cream into airtight containers; place in the freezer for 3-4 hours, or overnight, to firm up more. Serve when ready.








This ice cream is insanely delicious !