
Love Mod Podge crafts? Me too! Mod Podge is one of my favorite crafting mediums because there are so many things you can do with it; for instance, you can create things like handmade jewelry, photo gifts, special keepsakes, furniture makeovers… The possibilities are endless. If you love jewelry but haven't tried making your own yet, I have an easy tutorial that will have you making all sorts of beautiful earrings. It really is that easy.

These little earrings only require a few supplies. They're actually really affordable to make, and you could make several pair, depending on how many designs you want.
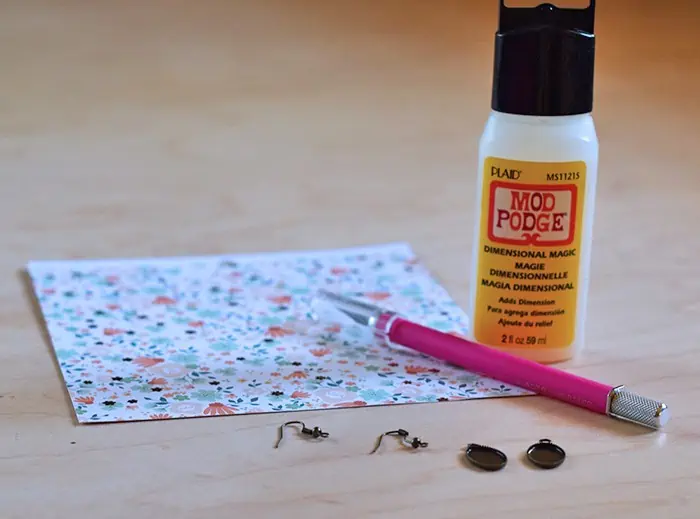
Supplies Needed for DIY Mod Podge Earrings
- Scrapbook paper
- Craft knife
- Cutting mat
- Mod Podge Dimensional Magic
- 2 Earring pendants
- 2 flat fishhook earwires
- 2 round jump rings (optional)
- Round-nose pliers
Instructions for Making Earrings
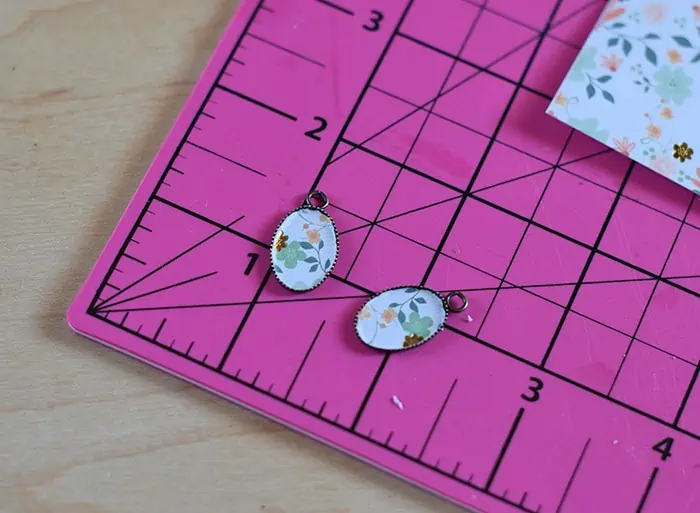
The first step is to pick out the scrapbook paper design you want. I stuck with a smaller, colorful, floral pattern for this particular pair, allowing for more design flair in the earrings.
Cut paper to pendant shape with a craft knife. This is the most tedious step because it may require more trimming and shaping to fit the paper inside the pendant.
Fit paper inside each pendant.
Dimensional Magic allows you to finish the earrings with a clear raised finish. Fill in the surface of each earring pendant with Mod Podge Dimensional Magic, making sure it goes to the edges of your earrings, also removing bubbles with a toothpick. It's important to remove any bubbles you may have; otherwise, they'll show up even after the Mod Podge has dried. You’ll want to allow about 3 hours for this to dry. When first applied, it will look milky, but it'll clear as it dries.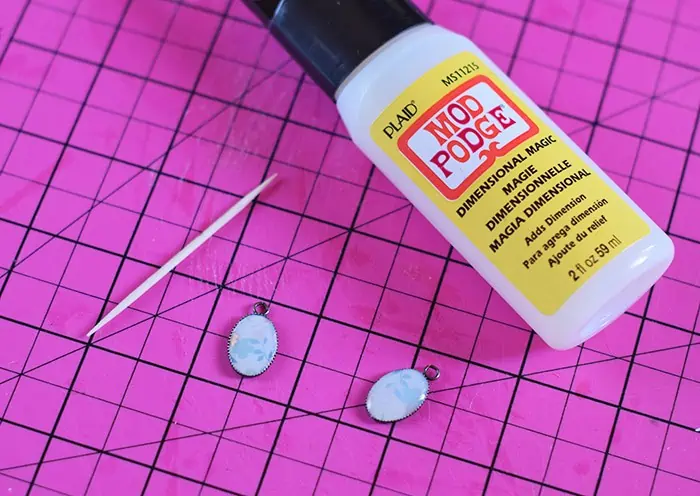
After your jewelry has dried well, then you can add the necessary hardware, using the round-nose pliers. Hardware includes jump rings (if you prefer them) and flat fishhook earwires. 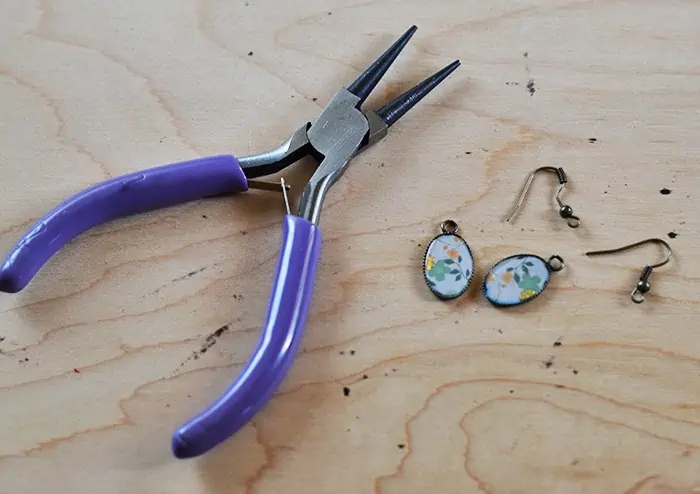 I didn't add jump rings to this pair because I didn't feel they needed them, but it's totally up to you.

And that's it! Making your own earrings is super duper easy and quite addictive.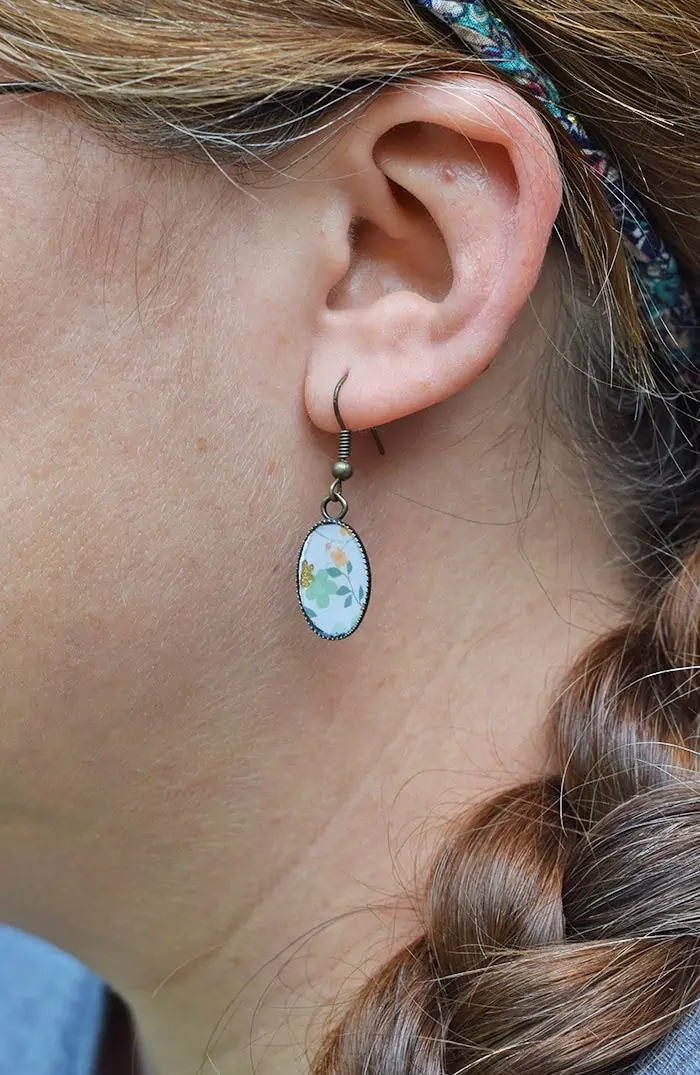 They make great gifts too; I'm sure we all know a birthday girl, a graduate, a friend, sister, mom, teacher who would love a gift like this. Happy crafting!
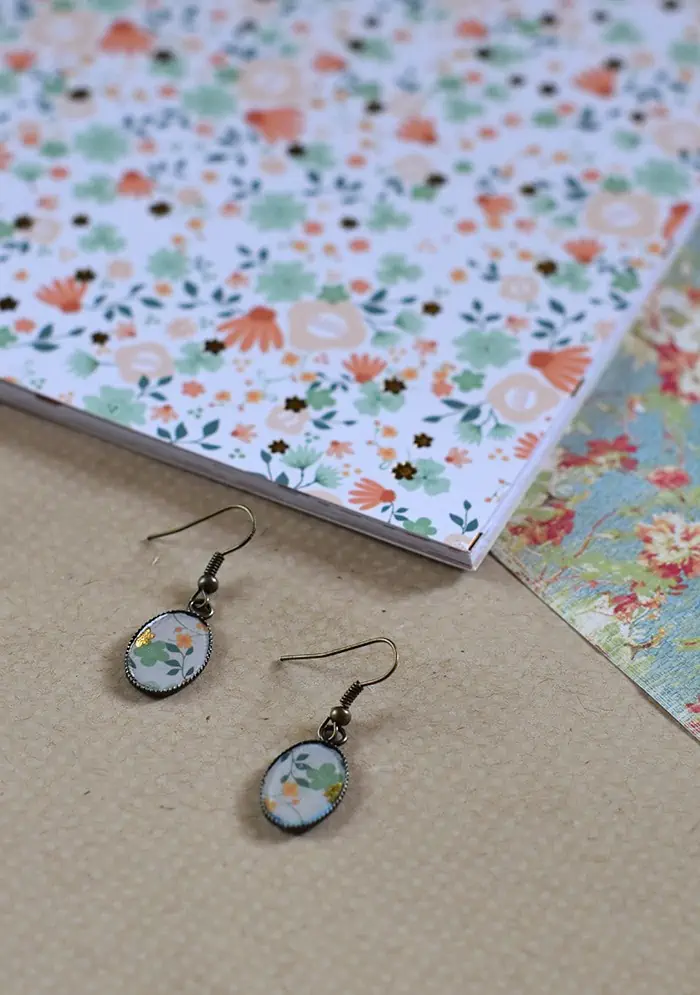
Looking for more thrifty DIY project inspiration?
- How to Make a Beautiful DIY Photo Canvas on the Cheap
- DIY Photography Background on the Cheap
- 11 Free or Super Cheap DIY Planner Supplies and Printables
- How to Upcycle Vintage Cake Tins to DIY Light Fixtures
- Build Suitcase Shelves, Easy Step By Step
- DIY Changing Table
Not quite ready to make them but want to save for a later crafty date? Pin them so you'll never lose them!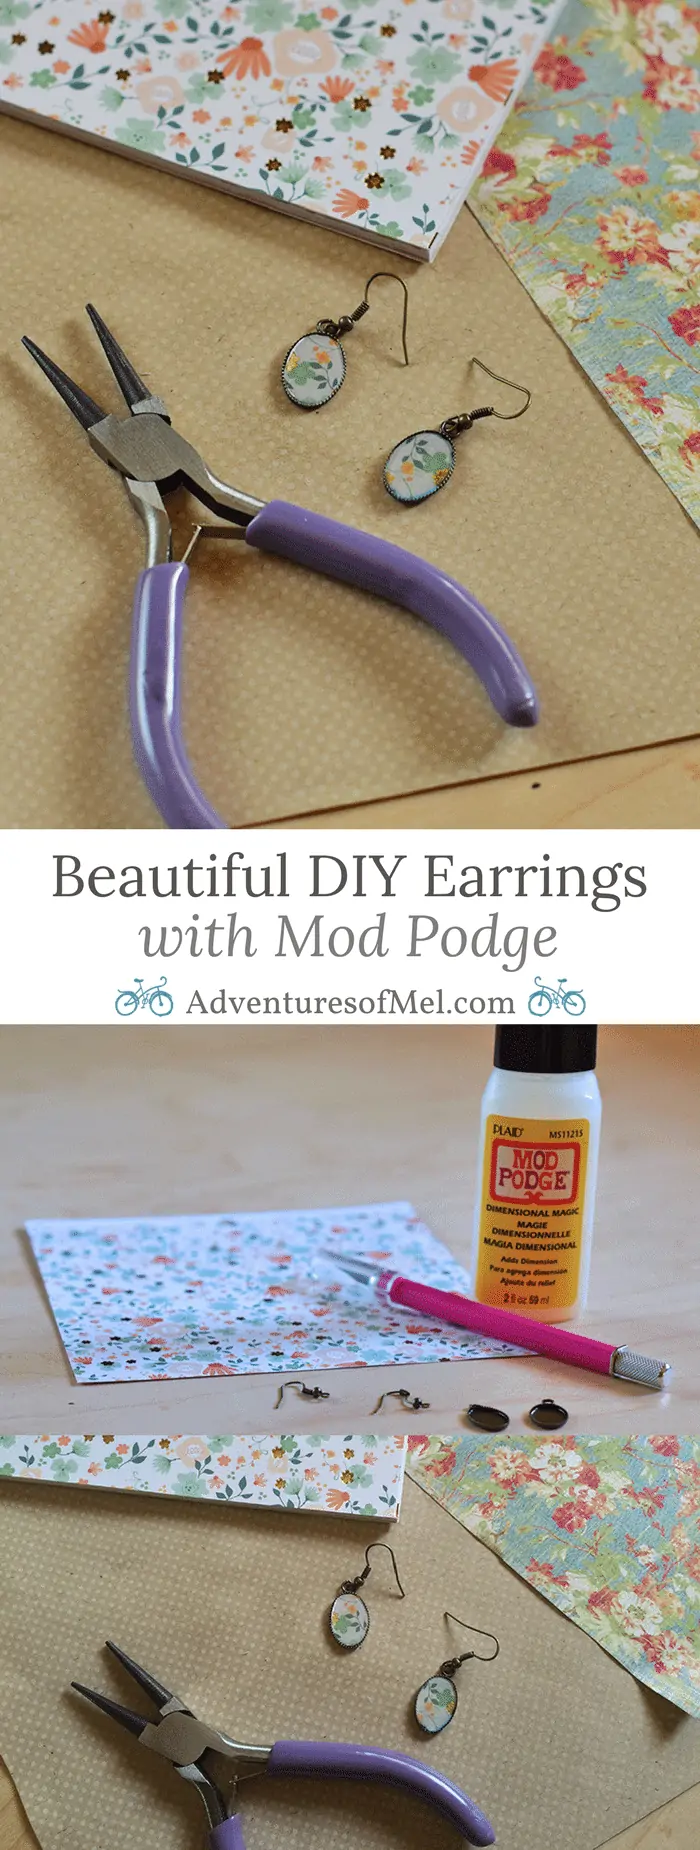


I tried these with my daughter but the paper looks wet even after waiting well over 24 hours for it to dry. how do you keep the paper from looking wet?
Do you think this would work with fabric? I make a lot of my clothes and thought this would be nice to make earrings to match.
Estalee, I don’t see why not. That’s actually a really good idea!
Where can I buy the pendants? Thanks!
Hi Bernadette, I bought my pendants at Hobby Lobby. I think any craft store would have them, including Michaels, Joann’s, etc.
I am new to the Modge Podge Dimensional Magic. I was wondering about the longevity of the clear coat? Does it turn cloudy over time? Is the pair that you made in the photo still clear, or have they dulled? I make (and sell) jewelry, so I am wondering if this would stand the test of time. I have been using glass cabochons up to now, but am interested in testing this product. Thank you so much for your insight, and great tutorial.
Hey Cheryl, I have a couple necklaces that are still very clear. And I’ve had them for at least 3 years, probably longer. I gave the pair of earrings I made in the photo to my niece, and I’m not sure what they look like now, but if they’re like the necklaces, they’re probably still clear too. You’re very welcome. Thank you! I wish you the best of luck.
I would really love to try to make these, they are so cute! However I’ve been searching online for over a half hour and I can’t find anything even close to the earring pendants you used here. Where did you get yours/ do you know where these are sold??
Heather, thank you! I found these in store at Hobby Lobby.
I got some cute ones at amazon I want to put my eys photo in them too I mean pets
That’s a really cute idea, Marana! I love it.